Deployment settings
Registries
Gimlet comes with a built-in container registry both on Gimlet Cloud's ephemeral environment and on any environment your create. But you can use any well-known or custom container registry with Gimlet.
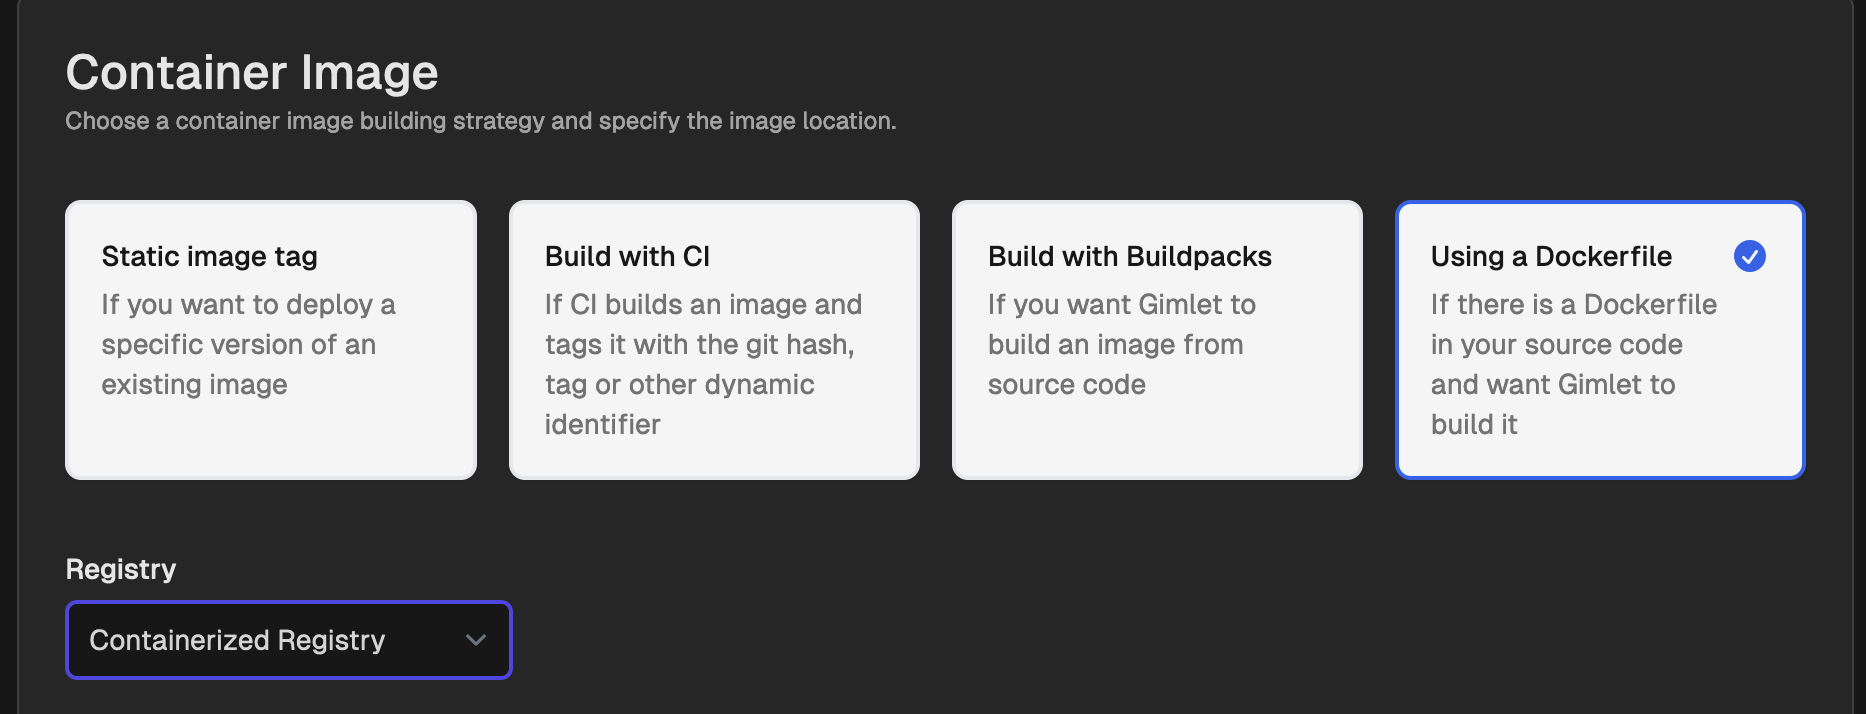
Container registries show up in your image build settings.
Built-in Registry
Search for Gimlet Registry on Gimlet Cloud, and Containerized Registry on your own environments.
Integrate GitHub Container Registry
If you have a GitHub Container Registry set up, you can integrate it to Gimlet.
Get GitHub Personal Access Token
First, you need to get a personal access token with repo and write:packages privileges. You can get one as described in GitHub's documentation. Remember that fine-grained tokens aren't supported in Gimlet.
Make sure to back up the token in a secure way, as it won't be recoverable after you leave or close the GitHub page after token generation. If you lose it, a new one will be needed to be generated. Consider the token's expiration time, as well, since Gimlet will lose privileges once the token expires.
GitHub Container Registry Settings in Gimlet
Once the token is ready for use, you can open Gimlet in your browser. After logging in, navigate to environment settings by clicking the Environments option in the menu bar on top, then selecting the environment you use by clicking its card.
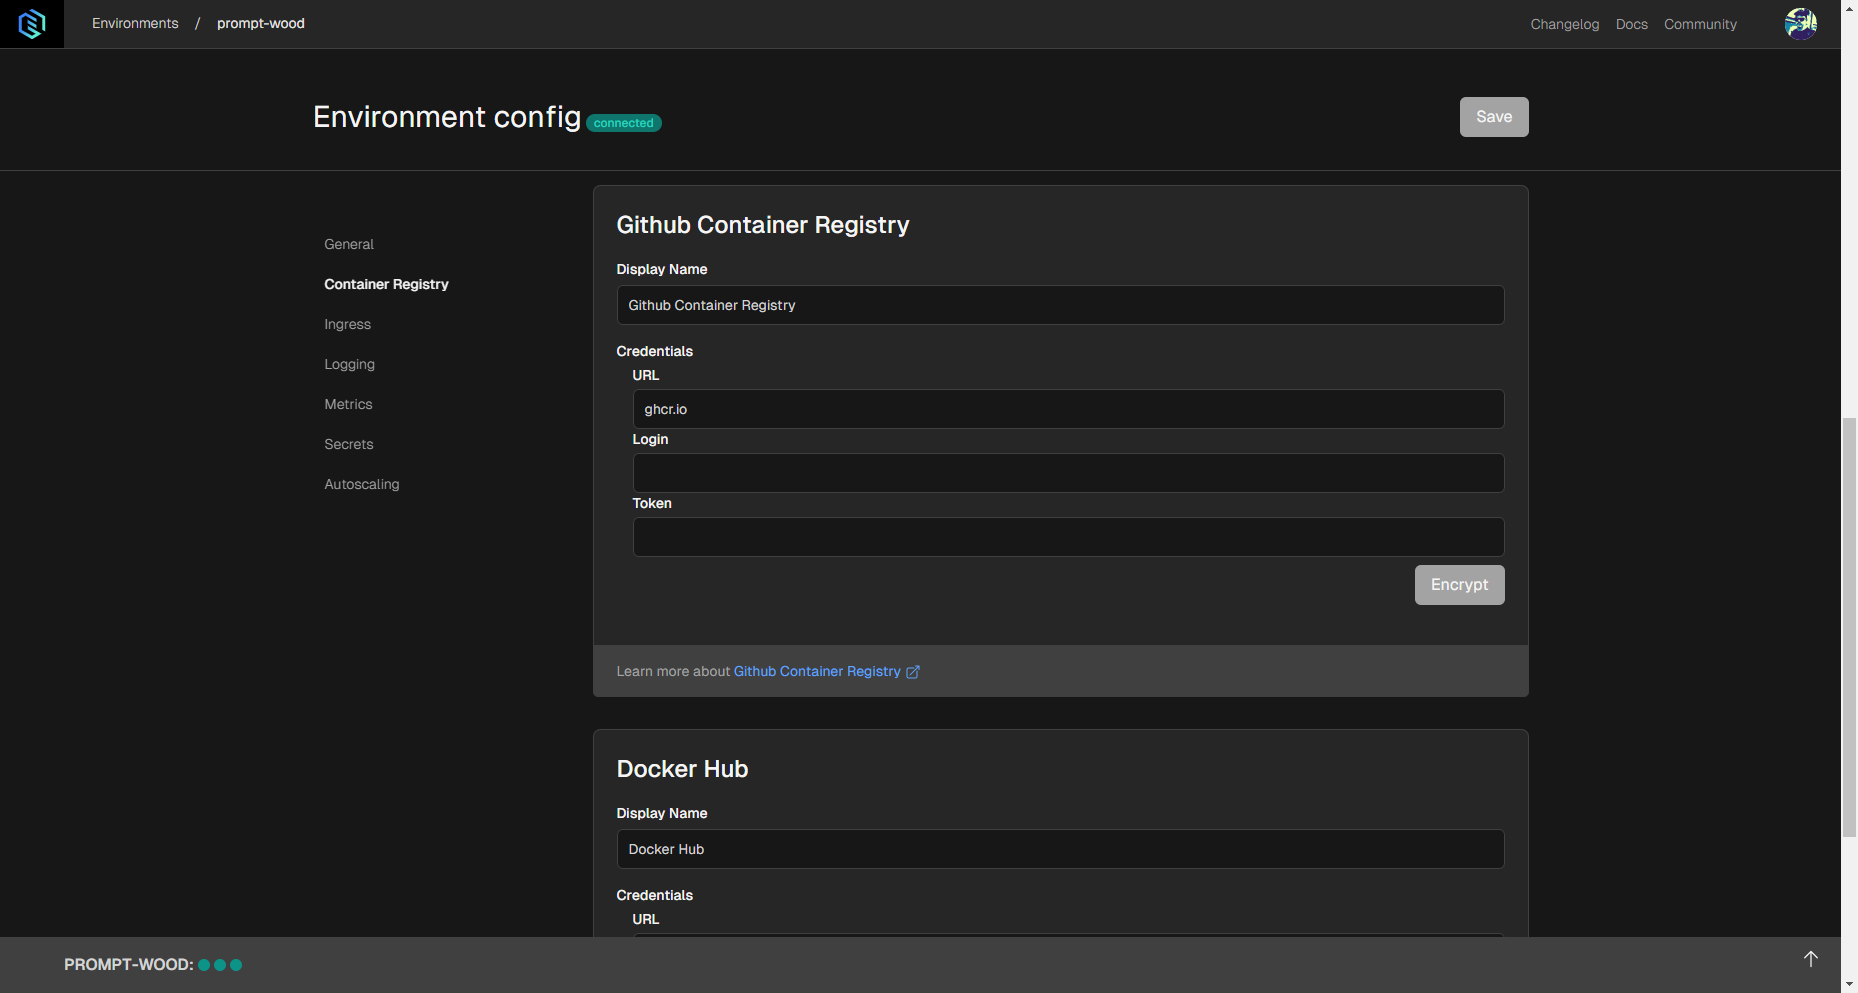
In the environment settings, choose the Container Registry tab on the left. Under the GitHub Container Registry settings, enter the following:
- Login: Your GitHub username.
- Token: The personal access token you generated earlier.
Integrate Docker Hub
You can add your Docker Hub credentials to Gimlet to access both public and private registries.
Get Docker Hub Access Token
First, you need to get an access token with read privilege. You can get the token as described in Docker's documentation.
Make sure to back up the token in a secure way, as it won't be recoverable after you leave or close the Docker Hub page after token generation. If you lose it, a new one will be needed to be generated.
Docker Hub Registry Settings in Gimlet
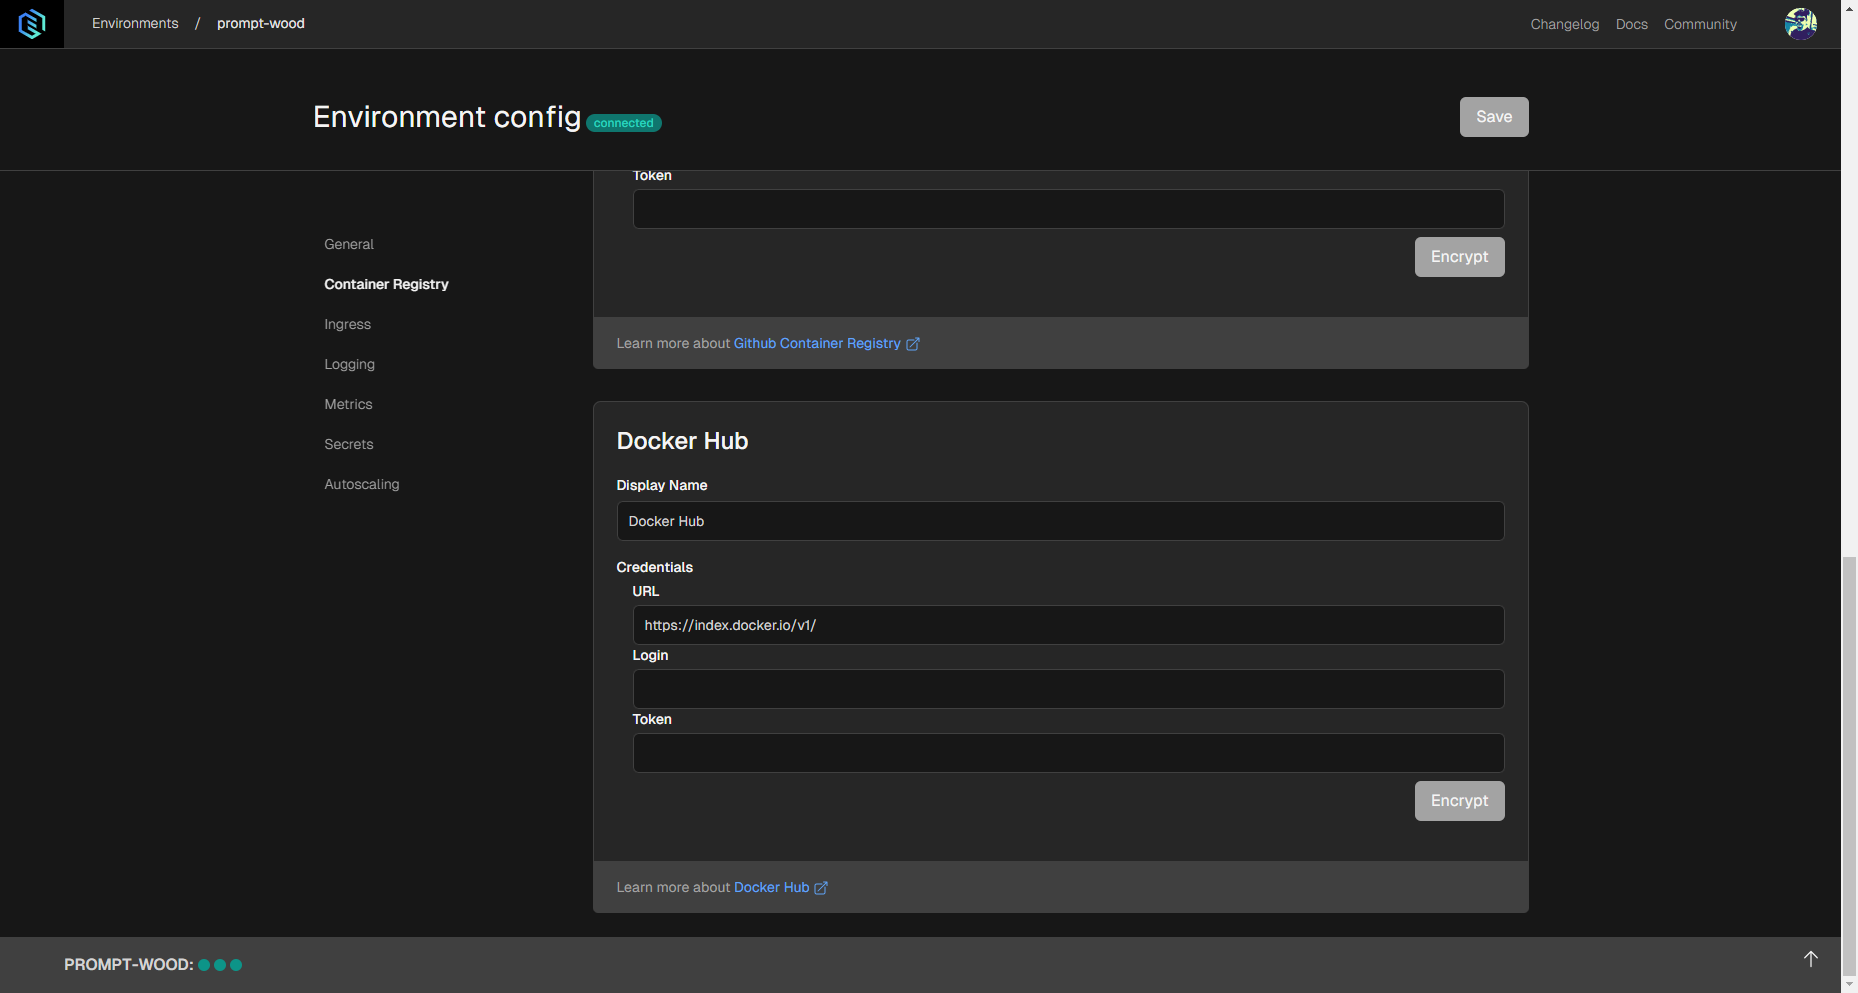
When the token is ready, open Gimlet in your browser. After logging in, navigate to environment settings by clicking the Environments option in the menu bar on top, then selecting the environment you use by clicking its card.
In the environment settings, choose the Container Registry tab on the left. Under the Docker Hub settings, enter the following:
- Login: Your Docker Hub username.
- Token: The access token you generated earlier.
Integrate any registry under Custom Registry Configuration
If you'd like to use a custom registry that you host outside of GitHub Container Registry or Docker Hub by navigating to the environment settings. You can find these settings by selecting the Environments option in the menu bar on top and clicking on the environment's card to select its settings.
In the environment settings, choose the Container Registry tab, and look for Custom Registry settings. Here you can entering the below credentials:
- URL: This is the URL where your registry is available.
- Login: This is the username or user ID that you use for this registry.
- Token: This is the access token that belongs to your user that grants access for Gimlet to your registry.
- Self-Signed Certificate: If you use one to restrict access to your registry, paste it here. Gimlet will encrypt and store it.