AI Deployment Tutorials
Deployments of Jupyter Notebooks
You can learn from this tutorial how to deploy a Jupyter Notebook with Gimlet.
Requirements
- A Jupyter Notebook to deploy. If you don't have a notebook, fork this repository to be able to try this tutorial.
Step 1: Getting Started with Gimlet
Log in to Gimlet by connecting your GitHub or GitLab account. If all is well, you should see the repositories you have access to listed in Gimlet.
If you can't find the repository of the Jupyter Notebook, you can use the search bar to find it. When you found the repository, click Import next to it, then click I am done importing to save the added repositories.
Step 2: Create Deployment Settings
Navigate to deployment settings by clicking the repository's card, then New deployment.
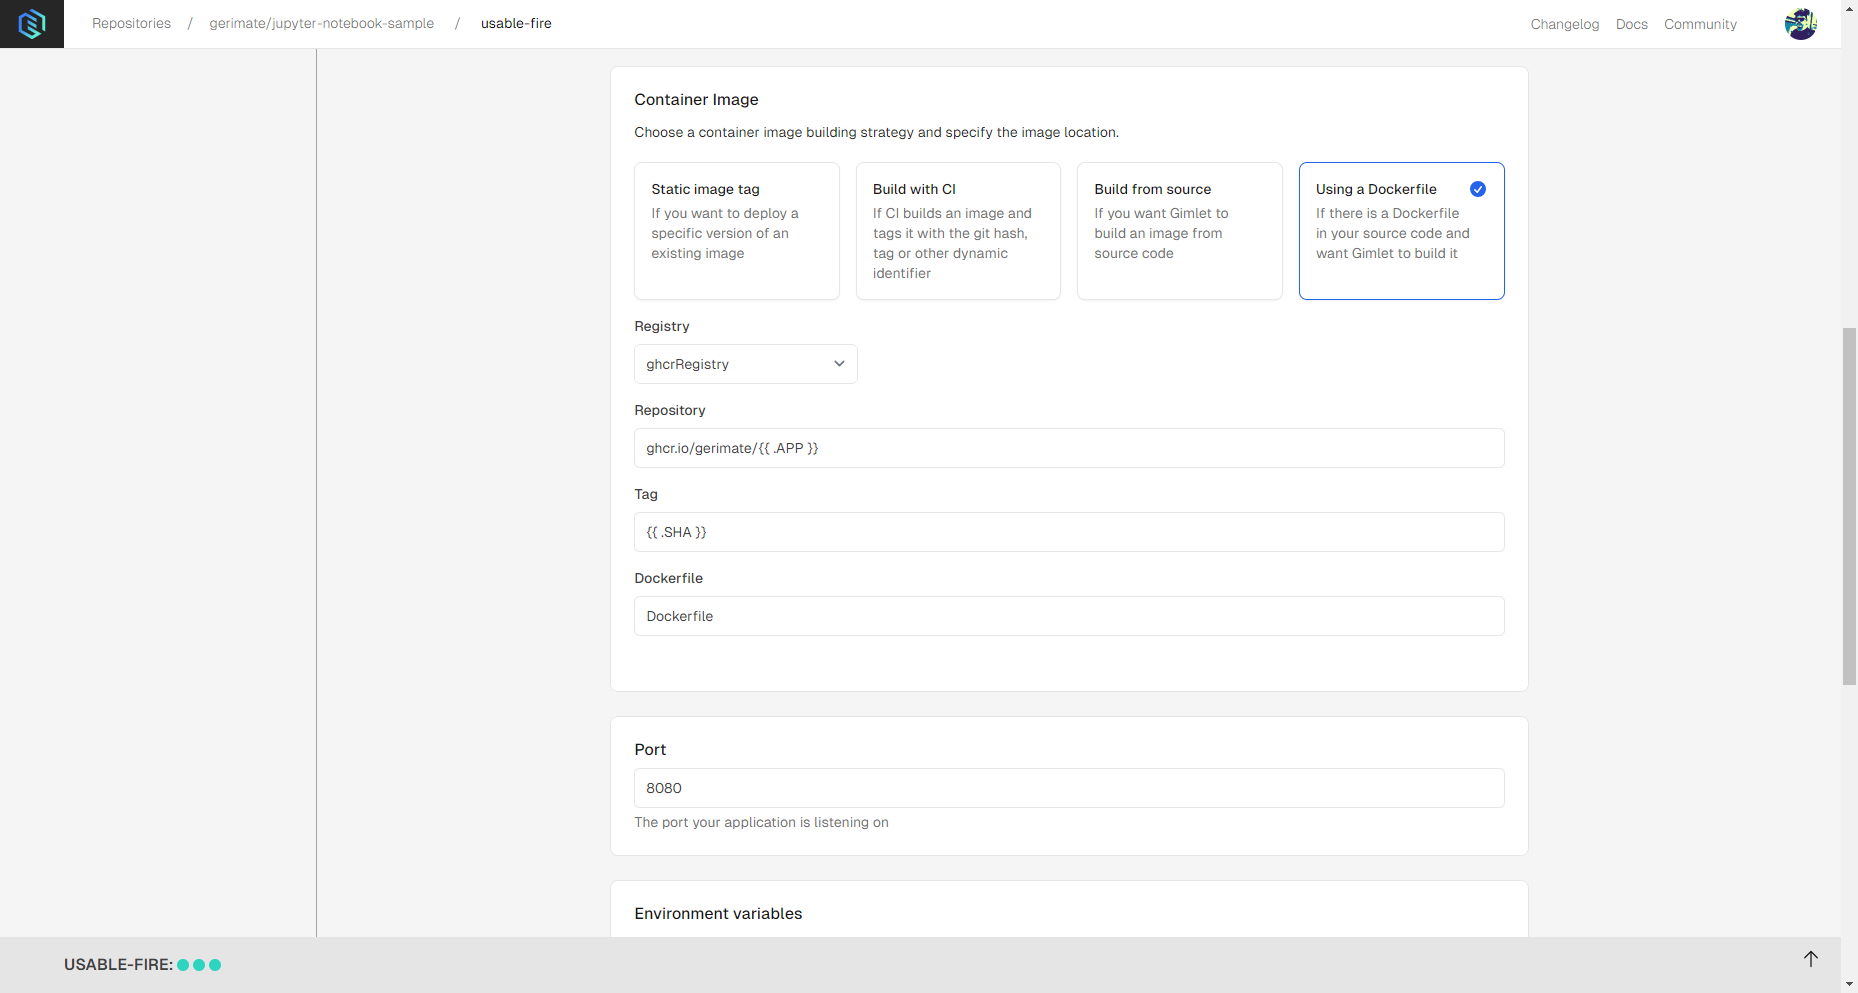
Select Web Application Template to be able to pick Using a Dockerfile as a container image option. If you don't have a Dockerfile in your repository, you can use the example below.
FROM python:3.11.9-slim

WORKDIR /app

RUN apt-get update && apt-get install -y gcc python3-dev nodejs npm

COPY . /app/

RUN pip install jupyterlab
RUN jupyter lab build --dev-build=True --minimize=True

EXPOSE 8080

CMD ["jupyter", "lab", "--port", "8080", "--allow-root"]
After selecting the container image method, select the Gimlet Registry option under Registry settings, and add change the Port to 8080. You can see the settings in the screenshot below:
Step 3: Deploy
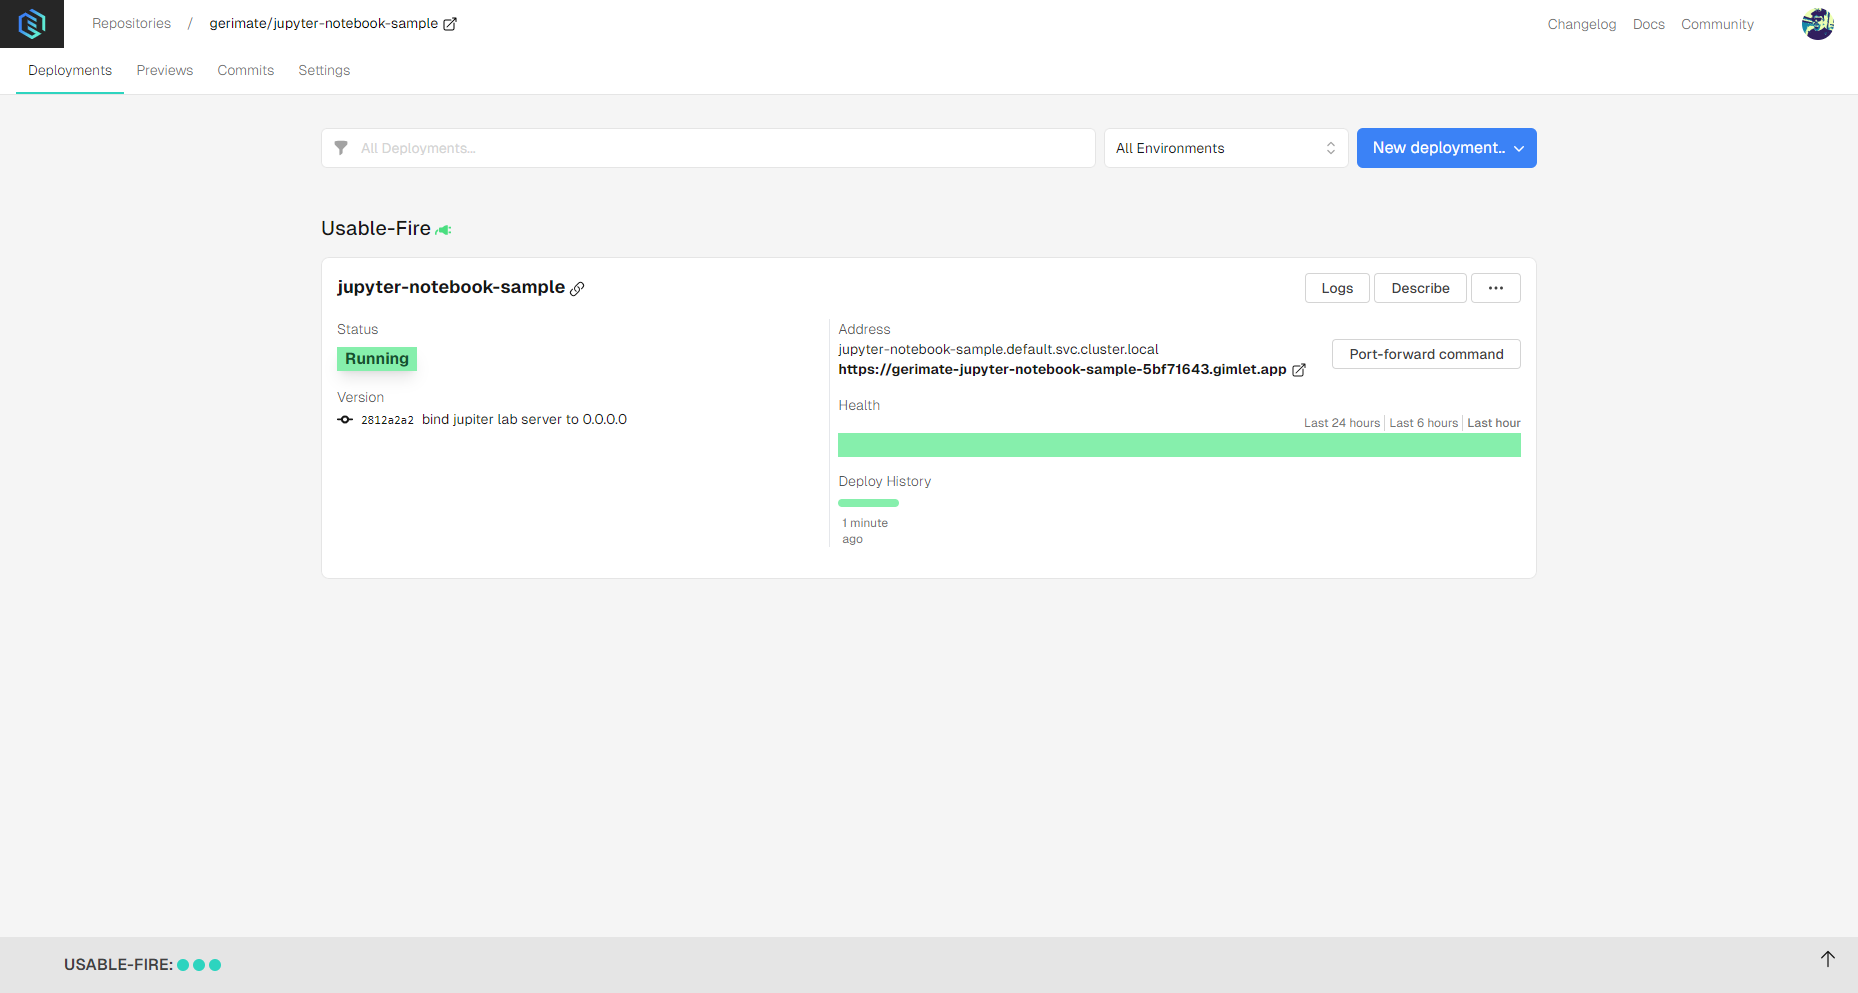
Once the deployment settings are specified, you can deploy by clicking the Deploy button.
Logs should show up, and when container status turns Running, you'll see confetti raining in Gimlet's browser tab, and a link will appear where you'll be able to access the Jupyter Notebook.
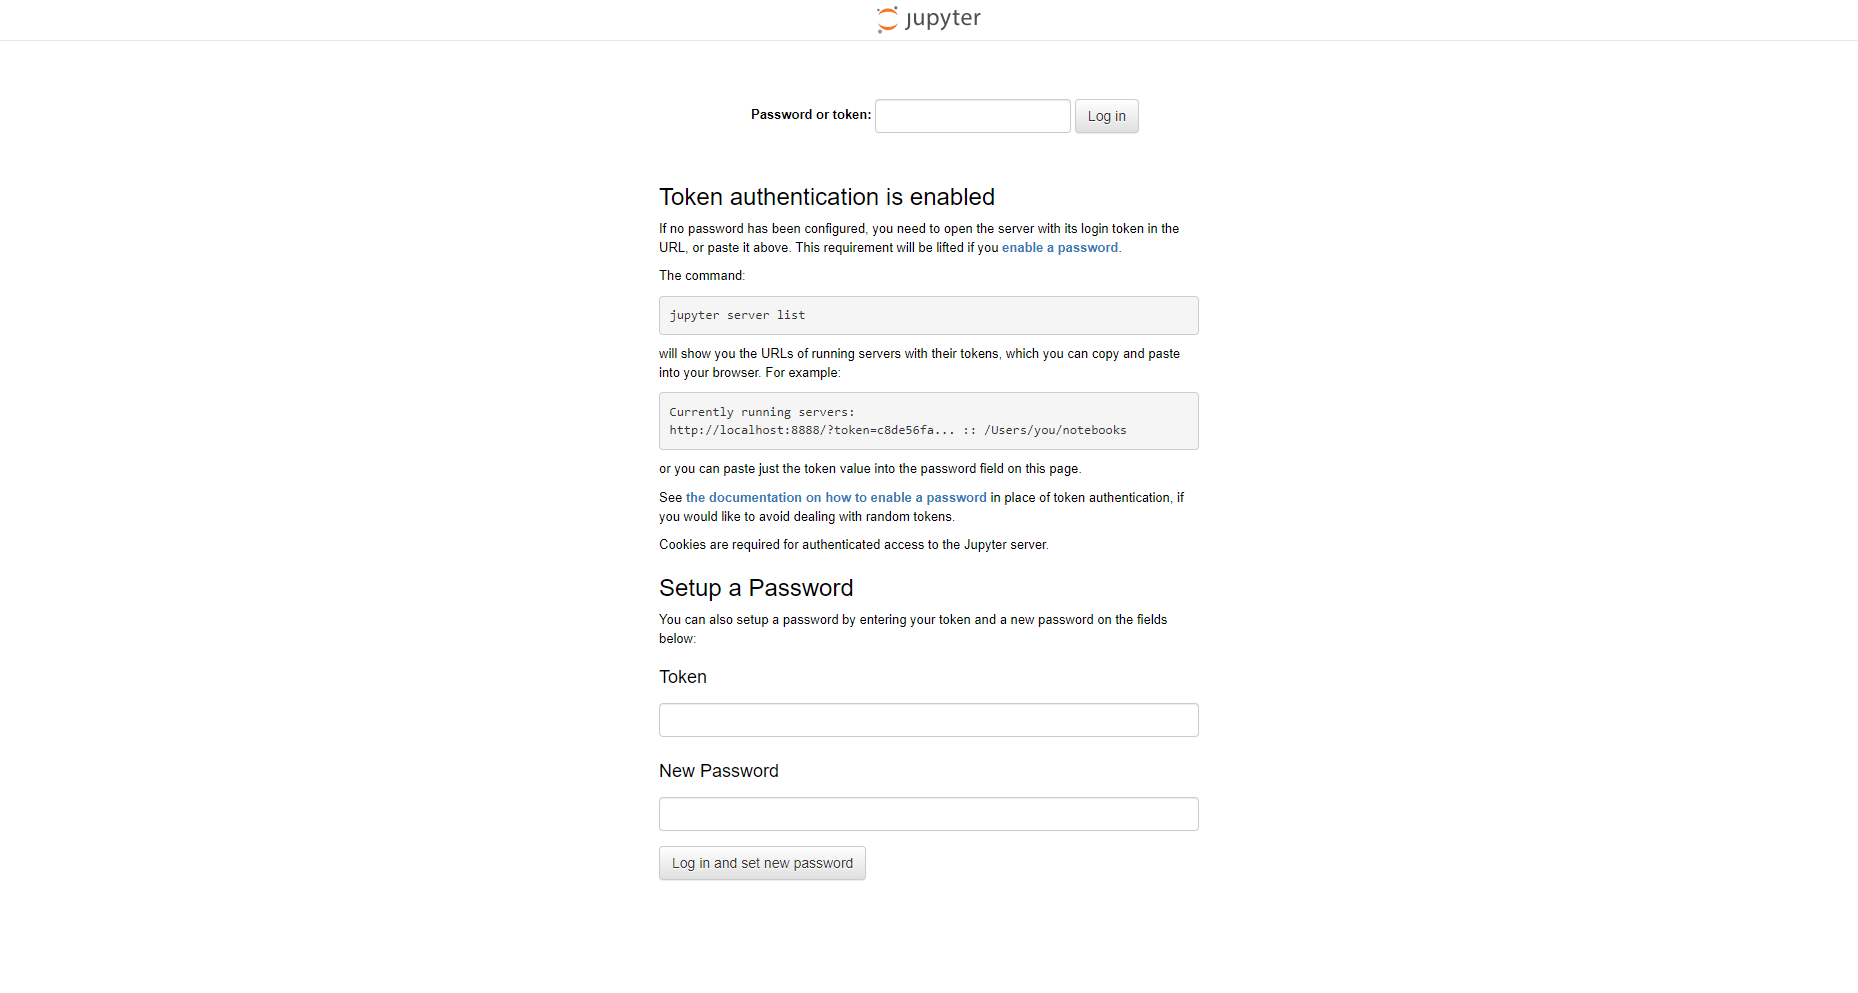
Step 4: Accessing Jupyter Notebook
To log into your Jupyter Notebook, you’ll need a token, which you can obtain by running the command below:
k logs deploy/jupiter-lab-sample | grep token
The output should be the token. Copy and paste it in the notebook’s login screen.
Use Cases
If you're working with Jupyter Notebooks, Gimlet offers several advantages:
- Utilizing Remote GPUs: Access remote Nvidia GPUs from your local environment.
- Code Syncing: Ensure code uniformity across your team.
- Deployment and Previewing: Deploy and share models with social authentication for testing purposes.