AI Deployment Tutorials
Deployment of vLLM
vLLM is an inference for large language models (LLMs) that you can deploy with Gimlet. It's worth noting that this tutorial only describes how to set up vLLM on CUDA-capable resources, therefore you won't be able to test vLLM deployment with Gimlet's trial version.
Prerequisites
- Kubernetes cluster with CUDA capable GPU resources.
Step 1: Log In To Gimlet
Connect your GitHub or GitLab account with Gimlet. Upon successful connection, your repositories should be listed. If you can't find the vLLM repo, you can use the search bar to find it.
Click the Import button next to the repository of vLLM, and then click the I am done importing button to save the added repositories.
Step 2: Deployment Settings for vLLM
Navigate to deployment settings by clicking the card of the repository. Click New deployment.
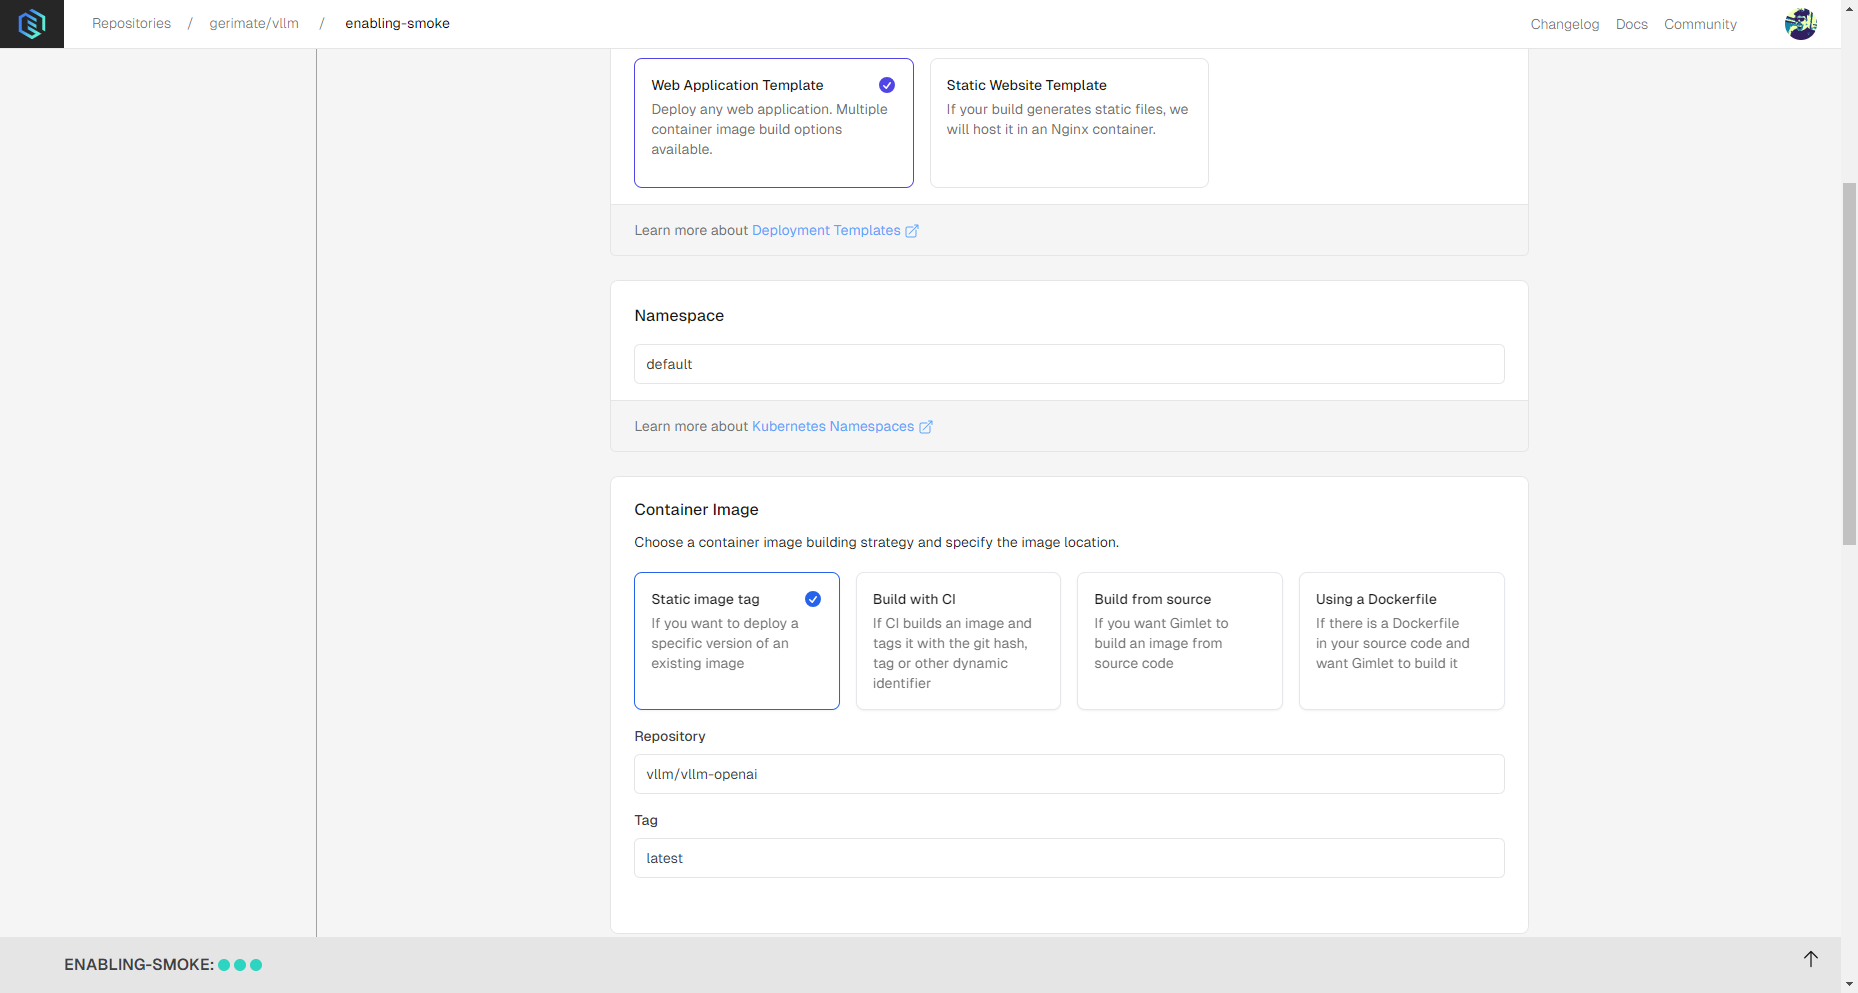
There are multiple ways to deploy with Gimlet. For vLLM deployments select the Web Application Template, then choose Static image tag for container image.
Then enter the following:
- Repository:
vllm/vllm-openai. - Tag:
latest- but it can be any valid tag available on Docker Hub.
You can see it all in the screenshot below:
Step 3: Deploy vLLM
When you're ready with the settings, you can click the Deploy button.
The image should be pulled, and the container should be started in a few moments. When container status is Running, vLLM should be ready for use.
Keep in mind that vLLM is a fairly large application, and some internal processes unrelated to Gimlet might make launching the application a lengthier process.
Use Cases
- Remote Nvidia GPUs: You can deploy vLLM to nodes with CUDA-capable Nvidia GPUs.
- File Syncing: Sync code across your team's environments.
- Share Your Project: Set up social authetentication and HTTPS to share your project securely with your teammates.