Deployment settings
Container Build Settings
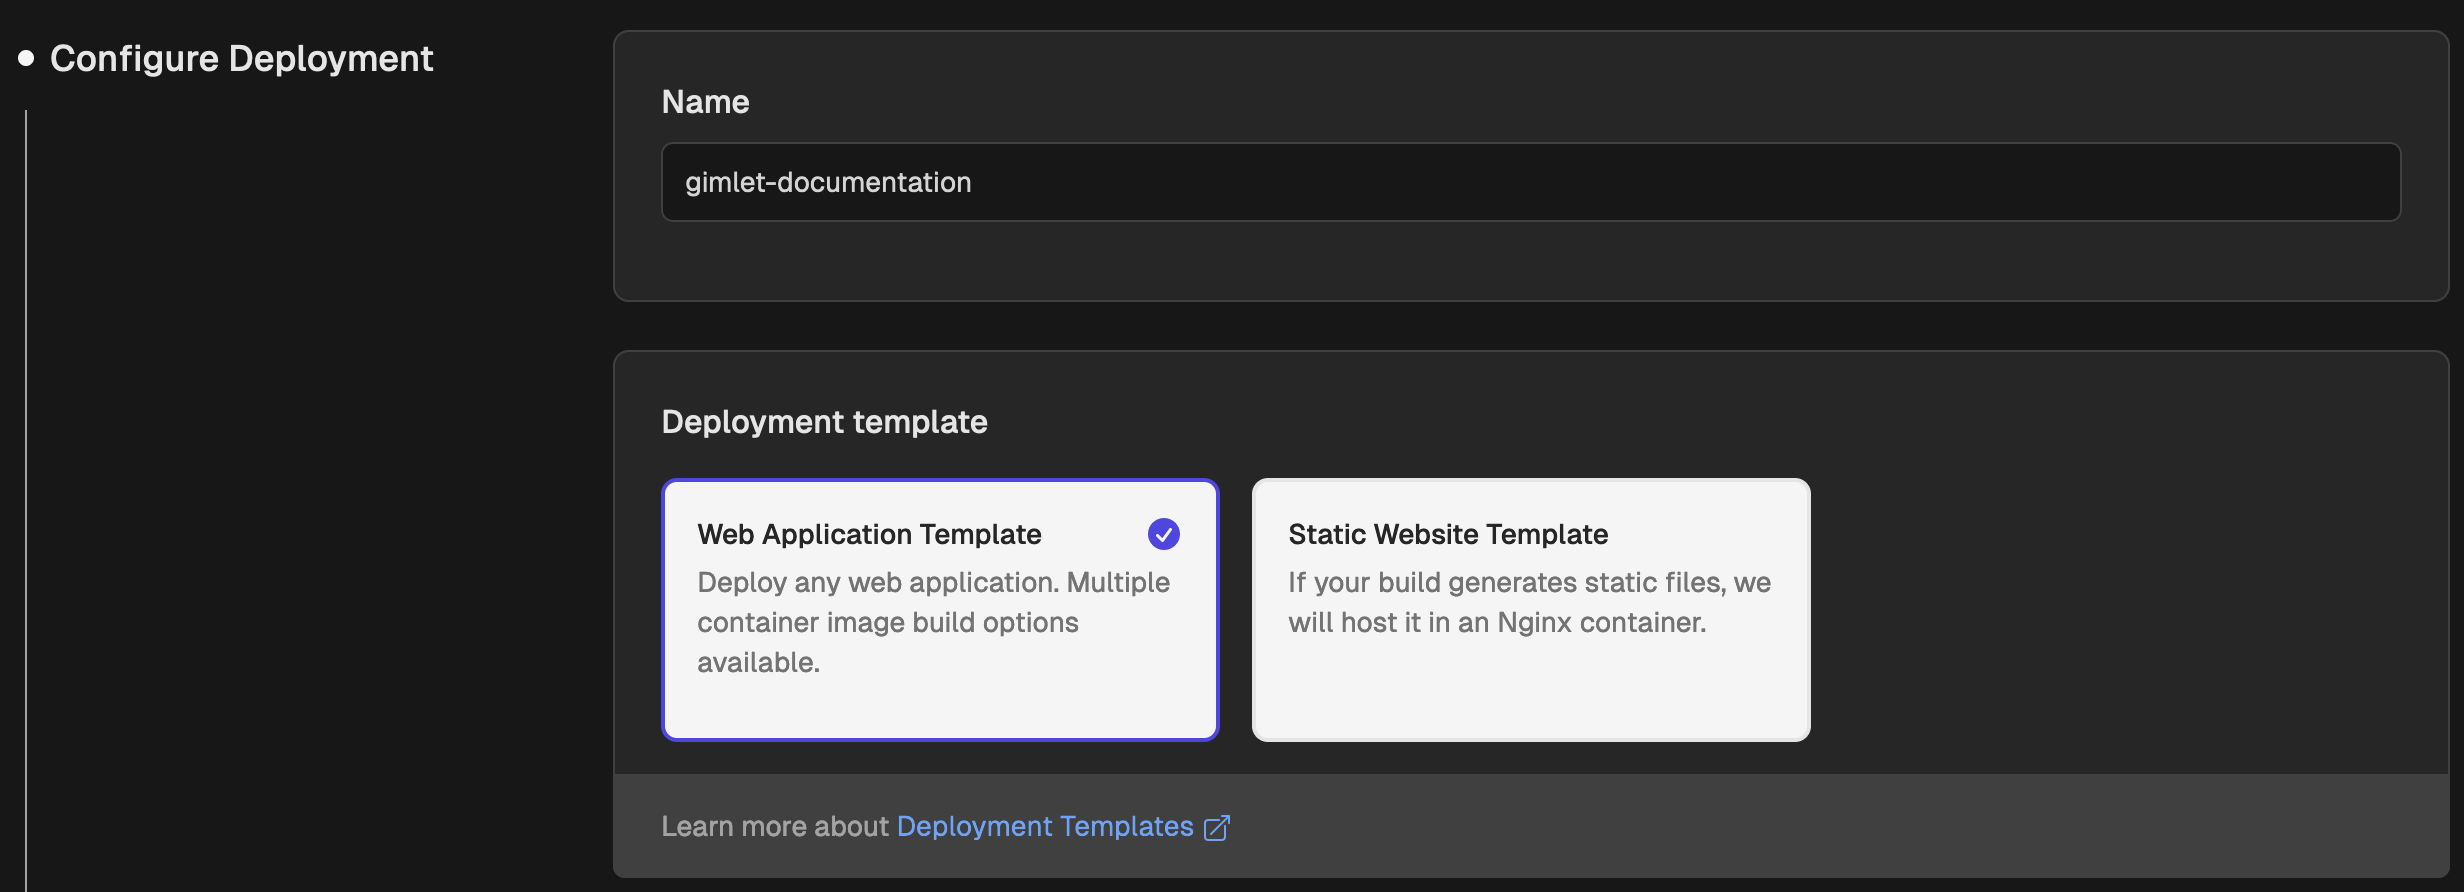
When you're setting an application up for deployment, you select a deployment template. There are two built-in templates:
- a generic web application template
- and a static website template.
When you are done configuring, you write the configuration to your source code git repository. We call this configuration file the Gimlet manifest.
Templates in Gimlet are made with Helm charts under the hood. You can also use your custom templates.
Web Application Template
The web application template has four container image options.
- Static tag images
- Dynamic tag images
- Automatic image building
- Build from Dockerfile
All four of these methods require you to give access to your GitHub using a personal access token.
Static Tag Images
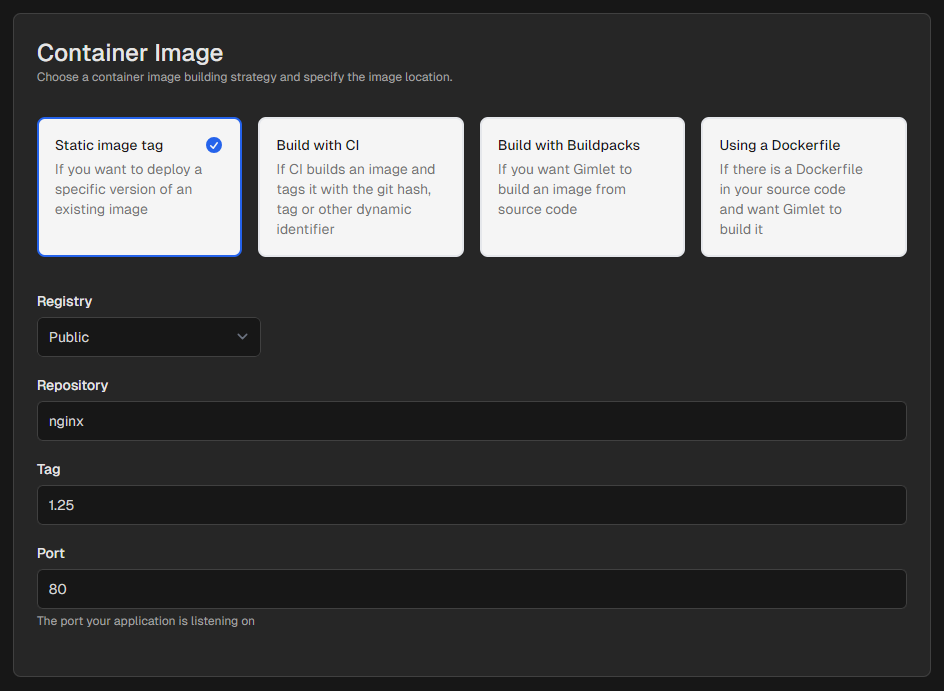
The static tag image option is ideal when you have a DockerHub, or any other kind of registry where the image you'd like to deploy is already available. Here's how you can set up a static tag image for deployment:
Step 1: After selecting this option, choose the registry where the image is available. You can learn how to add registries to Gimlet in the Registry documentation.
If the image is a publicly available image in Docker Hub, select the Public registry option.
Step 2: Specify the repository where the image is located within the registry.
Step 3: Enter the tag of the image that you'd like to deploy.
Built with CI
Pick the Built with CI option when you're using a Continuous Integration (CI) pipeline to build the container image. Configure the same image tage convention as you use in your CI pipeline.
Once the Gimlet CI plugin notifies Gimlet about the newly built artifacts, Gimlet will know which image to deploy. See the CI integration reference for more information.
Build with Buildpacks
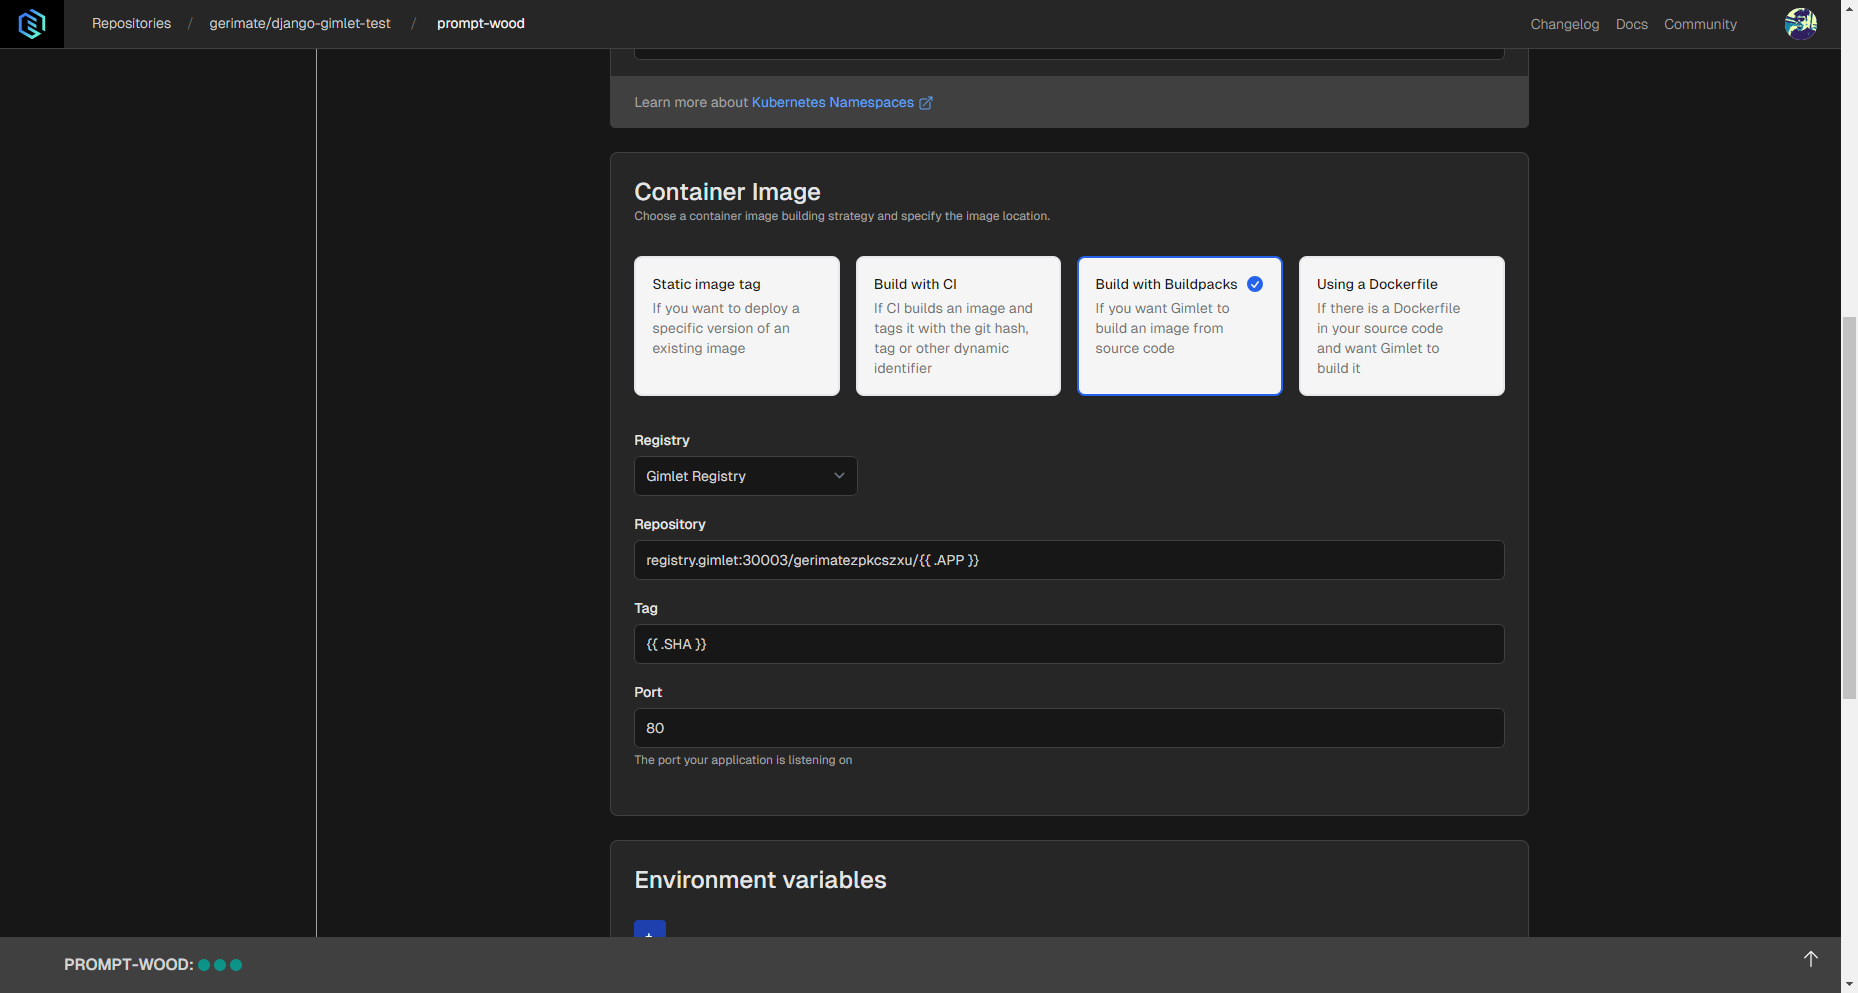
Building an image from source with Buildpacks is the right choice when you don't have a Dockerfile, or a CI pipeline set up to build the container image.
Gimlet will use Buildpacks to build your application directly from source. This option works best for conventional project structures where Buildpacks is able to guess the correct paths of project components.
Using a Dockerfile
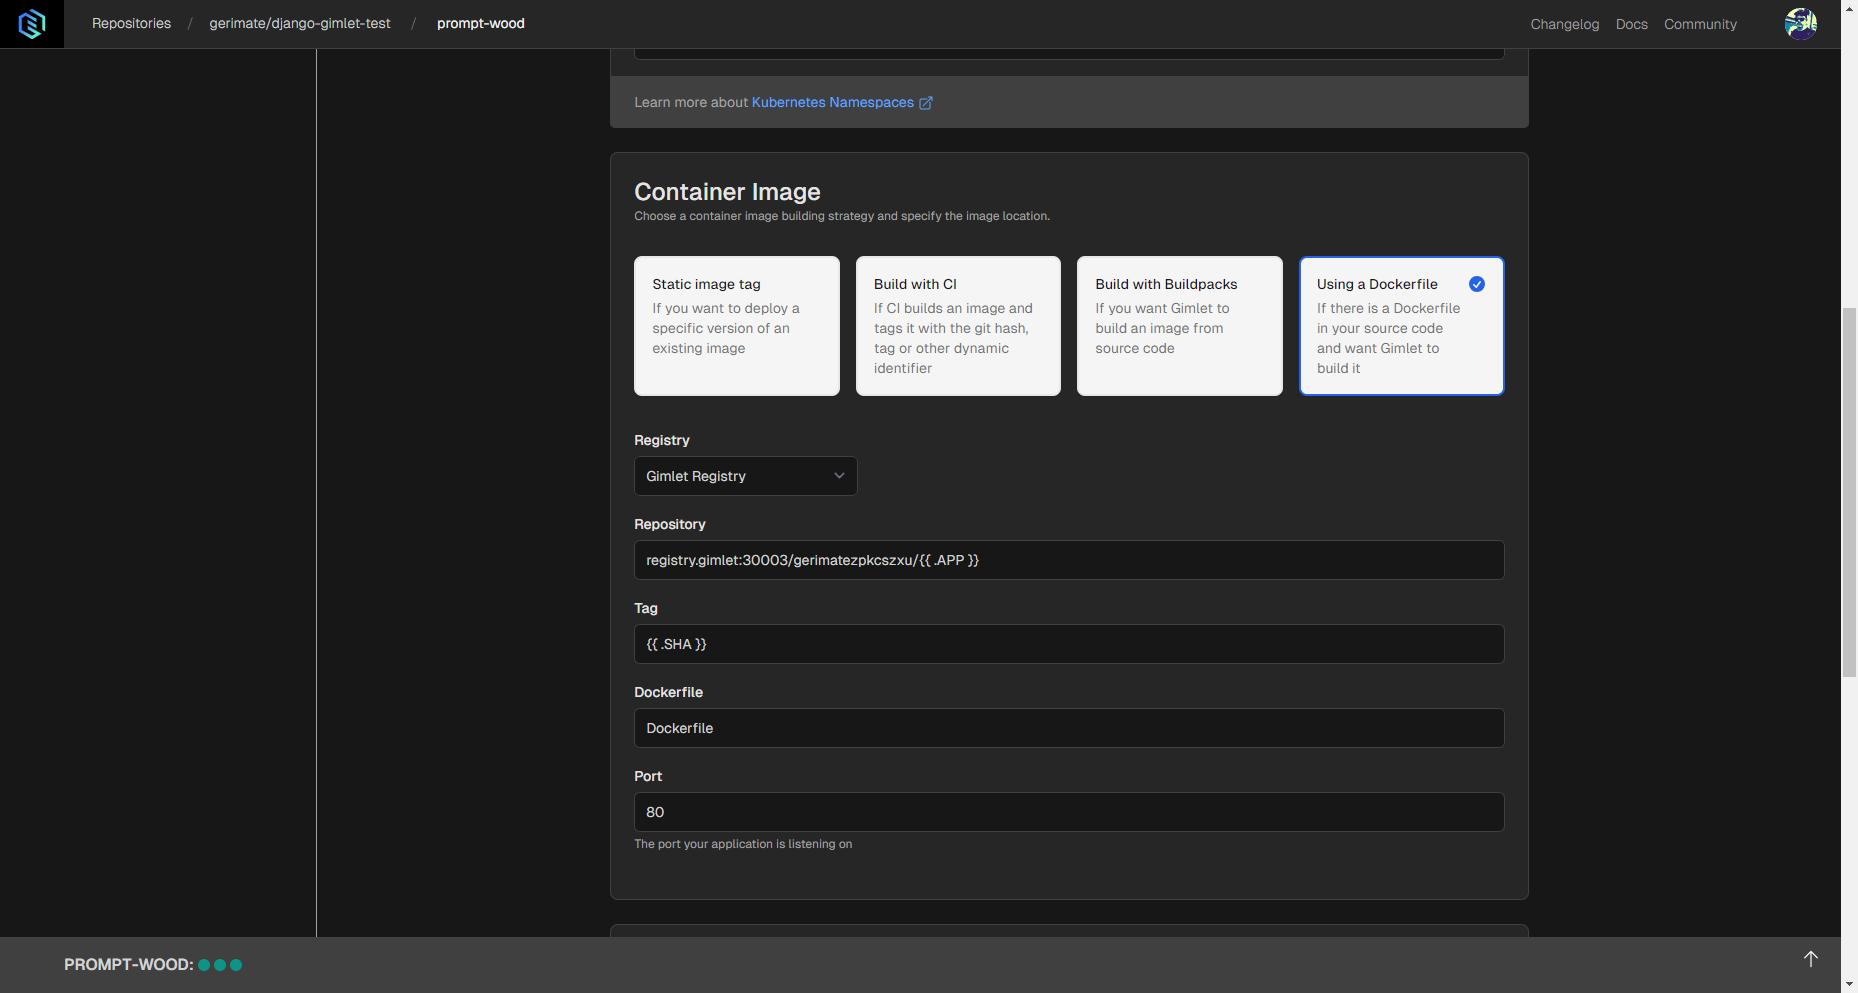
Deployments with Dockerfiles are the the right choice when you have a Dockerfile available in your repository. Here's how you can configure a deployment using a Dockerfile.
Step 1: Select a pre-configured registry.
Step 2: Add the Dockerfile's relative path from the project root. It is a case-sensitive filename.
Static Website Template
Static websites are deployed inside an Nginx container and the build command is executed on container startup.
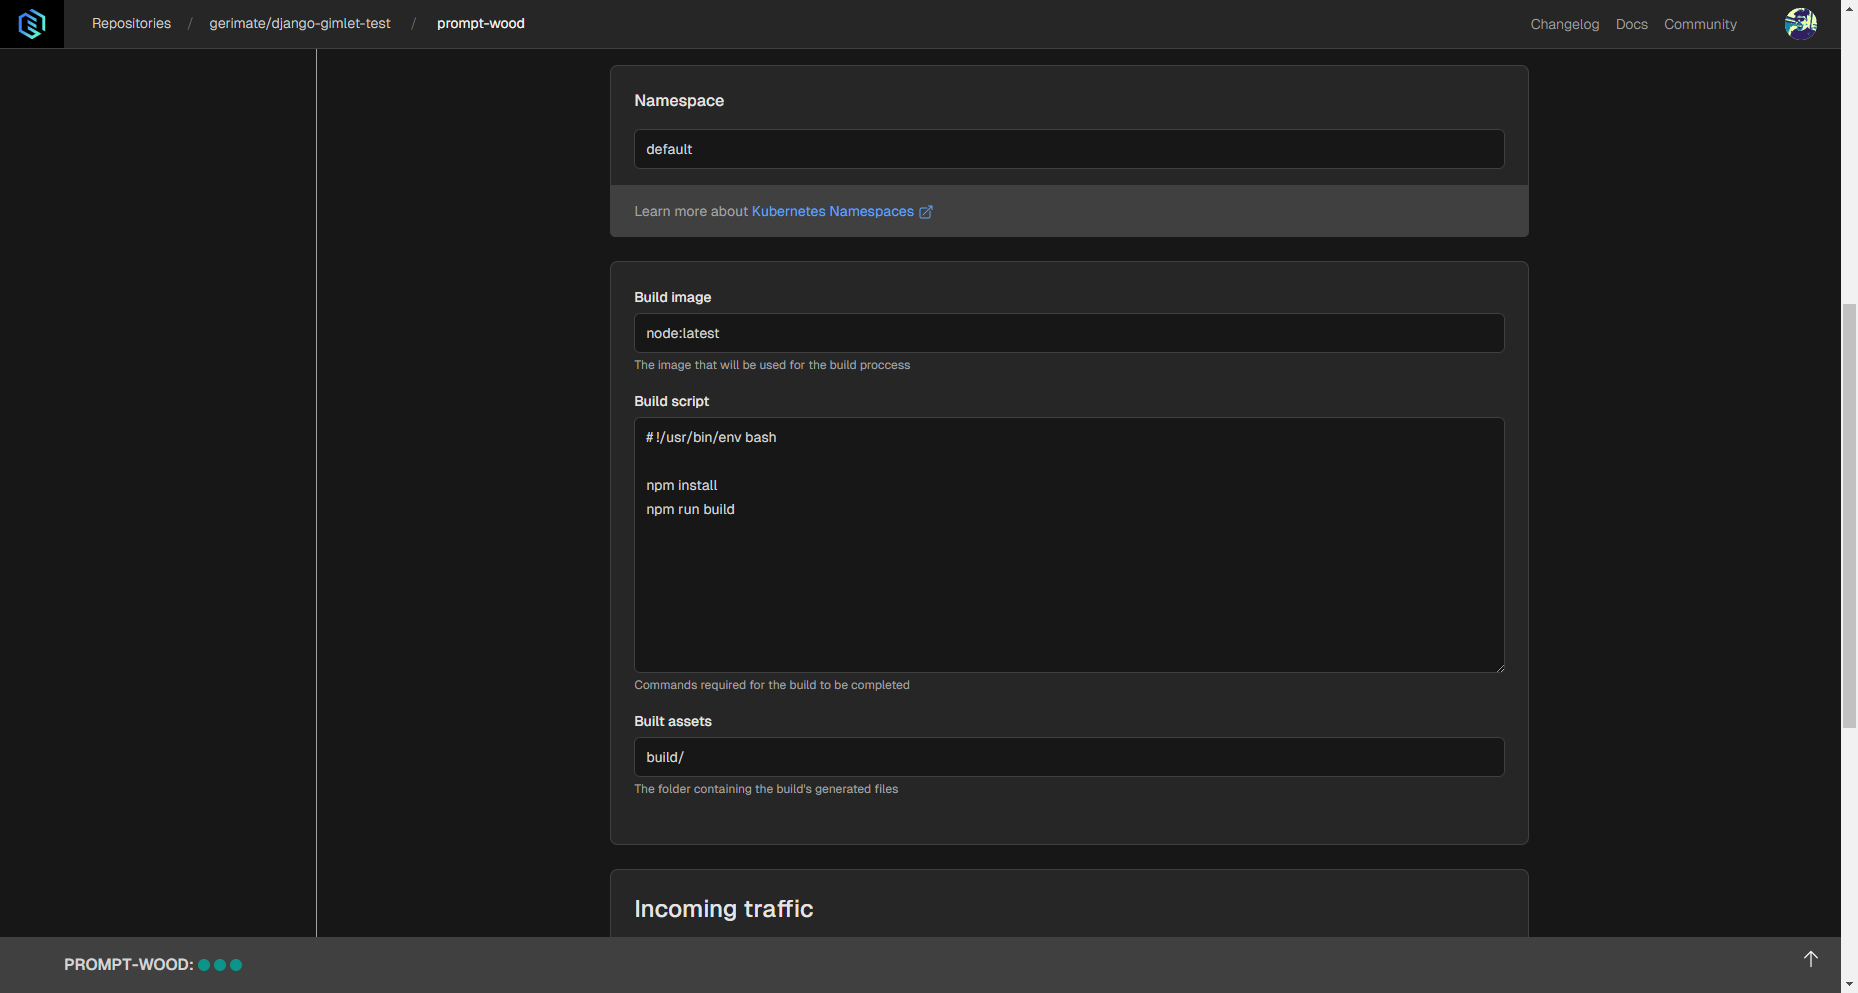
Namespace: You can assign your application to a namespace. This is useful when you'd like to separate resources for this specific application.
Build image: You can specify a base image Gimlet will use to build your application with. For Javascript frontends node:latest is usually the best option, which is specified by default.
Build script: You can enter a custom build script, but Gimlet uses the script you can see below.
# !/usr/bin/env bash

npm install
npm run build
Build assets: The location of the generated build assets. It's usually the build/ folder in your repository's root.