Exposing Gimlet on a domain name
Now that you finished installing Gimlet, you will expose it on a real domain name.
So far, you accessed Gimlet through a kubectl port-forward. In this section, you can read about how to use a real domain name secured by HTTPS.
If you are evaluating Gimlet locally, you can use a service called Ngrok to expose Gimlet to external parties, like CI platforms.
Exposing a local Gimlet with Ngrok
Gimlet integrates with source code managers and CI servers. These platforms need to access your in-cluster Gimlet installation. To fully experience Gimlet, you have to make the Gimlet API available to them.
On local Kubernetes clusters, you can use ngrok to make this happen.
Gmilet's CI integration takes two parameters: Gimlet's API location and an API token. Local installations can be exposed by the following ngrok command, then you can use the ngrok URL in the GIMLET_SERVER secret in CI.
ngrok http 127.0.0.1:9000
For local Kubernetes clusters, this is all that is needed. You can continue to Deploy your first app to Kubernetes
Exposing Gimlet with an ingress
Your ingress architecture
Ingress controllers route traffic to your applications on Kubernetes clusters. They are paired with a cloud load balancer on managed Kubernetes platforms.
Depending on your Kubernetes provider, you may already have an ingress controller installed. To gain better control over your ingress, you will install the Nginx ingress controller now with gitops.
Installing the Ingress Nginx component with gitops
Navigate to Environments > your-env > Infrastructure components and Nginx to edit.
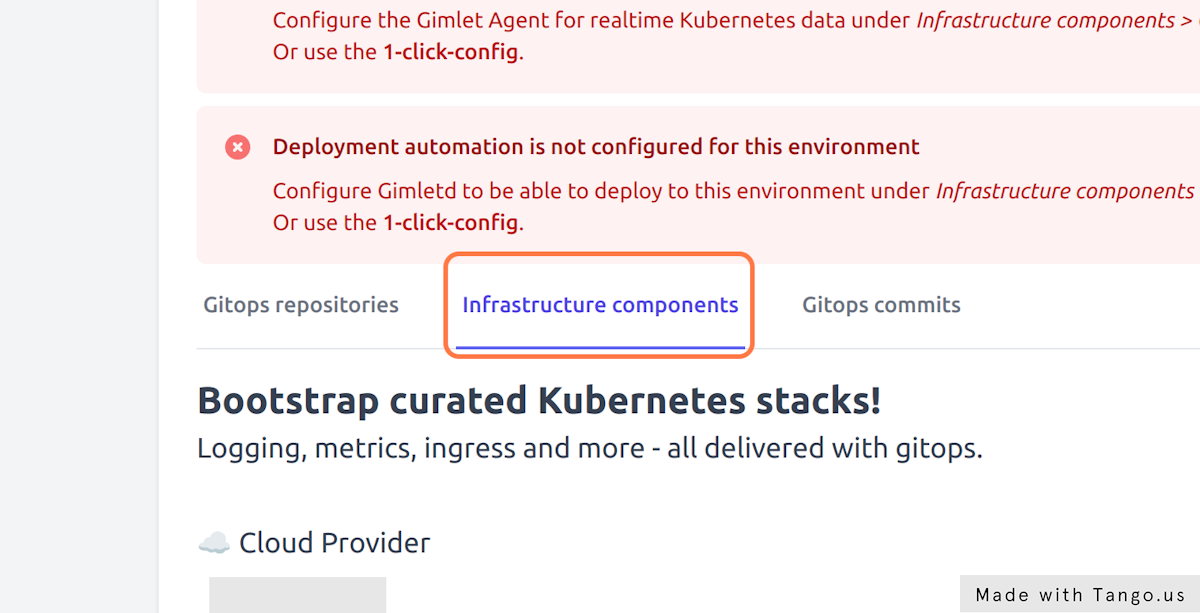
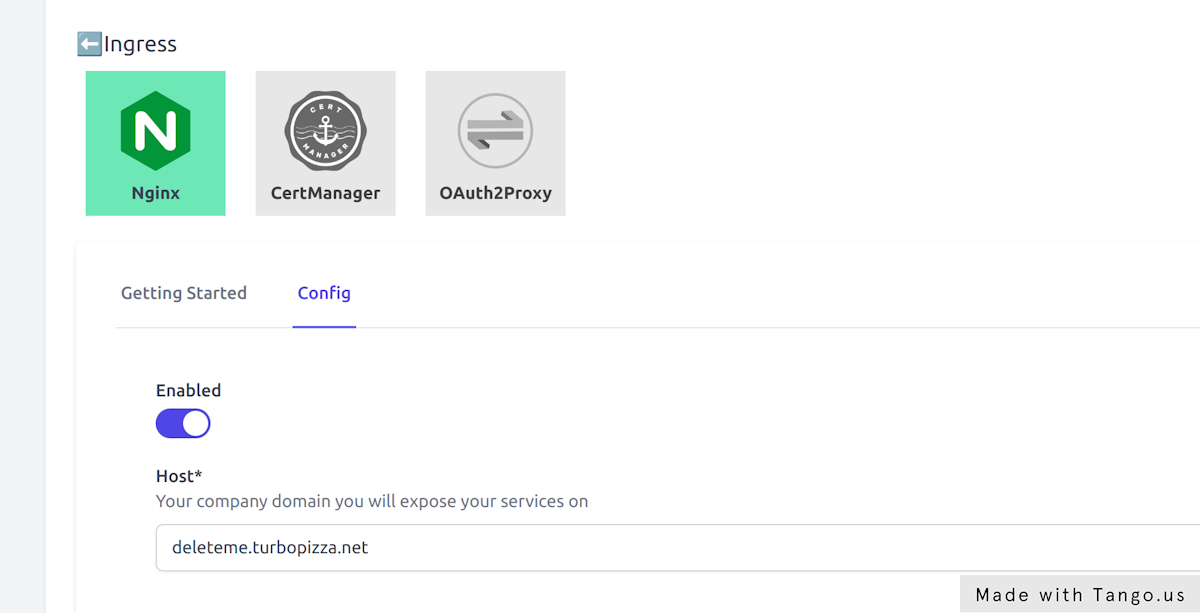
On the Config tab enable Nginx and provide the domain name you dedicate for this Gimlet environment.
Gimlet assumes a wildcard DNS entry to exist,
- so if this is your staging environment, you may set
staging.yourcompany.comin the host field and later you will create the*.staging.yourcompany.comDNS entry. - For the production environment you may set
yourcompany.comin the host field and later you will create the*.yourcompany.comDNS entry. Your existing subdomains under yourcompany.com, like docs.yourcompany.com and marketing.yourcompany.com will continue to work as in DNS, the more specific entries take precedence.
Hit Save components, inspect and merge the pull request that Gimlet creates in your infrastructure gitops repository.
You can monitor Nginx as it comes alive:
$ kubectl get pods -n infrastructure -w
NAME                                             READY   STATUS    RESTARTS      AGE
ingress-nginx-controller-66455d768d-v8pgh        1/1     Running   0             8s
or you can follow more closely the gitops automation.
Creating a DNS entry
Locate the IP address of the Nginx ingress controller, then set a wildcard domain name pointing to this IP.
$ kubectl get svc -n infrastructure

NAME                                 TYPE           EXTERNAL-IP
ingress-nginx-controller             LoadBalancer   74.220.27.134
Point *.testing.yourcompany.com to the Nginx public IP address, given that you named your environment testing and your preferred domain name is yourcompany.com. You can skip the testing prefix if this is your production environment.
Install Cert-Manager
Once you made sure that the DNS entry propagated, enable the Cert-Manager component under Infrastructure Components > Ingress > CertManager.
Follow the same process to review and merge the pull request.
Reconfigure Gimlet to use the domain name
When you started the installer with the curl -L -s https://get.gimlet.io | bash -s trial command, the trial parameter was the domain name and thus Gimlet is currently reachable on http://gimlet.trial:9000 using kubectl port-forward.
It is time to reconfigure your Gimlet to access it on your preferred domain name. To reconfigure your stack with gitops, you will follow the same process as with the Nginx ingress controller: navigate to Environments > your-env > Infrastructure components and locate Gimlet to edit it.
Gimlet should know about where it is hosted. Update the Gimlet > Config > Host setting to your preferred domain name. Use a full domain name with the protocol included eg.: https://gimlet.testing.yourcompany.com.
Press Infrastructure Components > Save components, review and merge the PR and watch how the gitops automation redeploys Gimlet.
Update OAuth configuration
For the OAuth authentication to work, you also need to update the URLs in Github or Gitlab.
Github
Edit your Github application settings on Github.com under Settings > Developer settings > GitHub Apps > Your Gimlet Application
- Update Homepage URL from
http://gimlet.trial:9000tohttps://gimlet.testing.yourcompany.com - Update Callback URL from
http://gimlet.trial:9000/authtohttps://gimlet.testing.yourcompany.com/auth - Update Webhook URL from
http://gimlet.trial:9000/hooktohttps://gimlet.testing.yourcompany.com/hook
Gitlab
TODO
Where to go next
Congratulations, now you can access Gimlet on your preferred domain name, like https://gimlet.testing.yourcompany.com and learned in the process how to configure infrastructure with gitops.
You can continue to
- deploy your first application from the dashboard, or from CLI
- or learn how to fully configure your Kubernetes cluster, also using only the CLI
Should you have any trouble installing or have questions join our community.