Getting started
Installing Gimlet
Welcome to Gimlet!
On this page you can learn how to install the open-source Gimlet on any Kubernetes cluster.
If you prefer to use our hosted SaaS platform, sign up here then skip ahead to connect a Kubernetes cluster.
Prerequisites
- A Github.com personal or organization account.
- A Kubernetes cluster running on your laptop or on a cloud provider. We recommend using k3d on your laptop if you are evaluating Gimlet. It takes only a single command to start one, and it runs in a container.
Launching k3d on your laptop - optional
K3d is a lightweight Kubernetes cluster that runs in a container on your laptop. At Gimlet, we use k3d solely for our local needs and we recommend you do the same.
Install k3d with:
curl -s https://raw.githubusercontent.com/k3d-io/k3d/main/install.sh | bash
Then launch a cluster:
k3d cluster create gimlet-cluster --k3s-arg "--disable=traefik@server:0"
Once your cluster is up, validate it with kubectl get nodes:
INFO[0000] Prep: Network
INFO[0000] Created network 'k3d-gimlet-cluster'
INFO[0000] Created image volume k3d-gimlet-cluster-images
INFO[0000] Starting new tools node...
INFO[0000] Starting Node 'k3d-gimlet-cluster-tools'
INFO[0001] Creating node 'k3d-gimlet-cluster-server-0'
INFO[0001] Creating LoadBalancer 'k3d-gimlet-cluster-serverlb'
INFO[0001] Using the k3d-tools node to gather environment information
INFO[0001] Starting new tools node...
INFO[0001] Starting Node 'k3d-gimlet-cluster-tools'
INFO[0002] Starting cluster 'my-first-cluster'
INFO[0002] Starting servers...
INFO[0003] Starting Node 'k3d-gimlet-cluster-server-0'
INFO[0009] All agents already running.
INFO[0009] Starting helpers...
INFO[0009] Starting Node 'k3d-gimlet-cluster-serverlb'
INFO[0016] Injecting records for hostAliases (incl. host.k3d.internal) and for 3 network members into CoreDNS configmap...
INFO[0018] Cluster 'my-first-cluster' created successfully!
INFO[0018] You can now use it like this:
kubectl cluster-info

$ kubectl get nodes
NAME                          STATUS   ROLES                  AGE   VERSION
k3d-gimlet-cluster-server-0   Ready    control-plane,master   11s   v1.26.4+k3s1
Install Gimlet with a oneliner
kubectl apply -f https://raw.githubusercontent.com/gimlet-io/gimlet/main/deploy/gimlet.yaml
Then access it with port-forward on http://127.0.0.1:9000
kubectl port-forward svc/gimlet 9000:9000
Admin password
You can find the admin password in the logs:
$ kubectl logs deploy/gimlet | grep "Admin auth key"
time="2023-07-14T14:28:59Z" level=info msg="Admin auth key: 1c04722af2e830c319e590xxxxxxxx" file="[dashboard.go:55]"
Alternative installation method
We generate the Kubernetes manifests from a Helm chart. You can use this configuration directly with Helm if you prefer.
helm template gimlet onechart/onechart \
  -f https://raw.githubusercontent.com/gimlet-io/gimlet/main/fixtures/gimlet-helm-values.yaml
For all Gimlet environment variables, see the Gimlet configuration reference.
Open-source product analytics
The open-source Gimlet is collecting non-identifyable product analytics data on Posthog's EU servers.
To turn this off, set the FEATURE_POSTHOG: false under .vars in the gimlet-helm-values.yaml file before yaml generation.
Basic configuration
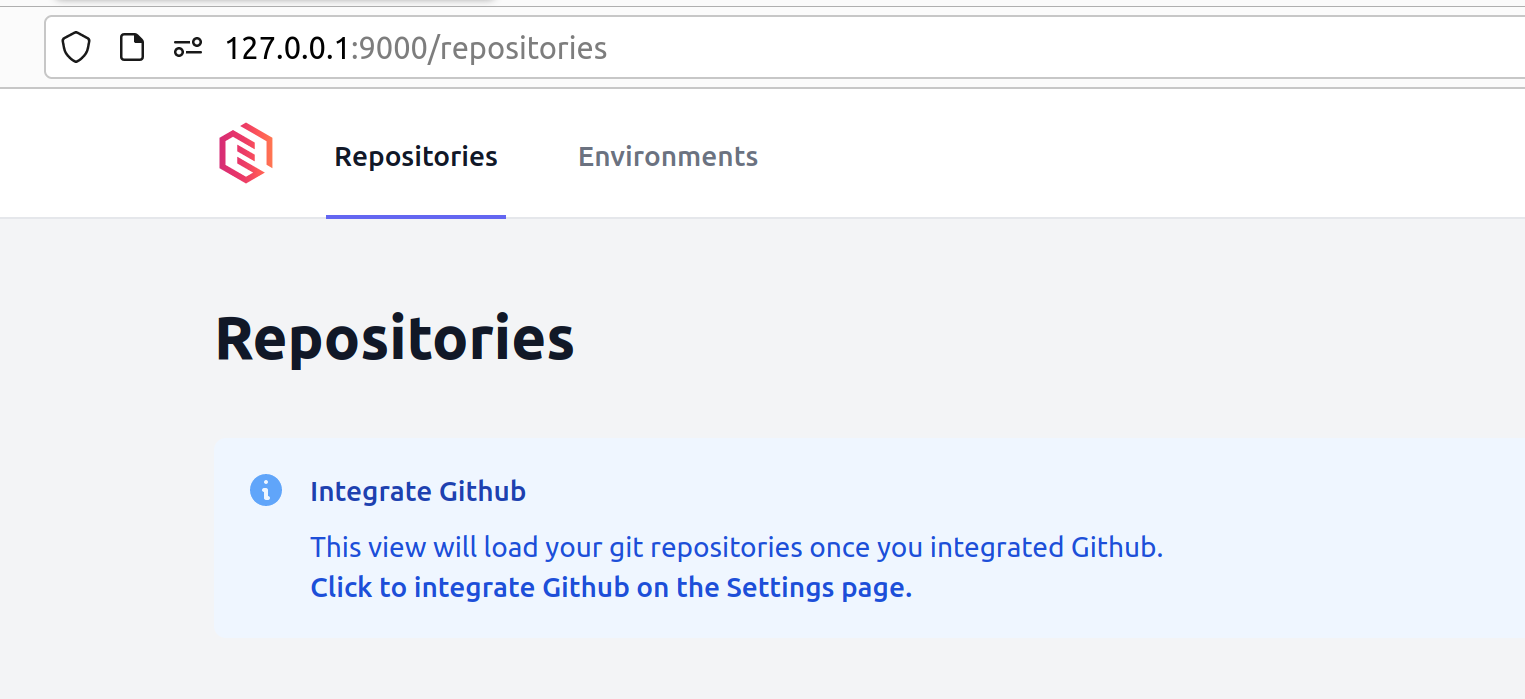
Connect your repositories
To connect your git repositories to Gimlet, follow the on-screen guides.
Important to note:
- When you integrate with Github, you don't give access to any third party or the makers of Gimlet.
- The integration allows for fine-grained permission grants. You can pick the repositories that you want to integrate with Gimlet.
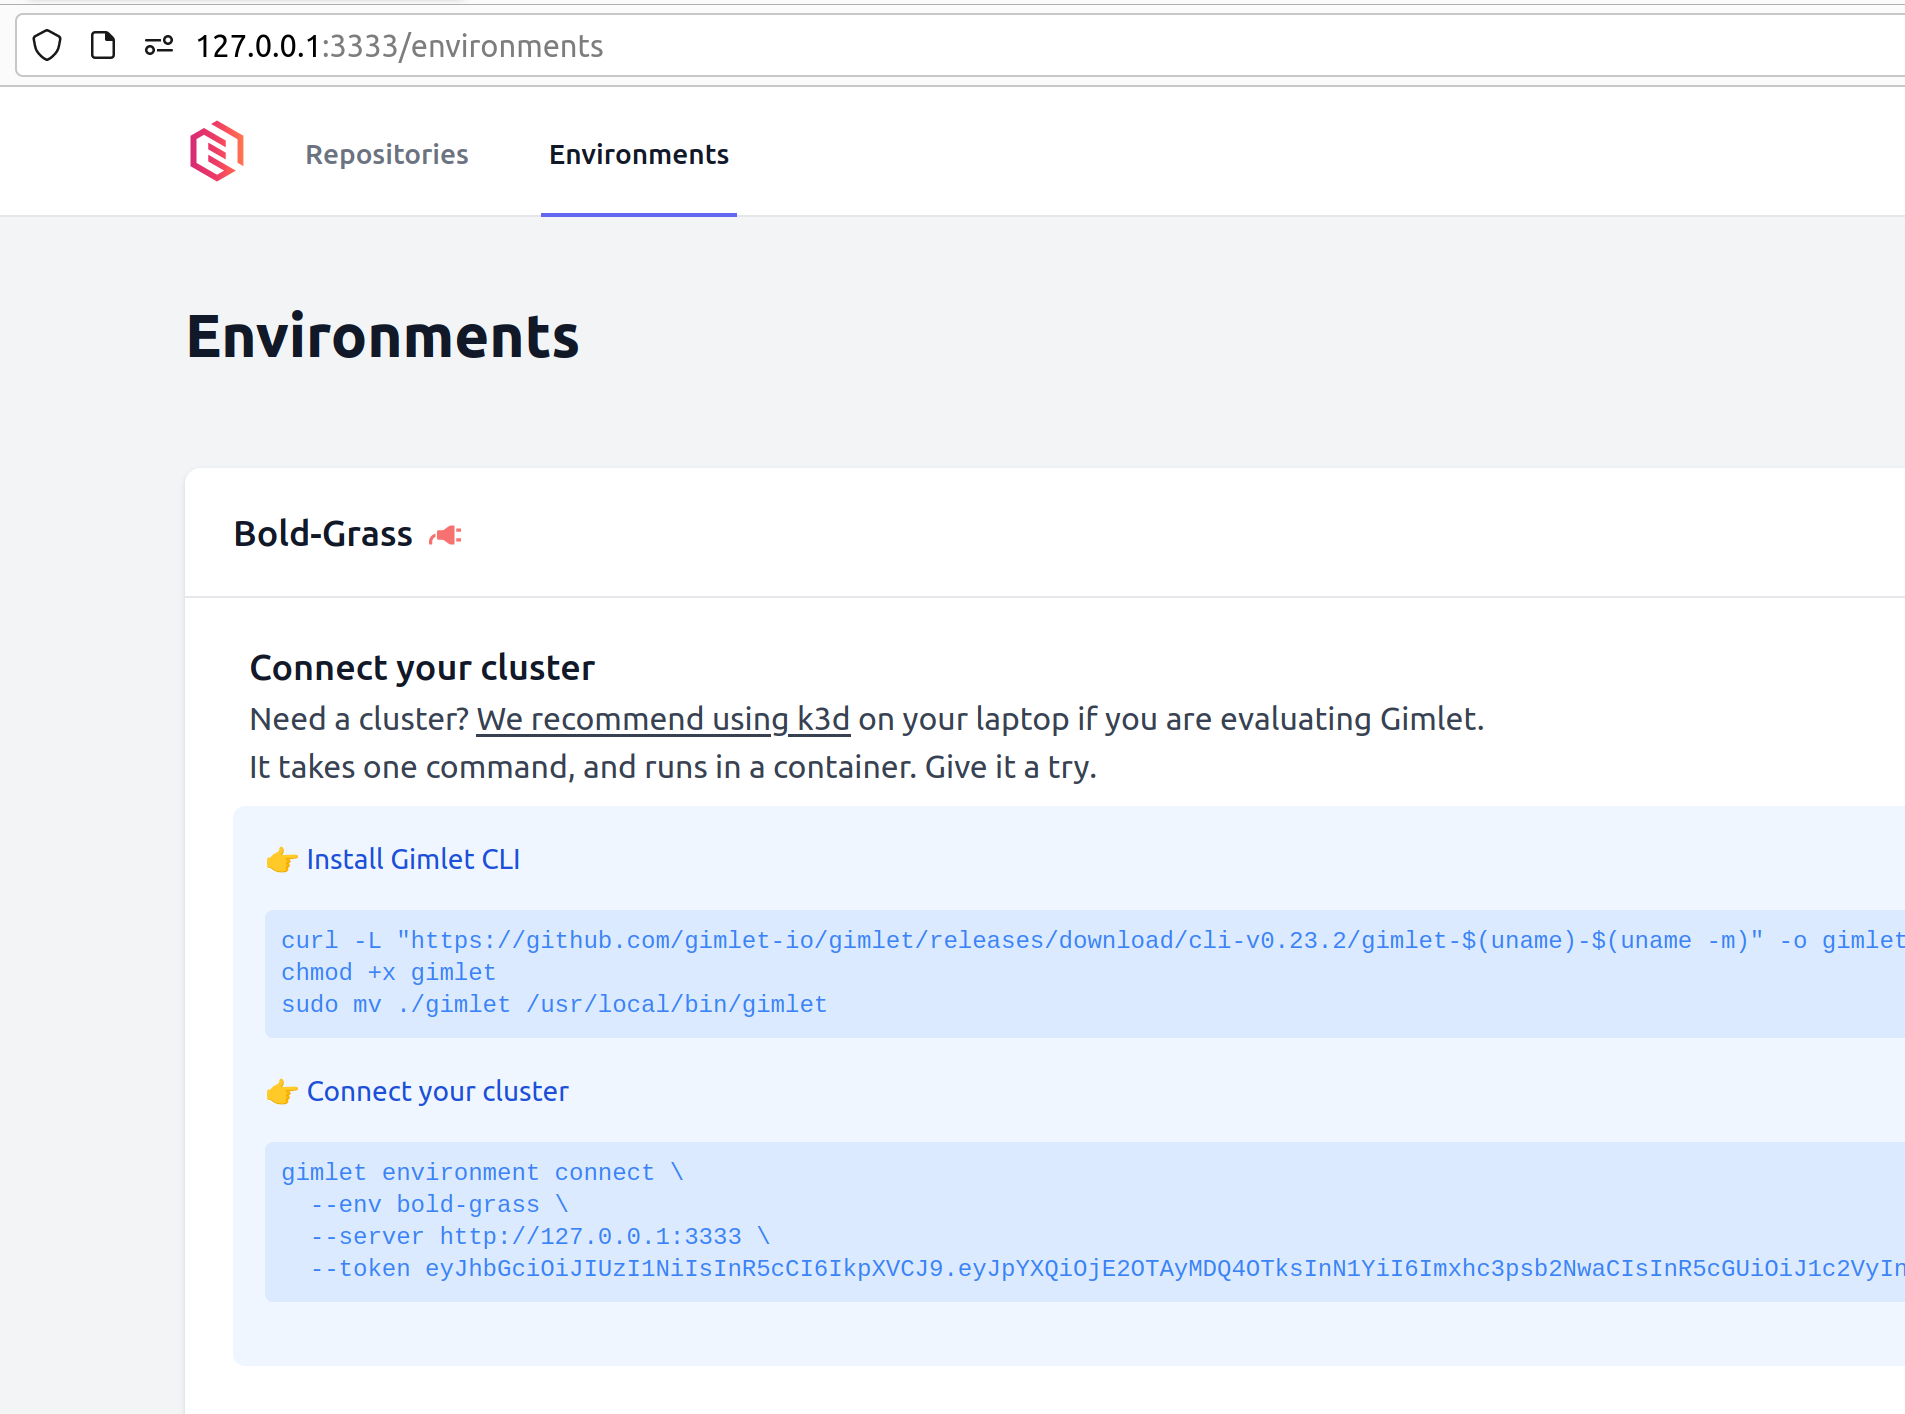
Connect your cluster
Navigate to the "Environments" tab.
Notice that Gimlet created a dummy environment for you. Normally you would call your environments staging or production, but this is a dummy environment, mine is called Bold Grass 🙃.
Follow the steps on screen to connect your cluster.
One cluster, two clusters, three clusters?
Use just one cluster while you are evaluating Gimlet.
Later, you can map a cluster to an environment and separate your testing and production environments.