Make Kubernetes an application platform with Gimlet CLI
You can't do much with an empty Kubernetes cluster. In this guide you will equip Kubernetes with the must have components to make it a real application platform.
You will install
- an ingress controller with SSL support
- a log aggregator
- a metrics collector
You will use the Gimlet CLI for this task.
This is the command line variation of the Make Kubernetes an application platform tutorial that used the Gimlet Dashboard to achieve this task. Skip this page if you prefer to use the dashboard.
Prerequisites
- An empty Kubernetes cluster to host a new environment that you are about to create.
If you don't have one we recommend using k3d on your laptop. If you do so, make sure to not install the built-in ingress controller k3d cluster create my-cluster --k3s-server-arg '--no-deploy=traefik'. Also note that you won't be able to set a DNS entry on your local cluster, so don't install Cert Manager later in the tutorial.
You need to have a GitHub account, or any other git provider that you know enough to translate the Github configuration instructions in this guide to the provider of your choice.
Admin access to your DNS provider.
Install the Gimlet CLI
curl -L https://github.com/gimlet-io/gimlet/releases/download/cli-v0.21.0/gimlet-$(uname)-$(uname -m) -o gimlet
chmod +x gimlet
sudo mv ./gimlet /usr/local/bin/gimlet
gimlet --version
Let's start by creating a git repository
Gimlet works with logical environments that can be mapped to clusters or namespaces within clusters.
To fully understand how to create and manage environments, in this tutorial you will create a dummy environment, install essential tools on it, and you will clean it up as the last step. Let's call this environment deleteme.
Create a private git repository where you will store the infrastructure configuration manifests of the deleteme environment. Following Gimlet's Gitops conventions use gitops-deleteme-infra as repository name.
Now that you have a gitops repository, let's bootstrap the gitops deployment cycle.
Bootstrap the gitops automation
To bootstrap the gitops automation, follow the Bootstrap gitops automation with Gimlet CLI tutorial and then return here.
Let the fun begin, install the Nginx ingress controller
Gitops is only as fun as the applications you are deploying with it. Let's configure now the infrastructure stack for your environment.
Run gimlet stack configure to bring up the configuration screen and locate Nginx among the components.
On the Config tab enable Nginx and provide the domain this environment will receive traffic on. Gimlet works with a wildcard DNS entry and puts all applications under the specified domain. Set deleteme.yourcompany.com as the domain name.
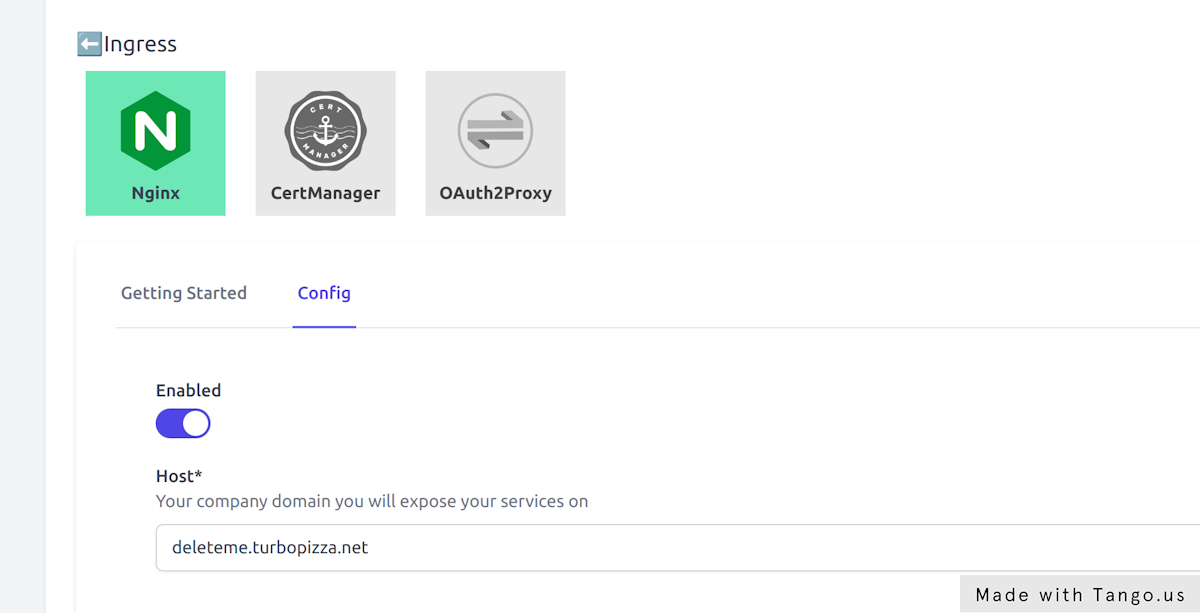
Once you enabled the component write the configuration with the red Close tab & Write values button.
This will not just write the stack configuration to the console, but also to the stack.yaml file which holds the complete configuration of your stack.
➜ gitops-deleteme-infra git:(master) ✗ stack configure
👩💻 Configure on http://127.0.0.1:24259
👩💻 Close the browser when you are done
Browser opened
Browser closed
📁 Generating values..
---
stack:
repository: https://github.com/gimlet-io/gimlet-stack-reference.git
config:
nginx:
enabled: true
host: deleteme.turbopizza.net
Should you made a mistake, just run gimlet stack configure again. It will read the stack configuration from the stack.yaml, and you can reconfigure it.
Generate Kubernetes manifests from your stack
The only thing left is to generate the manifests from the stack.yaml file that Kubernetes understands.
For that, run gimlet stack generate and verify the files that have been generated.
➜  gitops-deleteme-infra git:(master) ✗ git status
On branch master
Your branch is based on 'origin/master', but the upstream is gone.
  (use "git branch --unset-upstream" to fixup)

Untracked files:
  (use "git add <file>..." to include in what will be committed)
        examples/
        helm-releases/
        helm-repositories/
        manifests/
        stack.yaml
Add all files to git, then push it to origin main.
Once you pushed the generated manifests and the stack.yaml to git, the gitops workflow deploys it on your cluster.
Verify the installed stack
➜  kubectl get helmreleases.helm.toolkit.fluxcd.io -n infrastructure
NAME             READY   STATUS                             AGE
ingress-nginx    True    Release reconciliation succeeded   4m29s
➜  kubectl get pods -n infrastructure
NAME                                             READY   STATUS    RESTARTS   AGE
ingress-nginx-controller-569b78f477-pdssw        1/1     Running   0          5m1s
Should you not see the HelmReleases or pods, it is always a good practice to check the gitops controller logs:
kubectl logs -n flux-system -f deploy/source-controller
and
kubectl logs -n flux-system -f deploy/kustomize-controller
Set a wildcard DNS entry
Once the ingress-nginx pod running a Kubernetes service of type LoadBalancer is also placed on your cluster.
This service is exposing the ingress-nginx pod on an external IP address. This IP address is going to serve as the entry point to your cluster, and the ingress cluster will be the one that routes traffic to the specific ingress resources.
$ kubectl get svc -n infrastructure
NAME                                 TYPE           CLUSTER-IP      EXTERNAL-IP     PORT(S)                                                                                                             AGE
ingress-nginx-controller             LoadBalancer   10.100.70.254   34.141.219.81   80:30318/TCP,443:30102/TCP                                                                                          61d
To be able to access the ingress controller on a domain name, you have to place an A record in your DNS provider. Point *.deleteme.yourcompany.com to the IP address that you've seen in the kubectl get svc output.
Your external IP is pending?
It takes a couple of minutes for your cloud provider to allocate a load balancer and a public IP address for you.
If however your external IP remains in Pending state, you should join our community discord to get further help.
Install Grafana Loki, Prometheus and CertManager
Now that you have the ingress infrastructure in place, let's switch gears and enable several components at once.
At the end of this chapter you will have Grafana running on https://grafana.deleteme.yourcompany.com with logs and metrics coming from your cluster.
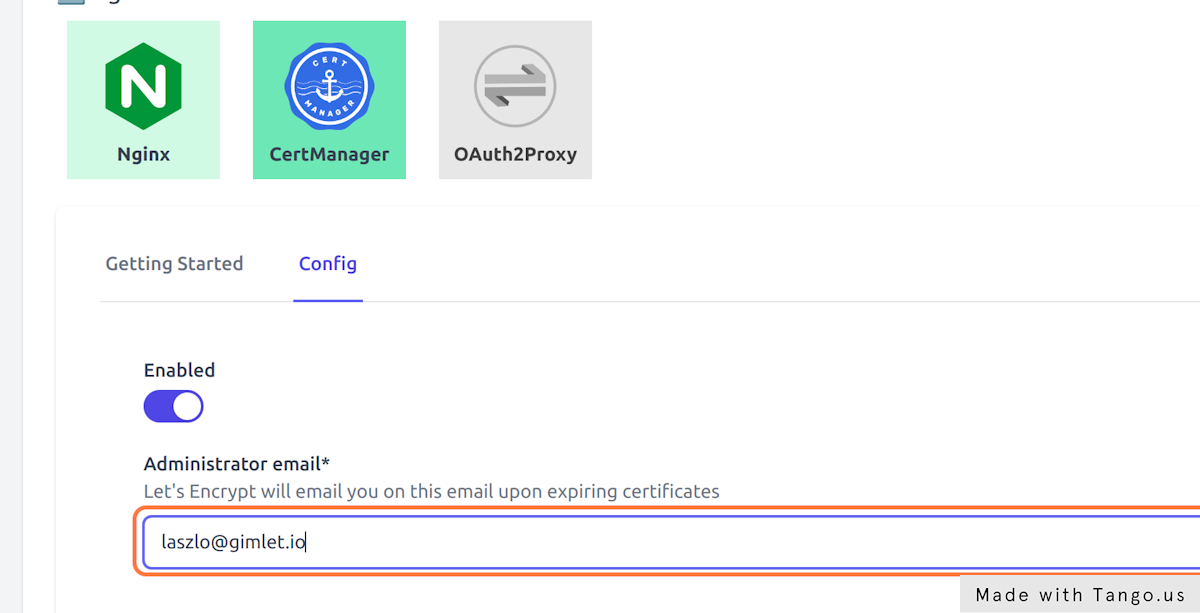
- Enable Cert Manager in Cert Manager > Config
- Provide an email address that will be used to inform you about expiring certificates
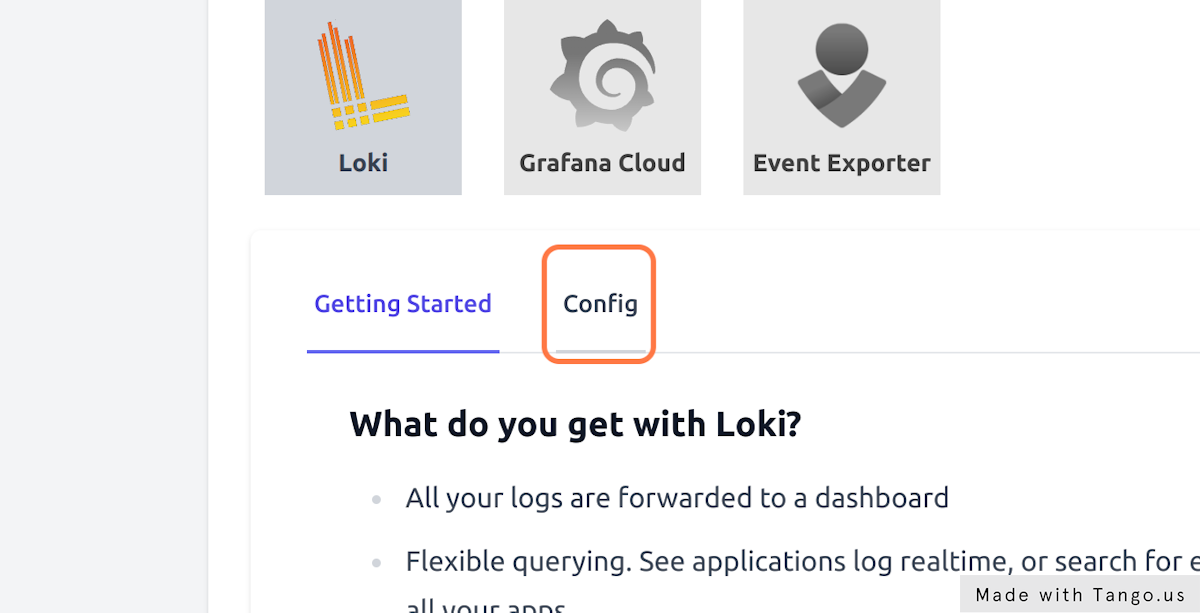
- Enable Loki in Loki > Config to gather all cluster logs
- Set Loki's retention days to 10
- And finally, enable Prometheus in Prometheus > Config to gather all cluster metrics
Hit Save components and inspect the gitops commit Gimlet made in the your-org/gitops-deleteme-infra repository.
You can monitor the pods as they come up:
$ kubectl get pods -n infrastructure -w
Verify metrics in Grafana
You can start using the built-in Grafana dashboards on the https://grafana.deleteme.yourcompany.com address.
The log in information is stored in a kubernetes secret, and you can get it if you follow the one-pager in Gimlet under _ Loki > Getting Started_
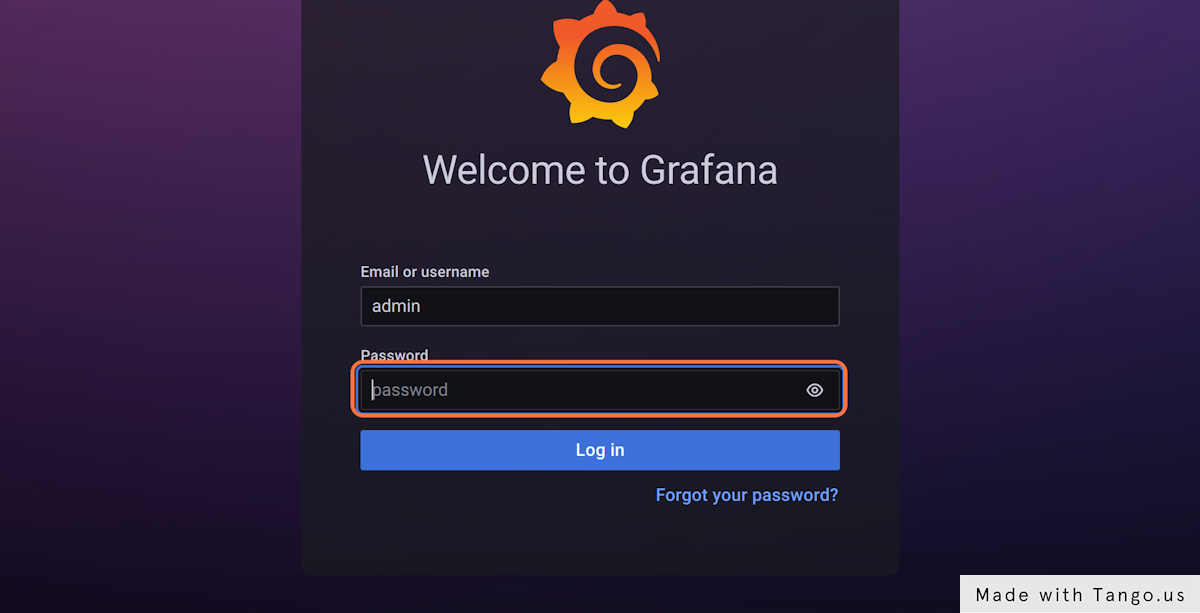
Use the username admin and get the password with this one-liner:
kubectl get secret grafana --namespace infrastructure --template='{{ index .data "admin-password"}}' | base64 -d
Cleanup
Congratulations, now you've learnt
- how to create a new Gimlet environment
- how to install and manage cluster components
- and you have great tooling to operate your applications.
Once you are confident in your knowledge, you can delete the dummy environment you created in this tutorial and start applying your knowledge in managing your testing and production environments.
To clean up
- delete your dummy cluster
- delete your
your-org/gitops-deleteme-infragit repository - delete your
your-org/gitops-deleteme-appsgit repository - delete the wildcard DNS entry
*.deleteme.yourcompany.com