Getting started
Using Dockerfile and CI
In this tutorial, you will integrate Gimlet into your CI workflow.
The CI pipeline will lint and test the code, then build a container image based on a Dockerfile. Then you are going to add the Gimlet Github Action to trigger a deployment to a dummy Kubernetes environment.
Finally you will access the deployed application via a port-forward.
You will use a fork of a sample application with a Dockerfile and CI workflow prepared.
Prerequisites
- You have finished the installation tutorial, thus you see your git repositories in Gimlet and you have connected a cluster.
Fork the example repository
Fork the gimlet-io/gimlet-sample-app repository.
It has a Dockerfile and a Github Actions workflow that tests and builds the code.
Build and push a container image from CI
You will add the container image build steps to the .github/workflows/build.yml file. But before you do so..
Create the container registry credentials
Create a Github Personal Access Token with write:packages scope. The CI workflow will use this token to push the built container image to the Github Packages registry.
If you are not sure how to create a Personal Access Token, you can follow this guide from Github.
Once you have the token, add it to your repository as Github Actions secret. Name the secret as PAT.
Add the container image build step
Now that you set up all dependencies, it is time to add the container image build step to the .github/workflows/build.yml.
- name: Login to GitHub Container Registry
  uses: docker/login-action@v2
  with:
    registry: ghcr.io
    username: ${{ github.repository_owner }}
    password: ${{ secrets.PAT }} # `PAT` is a secret that contains your Personal Access Token with `write:packages` scope

- name: 🚀 Build and push Docker image
  uses: docker/build-push-action@v3
  with:
    context: .
    push: true
    tags: ghcr.io/${{ github.repository }}:${{ github.sha }}
Commit the changes and push it to Github to watch it run in Github Actions.
Making the image public
Now you have a container image that is built on every git push. Good.
There is one more thing that you should set on the Github container registry. As of now the registry is private, and your cluster won't be able to pull the image from it.
Let's make it public for the simplicity of this tutorial. Don't worry, the gimlet-sample-app has nothing secretive inside. It is safe to make it public.
Navigate to https://github.com/users/<<youruser>>/packages/container/package/gimlet-sample-app and locate "Package settings" on the right sidebar.
"Change package visibility" to public.
Gimlet deployment configuration
It is time to configure the deployment in Gimlet.
Locate and open the forked repository on the "Repositories" tab, use the "Refresh repositories" button if necessary.
To configure the deployment, click the "New deployment configuration" button.
- Set
gimlet-sample-appas application name - Set the Basics > Image > Repository field to your Github container registry URL to
ghcr.io/<<youruser>>/gimlet-sample-app. Mind the placeholder. - Then set the "Tag" field to the image tag that you use on each git push.
You may have noticed that the CI workflow uses the git commit hash to tag container images.
Gimlet supports a set of built-in variables, so set {{ .SHA }} as tag to indicate that each deploy should use the matching git commit hash as a container image tag.
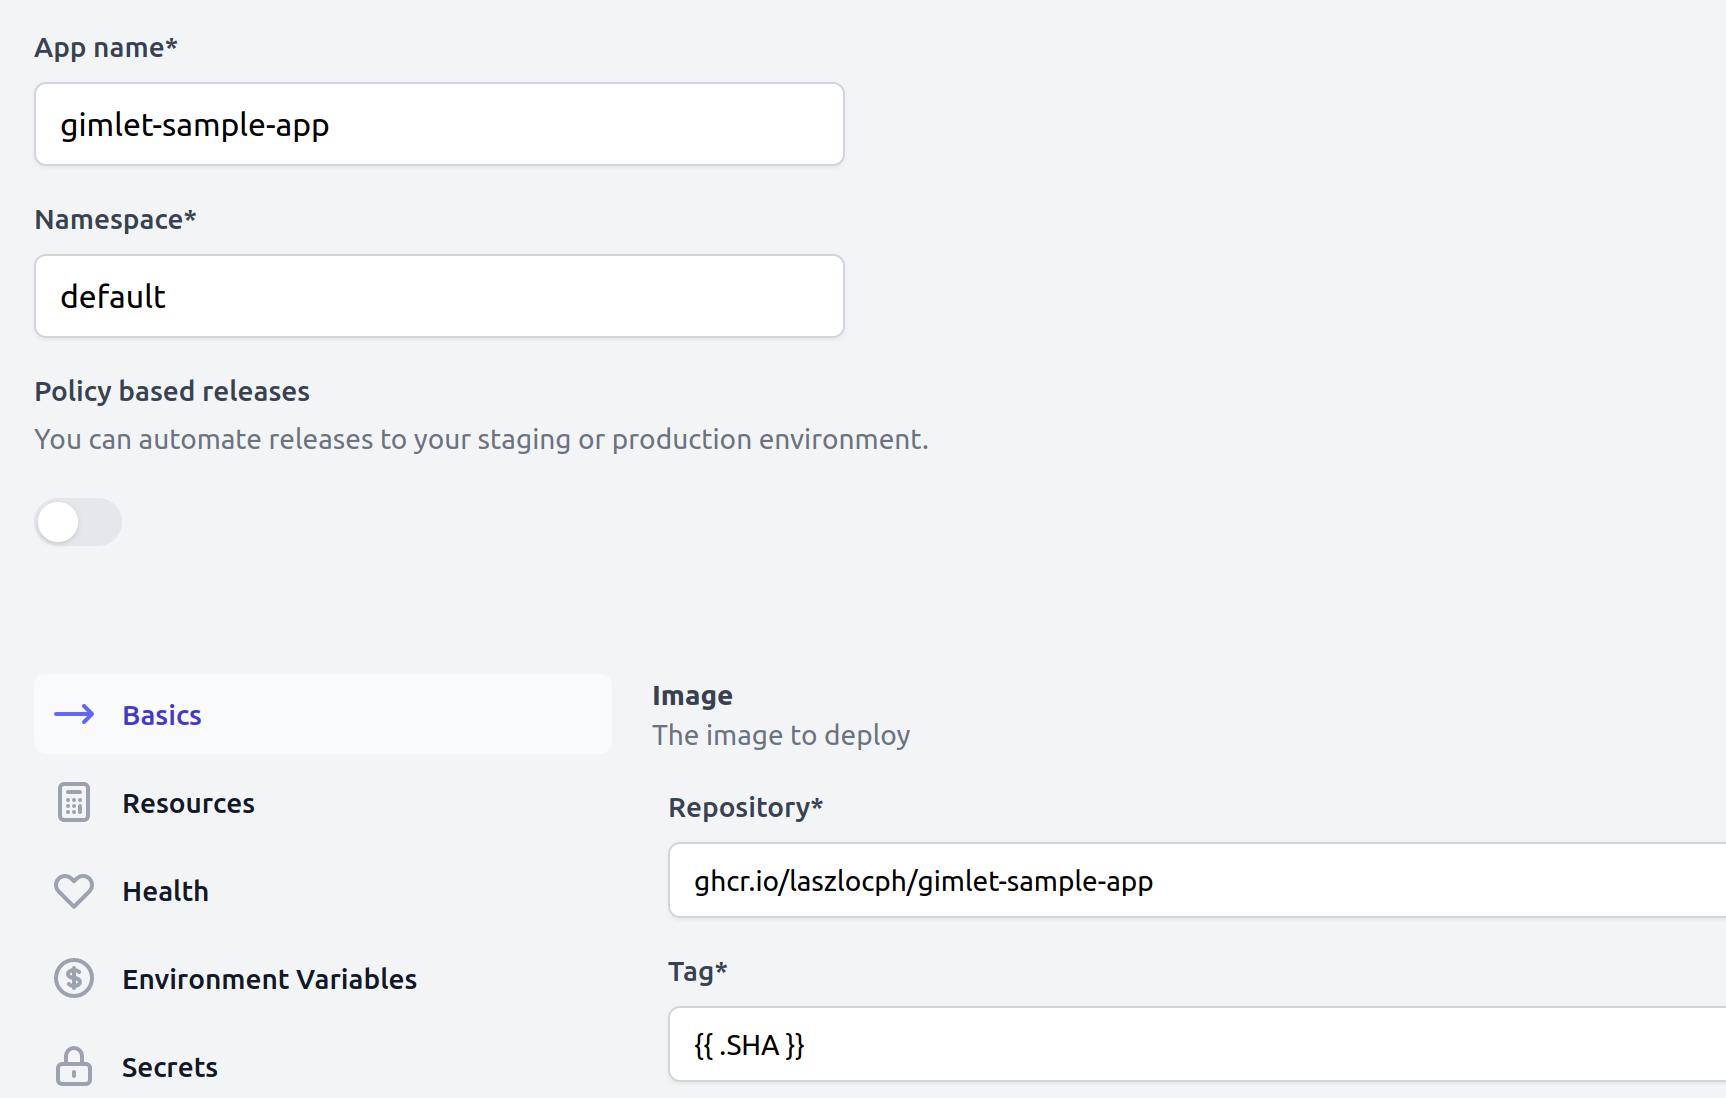
Save the environment configuration.
This opens a pull request to your forked git repository as Gimlet manifest files are stored under the .gimlet folder of your application source code repository. One file per environment.
Review and merge the pull request.
CI integration
Create a Gimlet API token
Click your avatar in the top right corner and navigate to the "Settings" page.
Add an API key now. Name it as github-actions-x-gimlet-sample-app and hit "Create" then make a note of the token for the next step.
Add the Gimlet Github Action step
The missing piece is integrating Gimlet with the CI workflow.
Gimlet provides CI plugins to most CI platforms.
Edit the .github/workflows/build.yaml file by adding the following step after the container image is built. It will call the Gimlet API and deploy the gimlet-sample-app to the brief-pond environment.
- name: 🍍 Deploy with Gimlet
  uses: gimlet-io/gimlet-artifact-shipper-action@v0.8.3
  env:
    GIMLET_SERVER: ${{ secrets.GIMLET_SERVER }}
    GIMLET_TOKEN: ${{ secrets.GIMLET_TOKEN }}
  with:
    DEPLOY: "true"
    ENV: "brief-pond"
    APP: "gimlet-sample-app"
Notice that the code refers to two secrets: GIMLET_SERVER and GIMLET_TOKEN.
Add these secrets on Github in the repository settings. If you are not sure how to add secrets for Github Actions, follow this guide.
GIMLET_SERVERshould be the url you access Gimlet on, likehttps://<<myinstance>>.gimlet.ioGIMLET_TOKENis the API token that you created just moments ago.
If you evaluate Gimlet locally
If you are running Gimlet on a local cluster and access it through a port-forward, normally Github Actions won't be able to talk to it.
In this case we recommend using ngrok.com and the ngrok http 127.0.0.1:9000 command to get a remotely accessible address for your local Gimlet. Put that address in the GIMLET_SERVER variable.
Access with port-forward
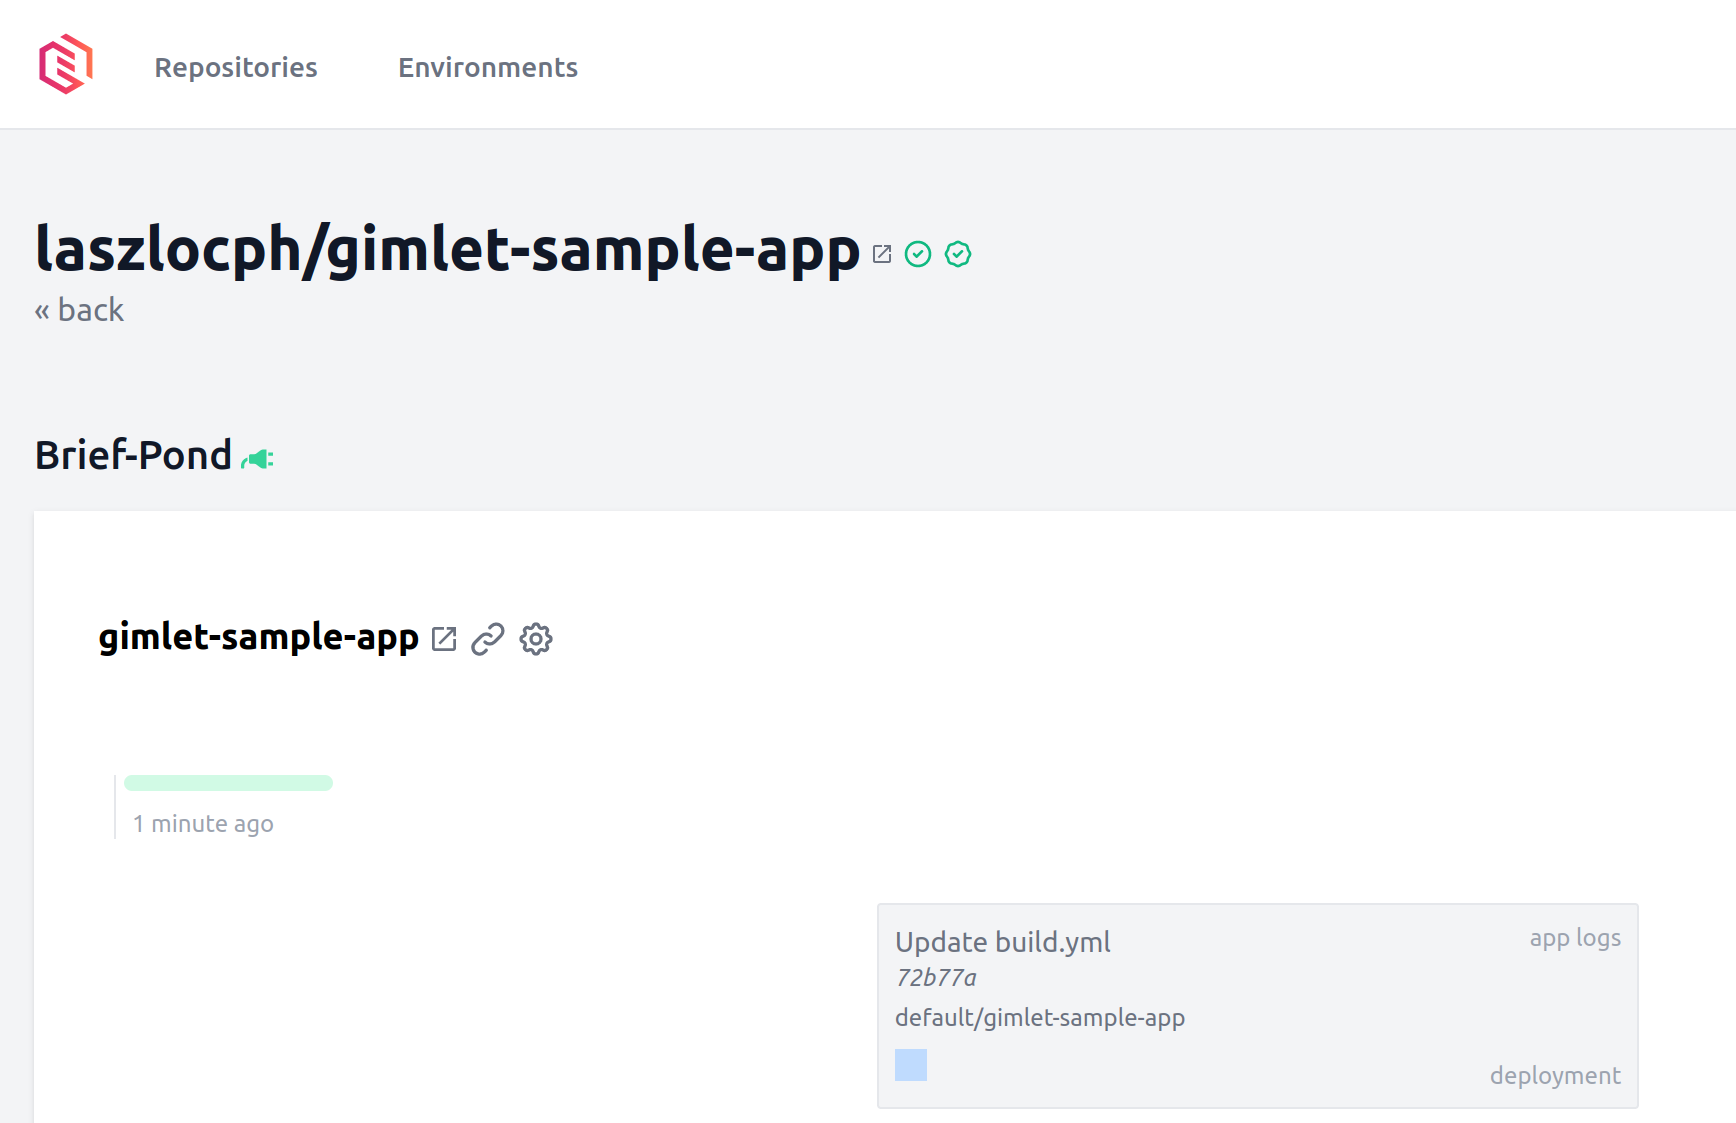
Once you committed the workflow changes, and CI ran successfully, you will see the deployed application in Gimlet.
Applications running on Kubernetes are only accessible on the internal container network by default.
To bridge this gap and to quickly validate your running application, you can forward your application's port to your laptop:
$ kubectl port-forward deploy/gimlet-sample-app 8080:80

Forwarding from 127.0.0.1:8080 -> 80
Forwarding from [::1]:8080 -> 80
Once forwarded, visit the application on http://127.0.0.1:8080 🎉