Getting started
Setting up DNS and HTTPS
In this tutorial, you will map a DNS name to your application and enable HTTPS.
Prerequisites
- An application that you deployed with Gimlet. Practically, you have finished the Deploying your first app tutorial.
- You need a real cluster that is capable of creating externally accessible load balancers. Practically any Kubernetes cluster that is running on a cloud provider.
- You are going to need a real domain name, or you can use the nip.io dynamic DNS service as this tutorial is going to.
Setting up an Nginx ingress controller
In this section you are going to install Nginx that will be accessible on a publicly accessible IP address.
This Nginx will be the reverse proxy that will route traffic to your application based on the host name.
Navigate to the "Environments" tab to get started.
Convert to a gitops environment to be able to make changes
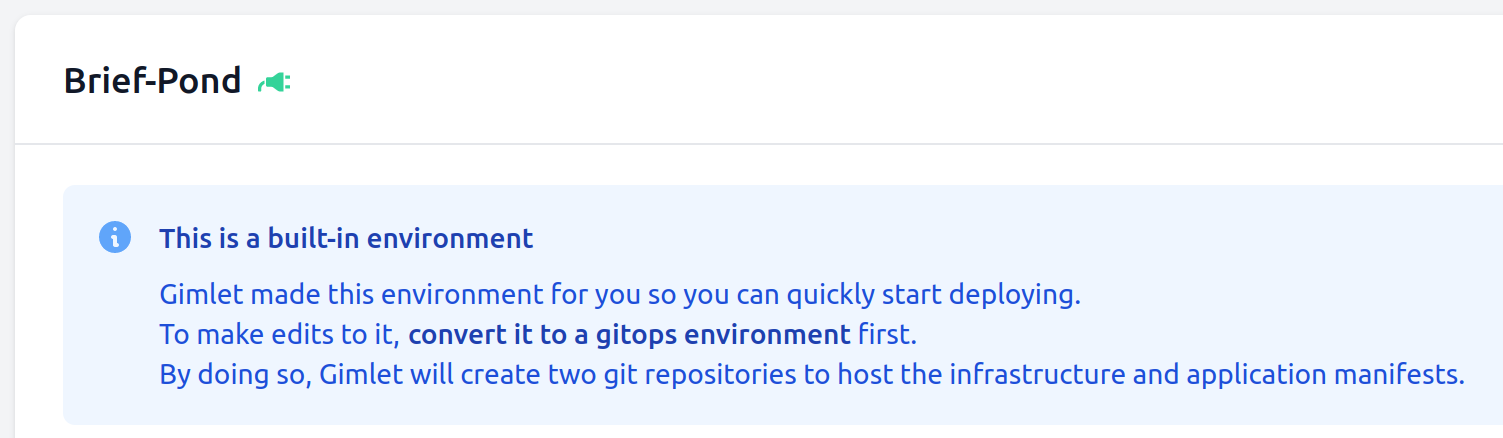
Gimlet generated a dummy environment at first start. You used that environment so far to deploy applications.
You are going to continue using this dummy environment in this tutorial and set up Nginx in it. But before you can make changes to this built-in environment, you have to convert it to a gitops environment. Practically, you have to push the "convert it to a gitops environment" link in the notice below.
It will create two repositories on Github, one for application manifests, and one for infrastructure manifests. It is a good time to inspect the contents now. These are the manifests that are synchronized to Kubernetes on every commit.
Enabling Nginx
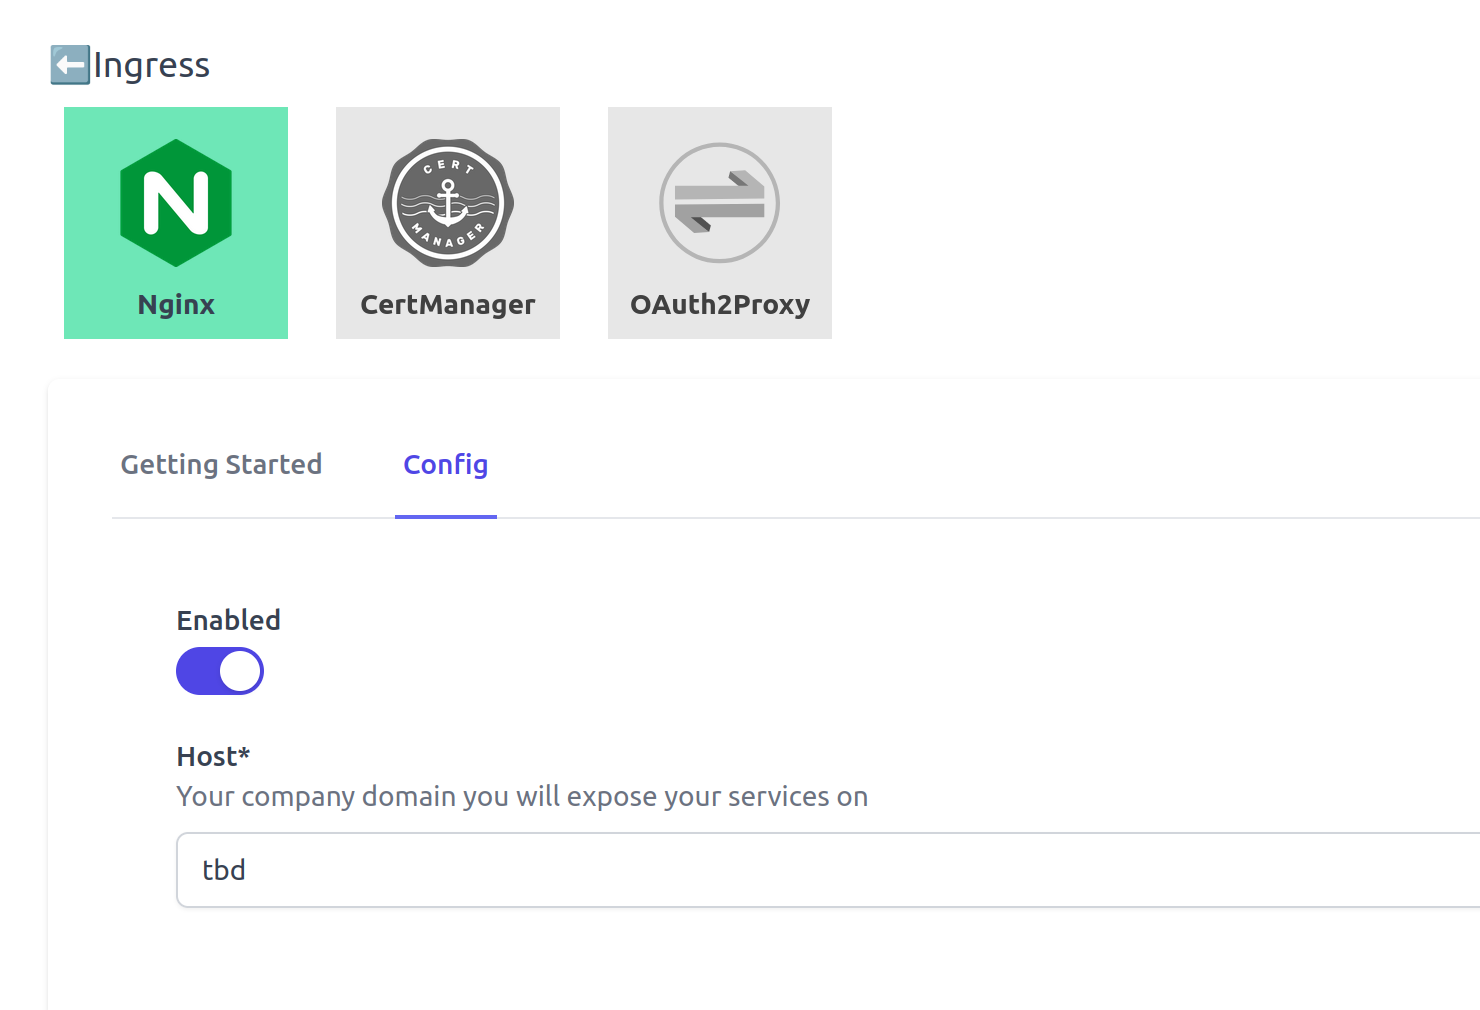
Enable Nginx under Environments > Brief-Pond > Infrastructure components tab > Nginx > Config tab, where brief-pond is the name of my dummy environment.
Set your domain name in the "Host" field.
Gimlet is using wildcard DNS entries to simplify DNS management, so if you dedicate every subdomain under test.mycompany.com to Gimlet, set this value in the Host field.
I don't have a real domain name for this tutorial, so I will set the value tbd for now and will update to a nip.io domain later in this tutorial once the external IP of Nginx is known.
Save the configuration with the "Save componentes" button. Inspect and merge the pull request that is created by Gimlet.
Once you merge the pull request, the changes will be synchronized to your cluster. You can track the synchronization status on the bottom toolbar.

Locate the external IP address
The Nginx deployment has a LoadBalancer service type in Kubernetes, thus the cloud provider will provision a cloud load balancer for it. It may take a couple of minutes until the load balancer is created.
Find the service IP address now.
$ kubectl get svc -n infrastructure

NAME                     TYPE           CLUSTER-IP      EXTERNAL-IP     AGE
registry                 NodePort       10.43.142.56    <none>          3m52s
image-builder            ClusterIP      10.43.232.222   <none>          3m51s
gimlet-agent             ClusterIP      10.43.22.124    <none>          3m51s
ingress-nginx-controller LoadBalancer   10.43.78.31     100.200.0.2     40s
Set an A record in your DNS provider to *.your-preferred-domain.com to this EXTERNAL IP.
E.g.: if you dedicate every subdomain under test.mycompany.com to Gimlet, set the A record to *.test.mycompany.com to this EXTERNAL IP address.
If you are using the nip.io dynamic DNS service like I do in this tutorial, *.100.200.0.2.nip.io will be the domain name where you are going to access applications in this tutorial. Also, if you are using nip.io, now is the time to go back and reconfigure Nginx-s tbd value to 100.200.0.2.nip.io. "Save components" to get the pull request, then merge to deploy it on the cluster. But you know the drill.
Map your application to the domain name
Now that the Nginx reverse proxy is accessible on a public IP address and a domain name, it is time to map your application to that domain name.
Edit application config
Navigate to the "Repositories" tab in Gimlet and pick your application repository.
Pick the environment configuration you want to edit, and click the cog wheel icon.
- On the "Basics" tab set the "Port" your app is listening on
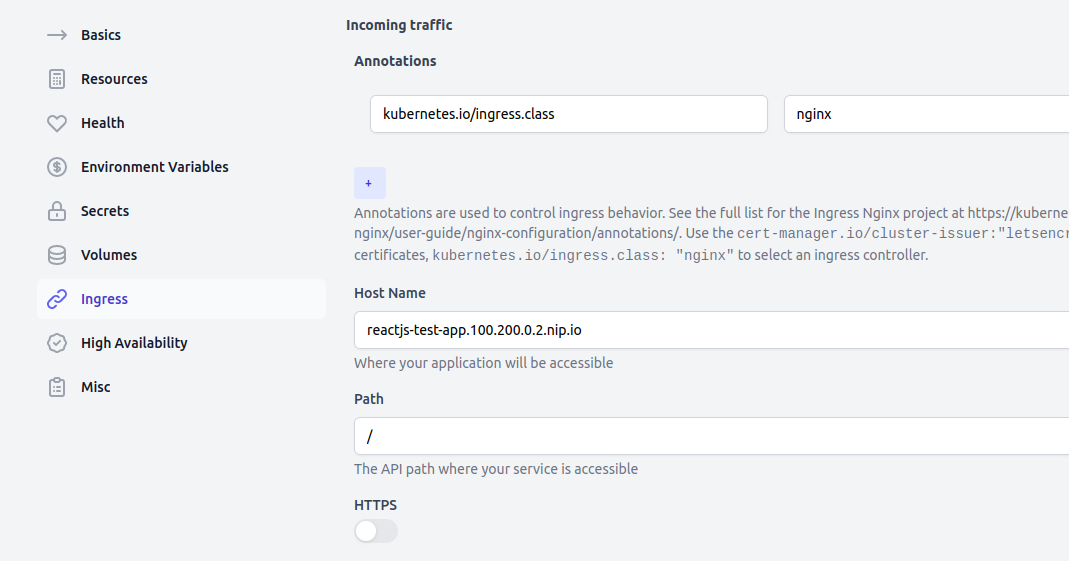
- Then on the "Ingress" tab set the following
- "Host Name" to
your-app.test.mycompany.comif you expose services undertest.mycompany.com. In this tutorial I use nip.io so I set the host name toreactjs-test-app.100.200.0.2.nip.io - and add an "Annotation" with key
kubernetes.io/ingress.classand valuenginx. This some Kubernetes specific boilerplate, this is how we tell Kubernetes to associate theIngressresource to Nginx.
- "Host Name" to
Press save, then inspect and merge the pull request.
Navigate back to the repository, refresh the commits if necessary, then deploy the latest commit.
Access on the domain name
Open the application now on the configured domain name, like on http://reactjs-test-app.100.200.0.2.nip.io in my case.
Enable HTTPS
To get free SSL certificates from Let's Encrypt, let's deploy the Cert-Manager component.
Install Cert-Manager
Enable Cert-Manager under Environments > Brief-Pond > Infrastructure components tab > Cert-Manager > Config tab, where brief-pond is the name of my dummy environment.
Save components, then merge the pull request like you did earlier with the Nginx component.
Reconfigure app ingress to use Cert Manager
To tell Cert-Manager to provision new SSL certificates for your application, edit the application deployment configuration again.
On the "Ingress" tab toggle the HTTPS field, then add an annotation with key cert-manager.io/cluster-issuer and value letsencrypt.
Save the configuration, merge the pull request then redeploy the application.
Open the application now on the configured domain name, like on https://reactjs-test-app.100.200.0.2.nip.io in my case., this time over a secured connection. 🎉
The SSL certificate is still missing?
It takes about a minute for Cert-Manager to provision the certificate. Anything more indicates an issue. Join our Discord community to get help.
Please note that Let's Encrypt does not issue certificates for nip.io domains.