Guides
Configuring notifications
In this guide, you will learn how to configure Slack/Discord notifications and route to different channels.
Configuring a notifications provider
| Environment Variable | Description |
|---|---|
NOTIFICATIONS_PROVIDER | The provider or service used for sending notifications. It can be slack or discord. |
NOTIFICATIONS_TOKEN | The token or credentials for accessing the notifications provider. |
NOTIFICATIONS_DEFAULT_CHANNEL | The default channel or destination for sending notifications. Like "general" |
NOTIFICATIONS_CHANNEL_MAPPING | Mapping channels or destinations for sending notifications. eg.: "staging=staging-deploys,production=production-deploys" |
Generating a Slack token
First, create a Slack app
To generate a new Slack token, visit the https://api.slack.com/apps page and follow these steps:
- Create a new application. "App Name" is Gimlet, pick your workspace as "Development Slack Workspace"
- Navigate to "OAuth & Permissions" on the left sidebar
- Under "Bot Token Scopes", add scopes
chat:write,chat:write.customizeandchat:write.public - Click the "Install App to Workspace" button on the top of the page
- Once you installed the app, copy the "Bot User OAuth Access Token"
NOTIFICATIONS_PROVIDER: slack
NOTIFICATIONS_TOKEN: xoxb-41[...]
NOTIFICATIONS_DEFAULT_CHANNEL: general
Or if you prefer Discord
- First, make sure you’re logged in on the Discord website.
- Navigate to the application page: https://discord.com/developers/applications
- Click on the “New Application” button.
- Enter "Gimlet" and confirm the pop-up window by clicking the "Create" button.
- Create a bot by navigating to the “Bot” tab, and clicking the “Build-A-Bot” button.
- Click the "Add Bot" button on the right and confirm the pop-up window by clicking the "Yes, do it!" button.
- After you received the "A wild bot has appeared!" message, copy your bot token from the "Build-A-Bot" submenu.
- Navigate to "OAuth2" -> "URL Generator" on the left panel.
- Check "Bot" in Scopes and check "Send Messages" in "Bot Permissions" -> "Text Permissions".
- Copy your generated URL from the bottom of the page, and open it in a new tab.
- Select the server you would like to add your bot to, and click "Continue". You can only select servers on which you have admin privileges. Make sure the "Send Messages" option is checked, before clicking on the "Authorize" button.
- After the security check, your bot will automatically join the server.
- The final step is to get the channel ID of the channel where you would like to get notifications. In order to do that, first you need to go to "User Settings" -> "Advanced", and enable "Developer Mode". This will allow you to see and copy your channel IDs.
- Now you can copy your text channel ID on Discord's main page by right clicking on the desired channel in the left panel and choosing the "Copy ID" option.
- Make sure that the newly created bot is a member of your channel. Use the "Add members or roles" button in the channel to invite your bot's role.
NOTIFICATIONS_PROVIDER: discord
NOTIFICATIONS_TOKEN: OTQwO[...]
NOTIFICATIONS_DEFAULT_CHANNEL: "140971232847884321"
Routing notifications
Default channel
NOTIFICATIONS_DEFAULT_CHANNEL is a catch all for all notifications that are not routed elsewhere.
Per environment routing
NOTIFICATIONS_CHANNEL_MAPPING Maps channels to environments.
To route staging notifications to the staging-deploys channel, change the following:
NOTIFICATIONS_PROVIDER: discord
NOTIFICATIONS_TOKEN: OTQwO[...]
NOTIFICATIONS_DEFAULT_CHANNEL: "general"
- NOTIFICATIONS_CHANNEL_MAPPING: "production=production-deploys"
+ NOTIFICATIONS_CHANNEL_MAPPING: "production=production-deploys,staging=staging-deploys"
Per application routing
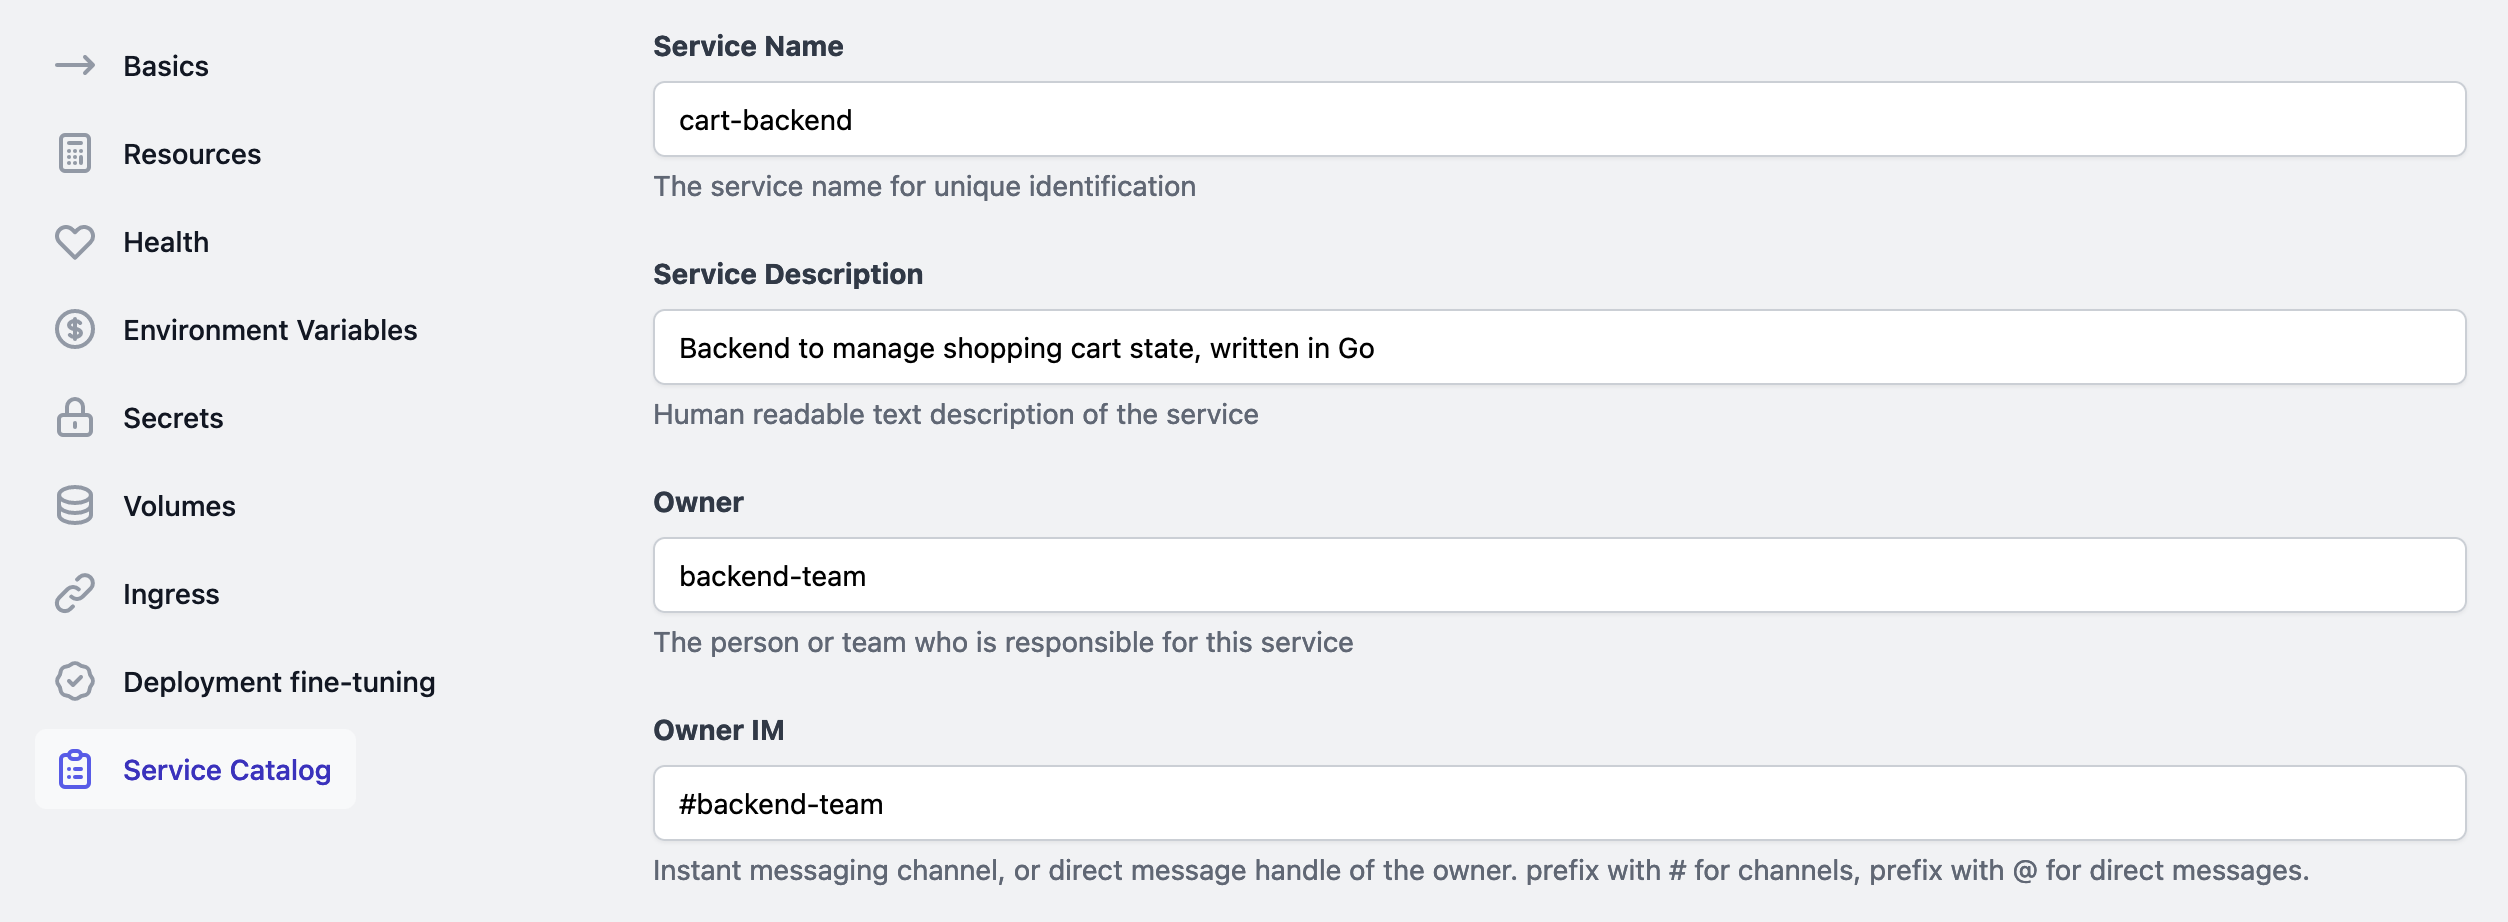
To route notifications of a Gimlet application to a channel, set the service catalog field Owner IM. Use @ sign to send direct message instead of a message to a channel.