Deploying a Streamlit App Using Github Container Registry and Gimlet

Youcef Guichi
Deploying applications does not have to be complicated! In this guide, i will walk you through how to deploy a Streamlit app using GitHub Container Registry and Gimlet in a few easy steps.
You will learn how to set up your GitHub repository with Gimlet, configure the deployment settings, and finally, launch your app with just a few clicks.
Plus, I will cover how to manage new versions and roll back to previous ones seamlessly. Ready to get your app live? Let’s dive in!
What You Will Need ?
- A Streamlit app ready for deployment. Don’t have one? No worries! You can easily fork this Streamlit app repository to follow along.
- A CI (Continuous Integration) process to push images to GitHub's container registry. If you are unsure about that, you can take a look at an example here.
Setup Gimlet
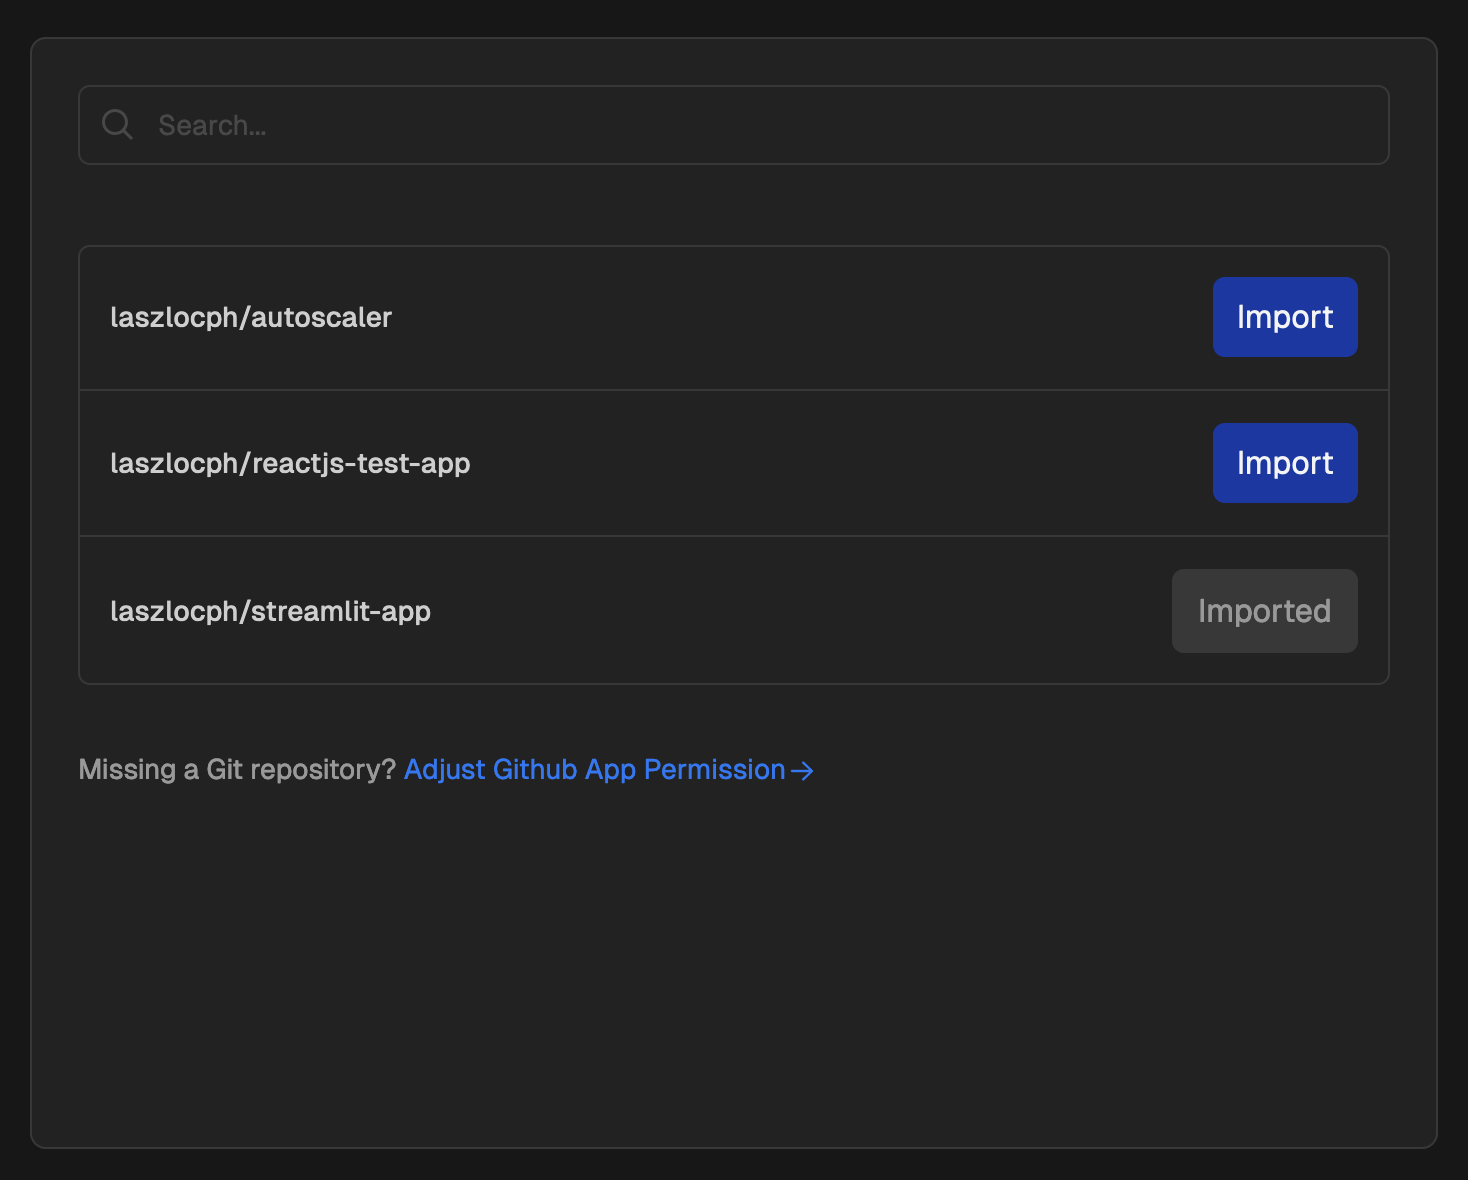
First, log into Gimlet on https://gimlet.io using either your GitHub account. After you are logged in, you should see a list of repositories linked to your account. Or you can use the search bar to find it.
When you locate it, click the Import button next to the repository, and then hit I am done importing to save your selection.
And Voila! You have just connected your project to Gimlet!
Before we start the magic, let's first connect gimlet to Github Container Registry, this step is needed so you can work with private registries, as we assume most of your packages are private!
Connect Gimlet to Github Container Registry
Now, let’s link your GitHub Container Registry to Gimlet so it knows where to pull the app images from.
Get Your GitHub Personal Access Token
First, you will need a Personal Access Token (PAT) from GitHub. Make sure it has repo and write:packages permissions. If you don't know how to do it, please visit this link GitHub's documentation.
GitHub Container Registry Settings in Gimlet
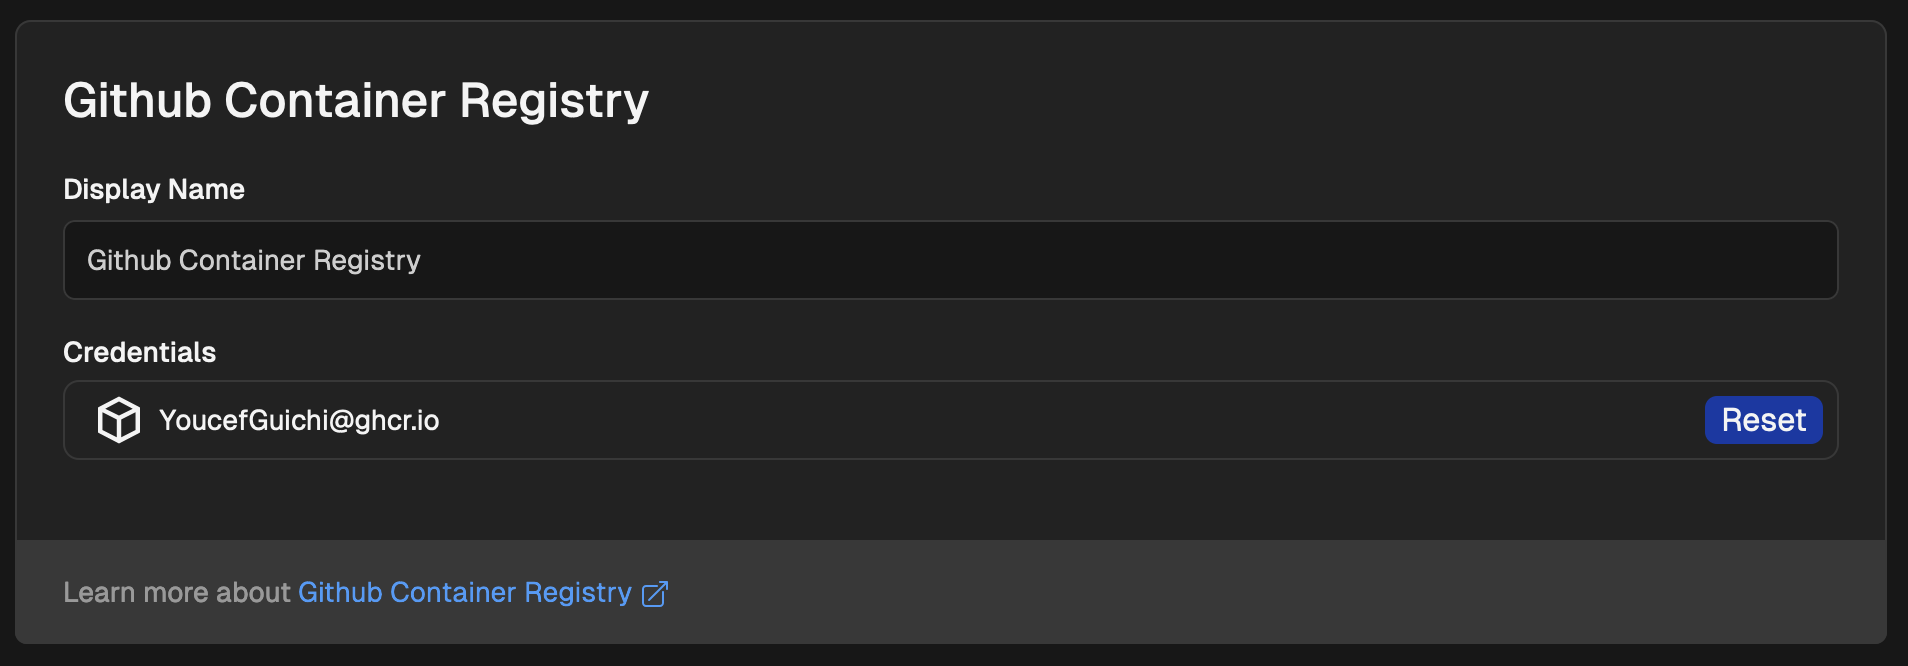
Once you have got your token, log back into Gimlet. Head to your environment settings by clicking Environments in the top menu and selecting your environment.
In the environment settings, choose the Container Registry tab on the left. Under the GitHub Container Registry settings, enter the following:
- Login: Your GitHub username.
- Token: The personal access token that you generated from github earlier.
That's it! Easy peasy!
Alright no more go here and there, DEPLOY TIME!
Set Up Deployment in Gimlet
- Navigate to your repository’s card in Gimlet and hit the New deployment button.
- Choose the Web Application Template and select Build with CI for the container image option.
- Set Gimlet Registry to GitHub Container Registry, and for the Port, enter
8501(which is the default for our Streamlit app example).
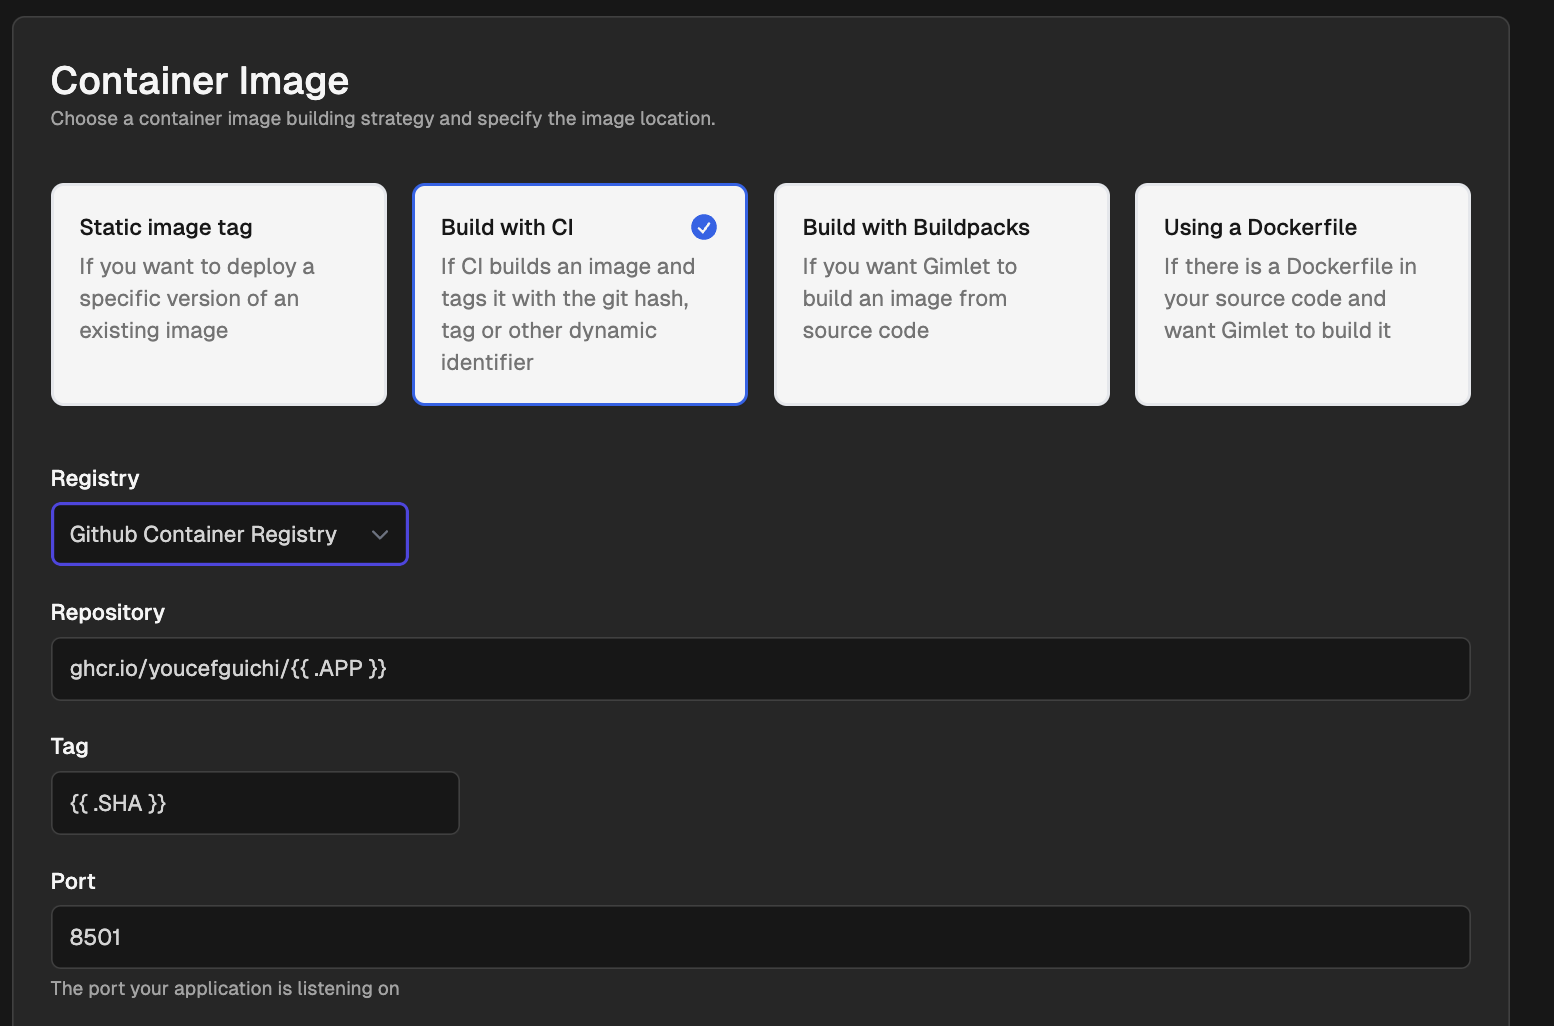
That’s it! Your deployment settings are ready to go.
Deploy, Deploy, Deploy
All set? Now, hit Deploy. You should see deployment logs appear immediately, showing you the progress. When your app’s container status changes to Running, Congrats!!
You can click on the app link under Address
Don't firget to click write configuration to git tp persist your application.
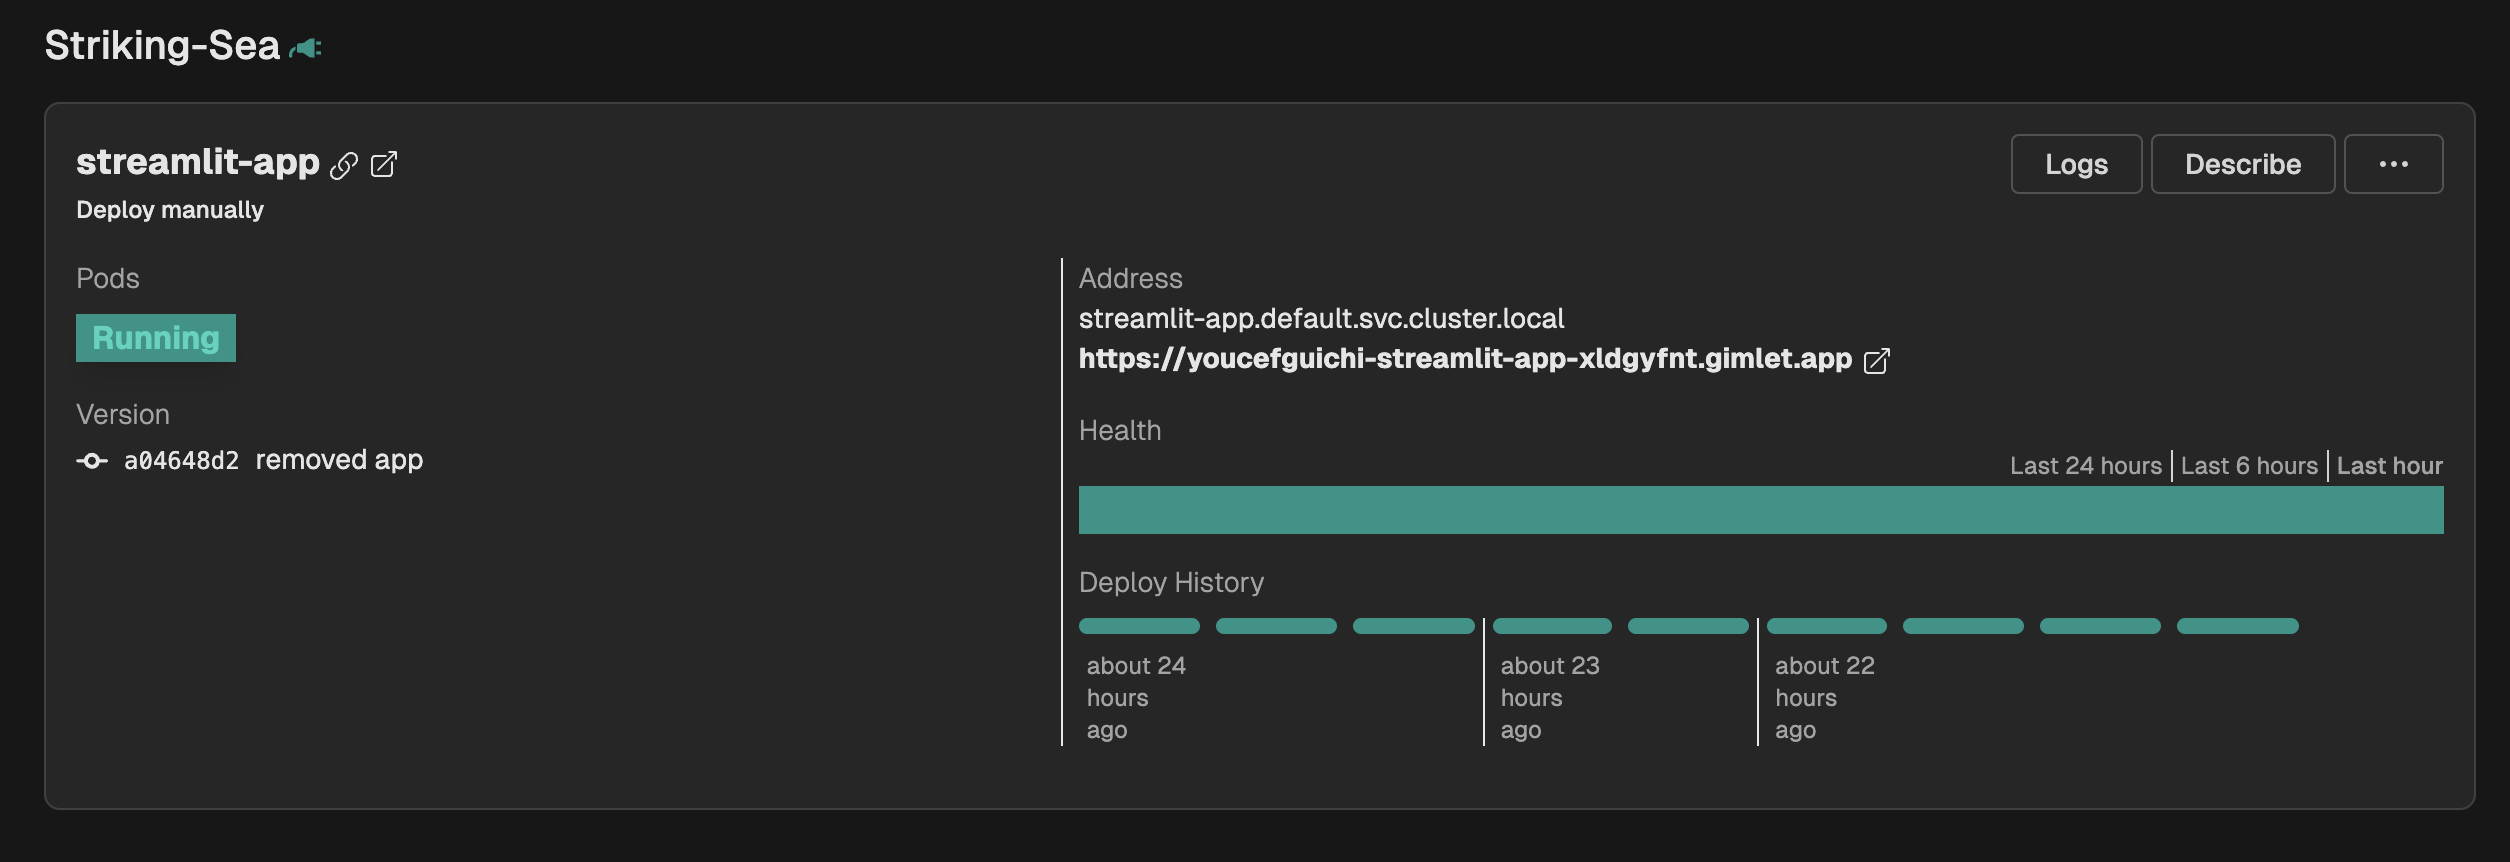
Now your app will be listed under Deployments
Deploy New Version and Perform Rollbacks
But wait, i want to rollback and deploy a new version also!
Who does not love, deploy -> rollback
I will break down the process into two parts CI and CD
CI
Your application should have a process in place to build an image, tag it, and push it to a container registry, which in our case is GitHub's container registry.
Once your CI process is complete, you can move on to using Gimlet.
CD
In the CD process, we ensure that your image is delivered to the correct environment, allowing users to start using it.
If you navigate to the commits section, you will see the list of commits for your application.

When you click deploy, Gimlet will select the commit hash and write the configuration to Git.
What about rollbacks? Since all your images are tagged with commit hashes, you can deploy any commit hash at any point. We consider this a roll forward operation.
Rollback
Gimlet's rollback feature guarantees verbatim matching of any previous manifest that havs ever been deployed to Kubernetes. Gimlet is using a write only stream of git commits as Kubernetes state, hence we can revert to any previous git version.
Open the deployment history on your service card, and roll back to any previous released version.
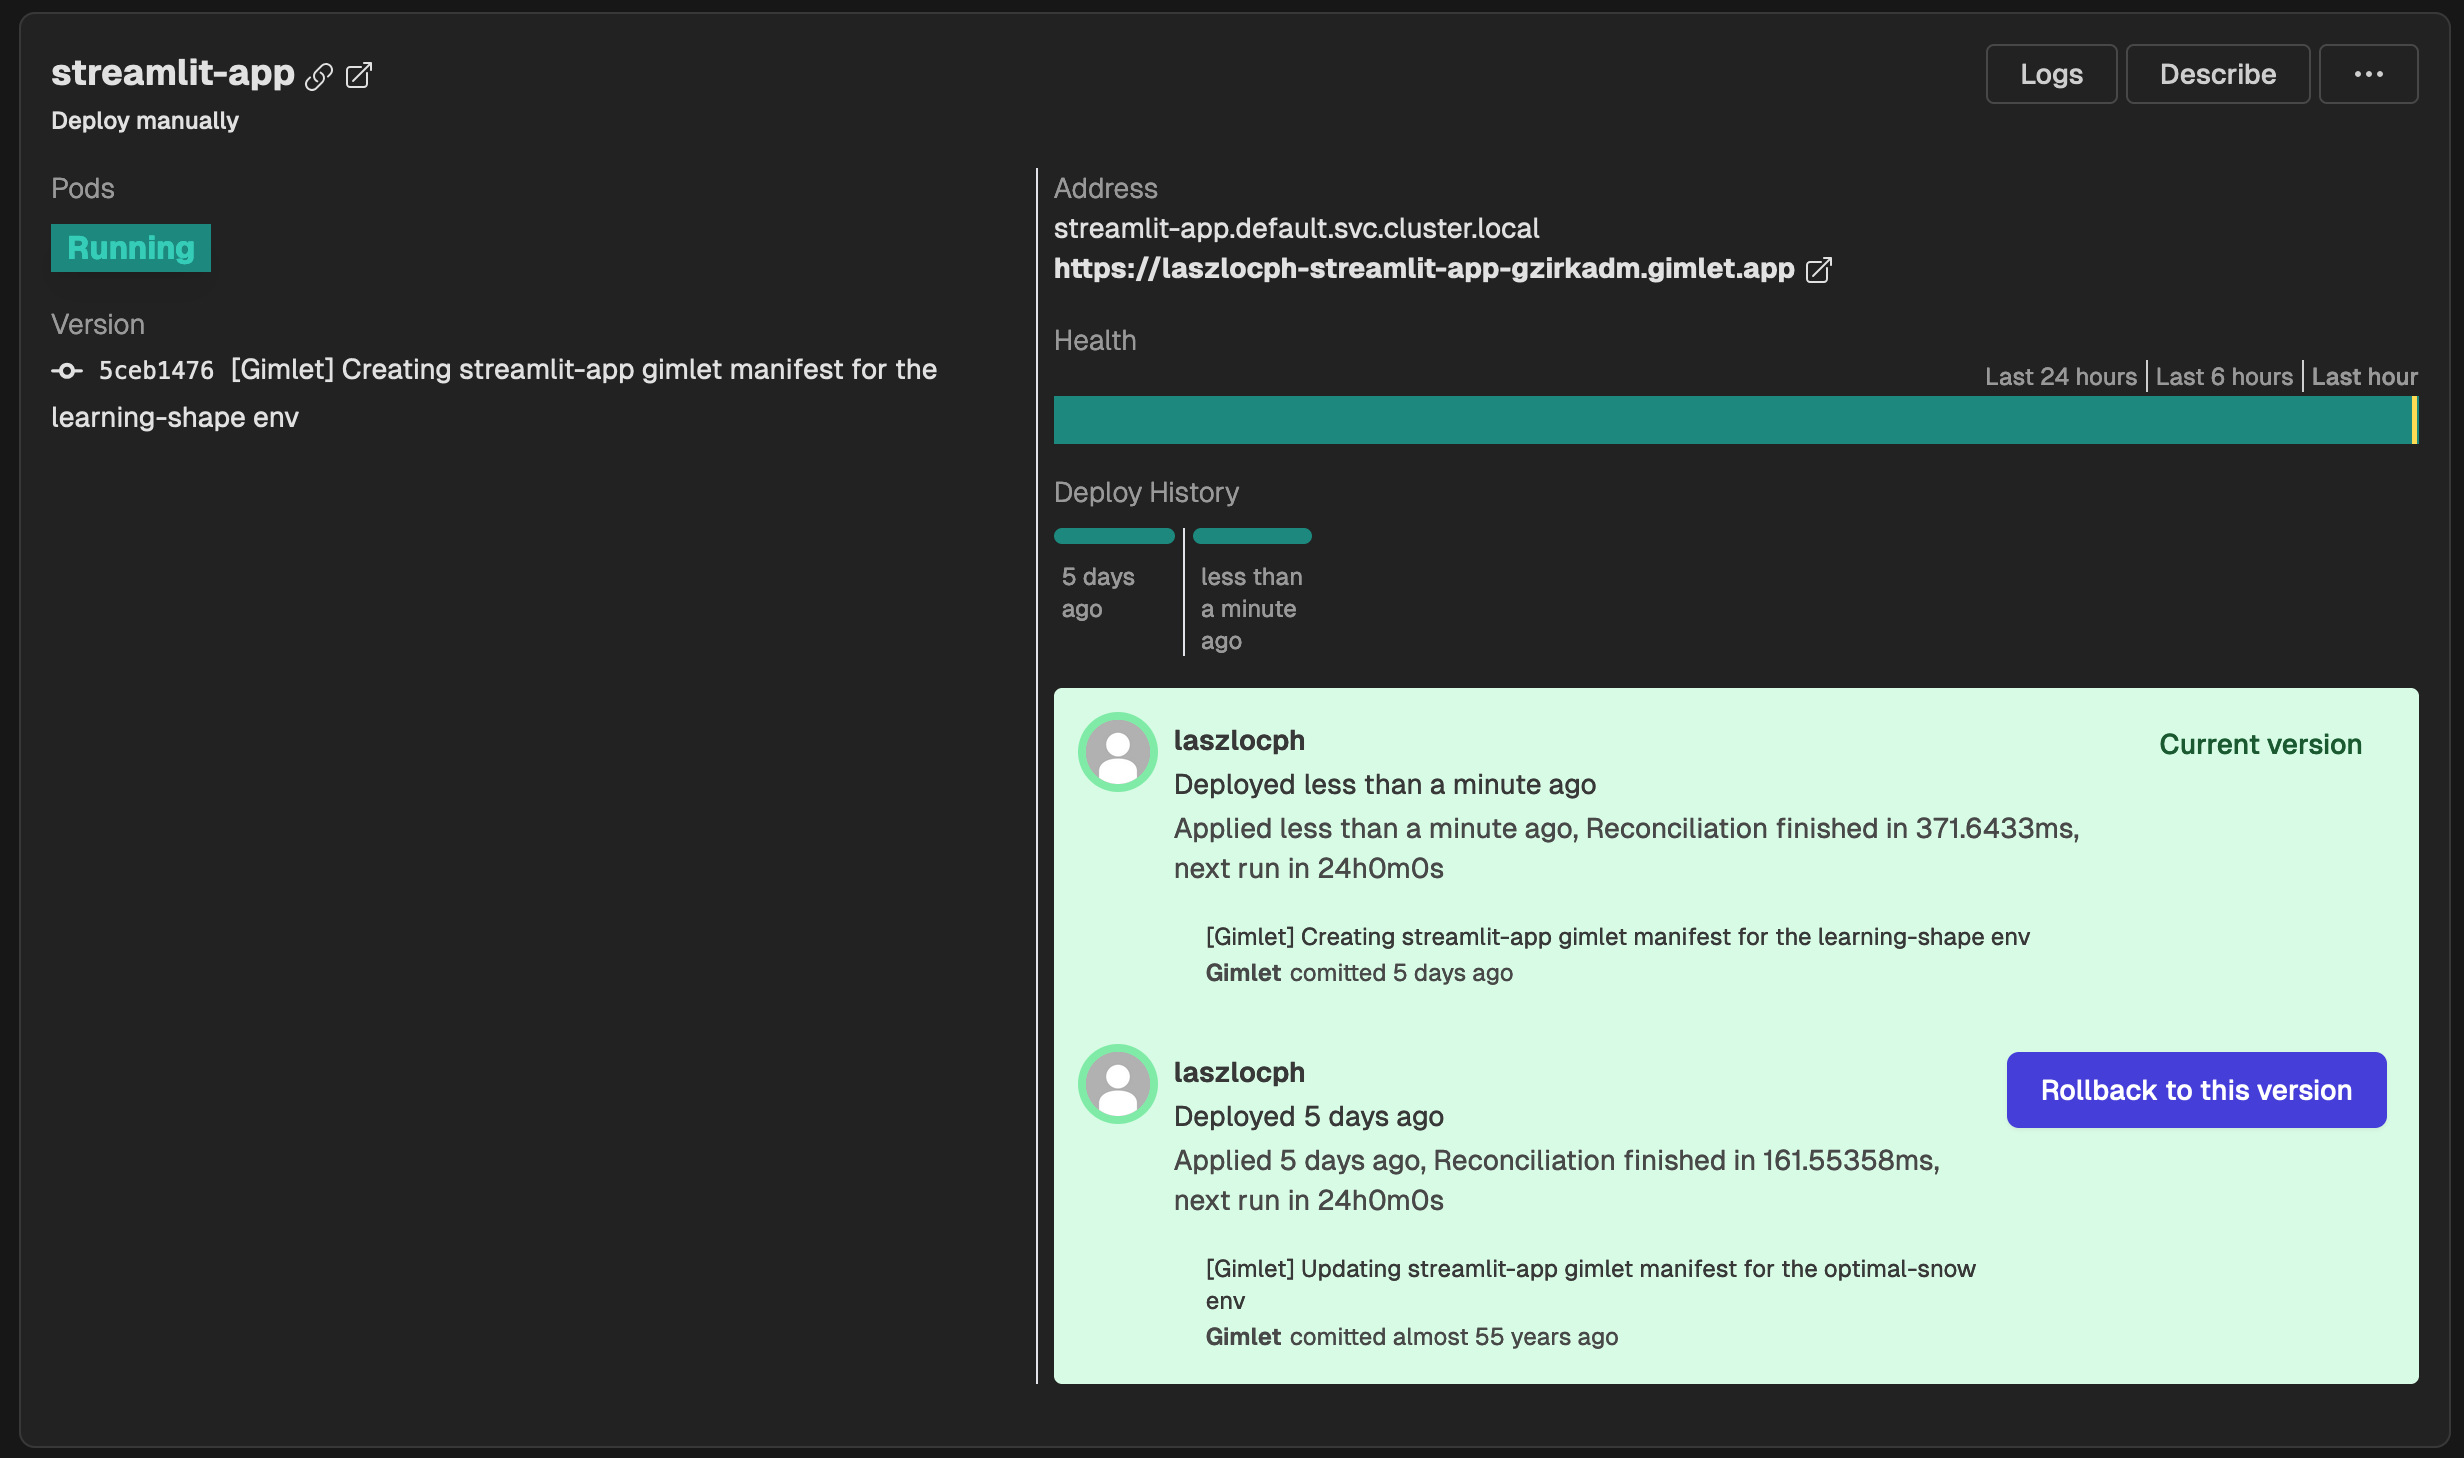
Get started now
You can get started on https://app.gimlet.io.
