Deploy a Cloud Shell

Laszlo Fogas
When you sign up to Gimlet Cloud, you get a Kubernetes cluster for 7 days so you can quickly get to deploy stuff without having to set up a Kubernetes cluster.
As much as we want to cover the core Kubernetes usecases with tooling, you opt for Kubernetes for the flexibility, and sometimes someone needs direct access to Kubernetes.
This tutorial is based on the work of our user did when he wanted to interact with Gimlet Cloud's Kubernetes cluster with kubectl.
Deploy a Cloud Shell Container Image
It starts with the usual Gimlet deployment process. The only difference is that you are going to deploy one of our images, and not your own application.
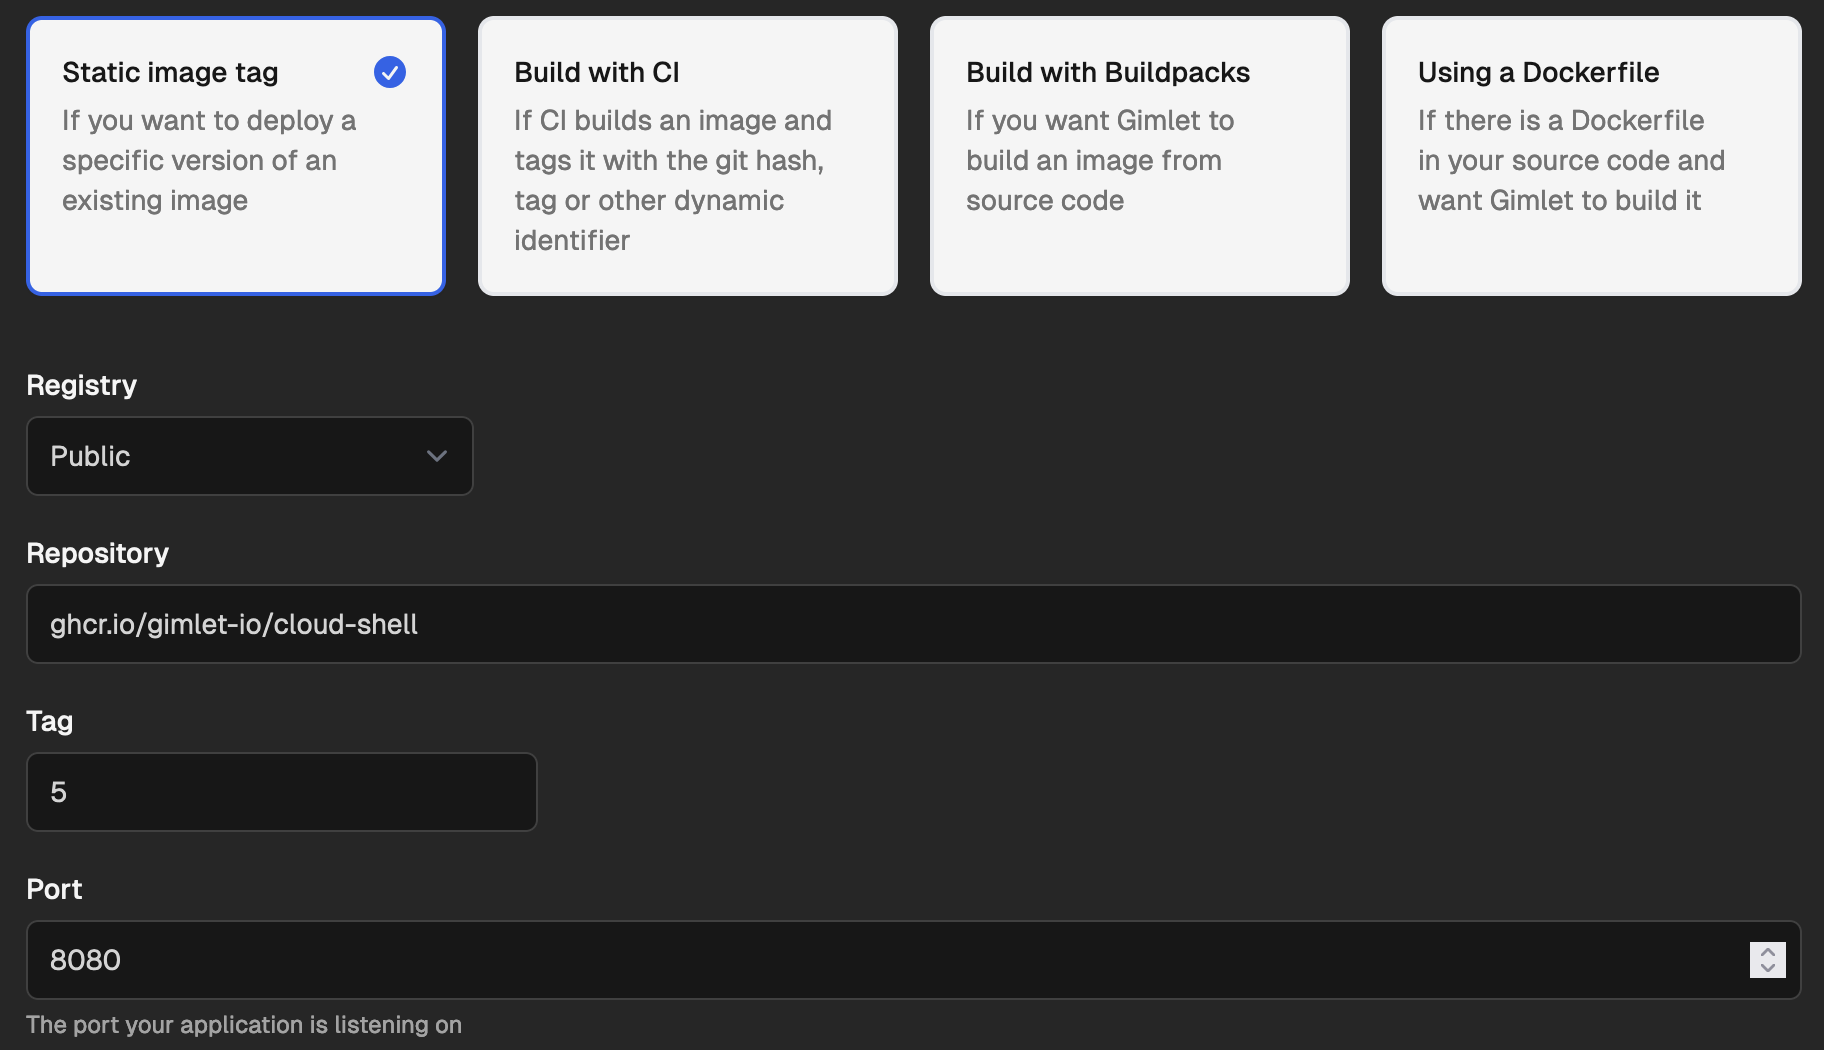
The image to deploy is ghcr.io/gimlet-io/cloud-shell:5 which runs our private fork of a golang based web terminal, gotty.


Pick any of your repositories to store the Gimlet deployment manifest in, and hit New deployment. Typically you keep Gimlet manifests in the repository that you want to deploy, in this case though just pick the most suitable repo, even one of your apps. We will clean up everything at the end of this tutorial.
Settings:
- Name your application
cloud-shell - Select the
Static image tagimage build strategy - Set Repository to
ghcr.io/gimlet-io/cloud-shell - Tag to
5 - Port to
8080
Hit deploy, and write configuration to git.
Grant Elevated Access to the Cloud Shell
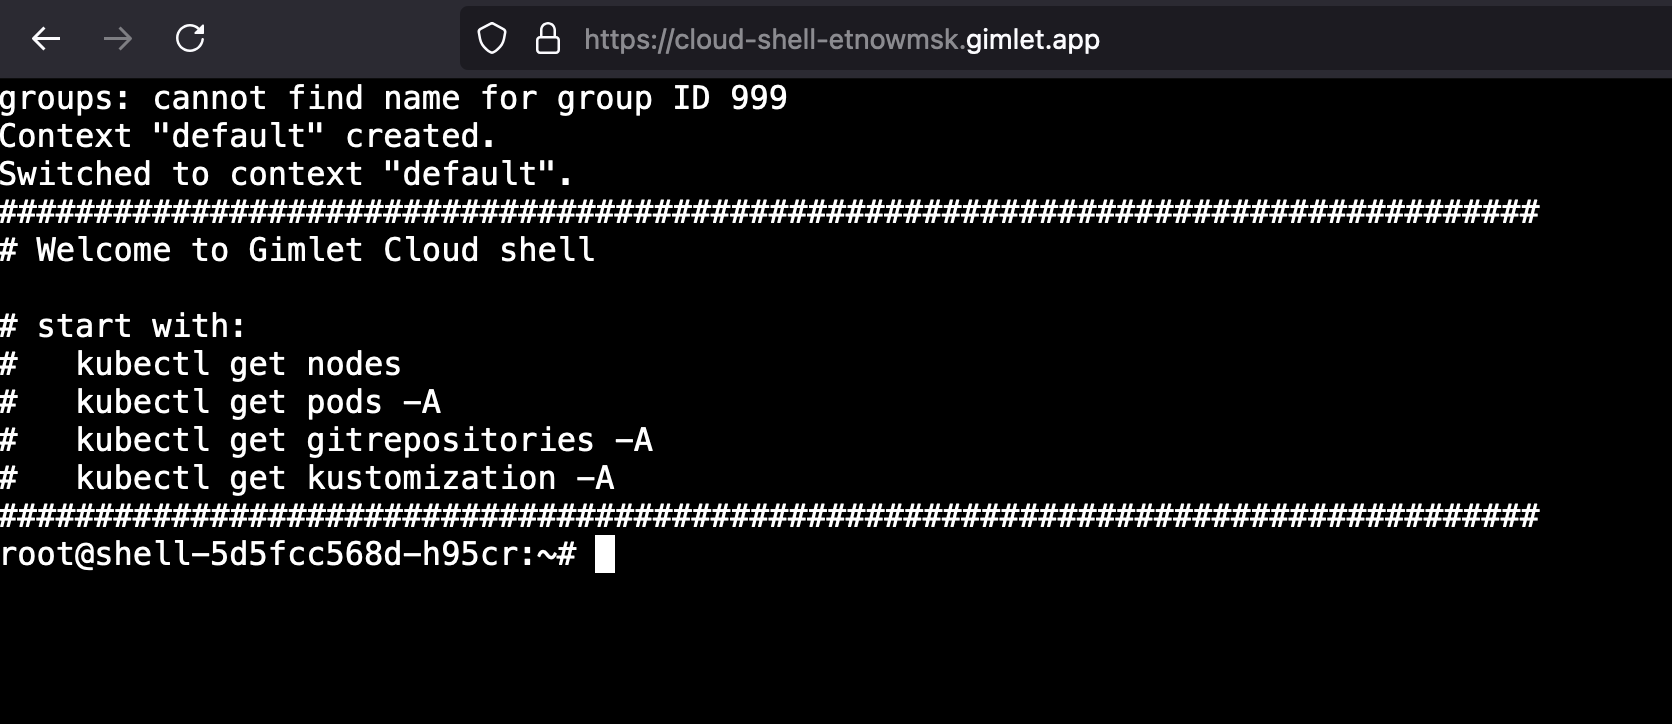
At this point you can access the cloud shell on the defined URL, but kubectl breaks with an error. Let's add permissions to talk to the Kubernetes API server. To do that, you will use one of the extension points of the Gimlet manifest.
Locate the just created Gimlet manifest in git and add the following raw Kubernetes yaml. Deployment templates are great, but sometimes you need to reach the raw power of the Kubernetes yaml.
app: cloud-shell
env: talented-smoke
namespace: default
chart:
  repository: https://chart.onechart.dev
  name: onechart
  version: 0.70.0
values:
  containerPort: 8080
  gitRepository: laszlocph/1clickinfra
  gitSha: '{{ .SHA }}'
  image:
    registry: public
    repository: ghcr.io/gimlet-io/cloud-shell
    strategy: static
    tag: "5"
  ingress:
    annotations:
      cert-manager.io/cluster-issuer: letsencrypt
      kubernetes.io/ingress.class: nginx
    host: cloud-shell-etnowmsk.gimlet.app
    tlsEnabled: true
  resources:
    ignoreLimits: true
+manifests: |
+  ---
+  apiVersion: rbac.authorization.k8s.io/v1
+  kind: ClusterRoleBinding
+  metadata:
+    name: '{{ .APP }}'
+  roleRef:
+    apiGroup: rbac.authorization.k8s.io
+    kind: ClusterRole
+    name: cluster-admin
+  subjects:
+  - kind: ServiceAccount
+    name: default
+    namespace: default
Make a commit with the changes and deploy this commit from the Gimle UI.
Protect Cloud Shell with Password
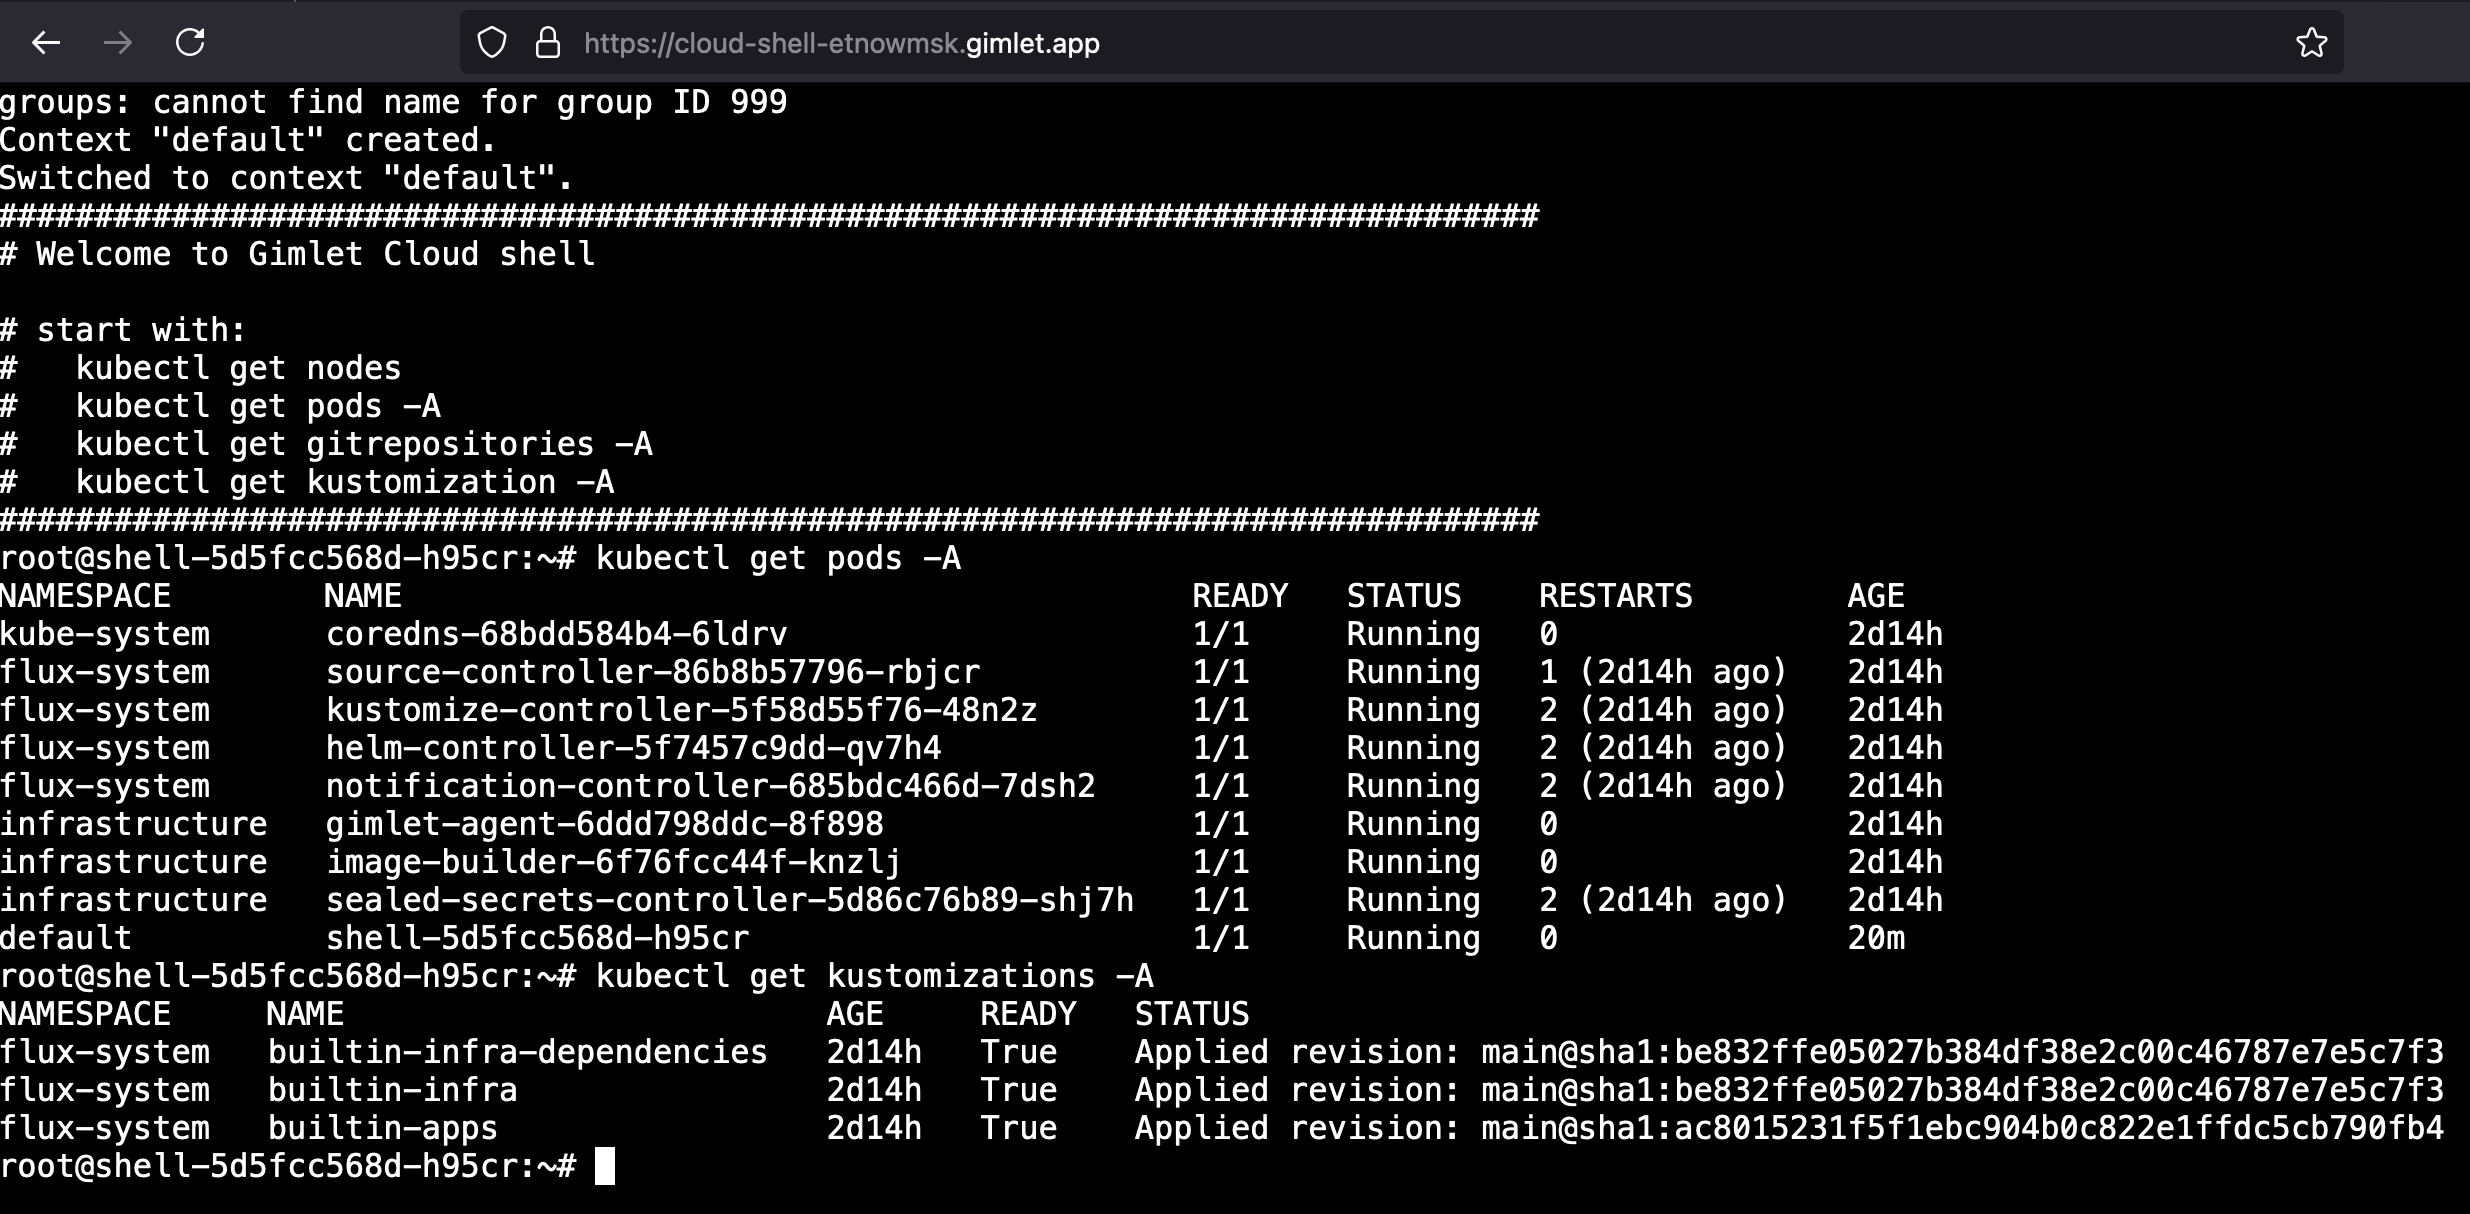
In the previous step we added cluster admin permissions to the cloud shell. In this step let's protect the shell with username and password.
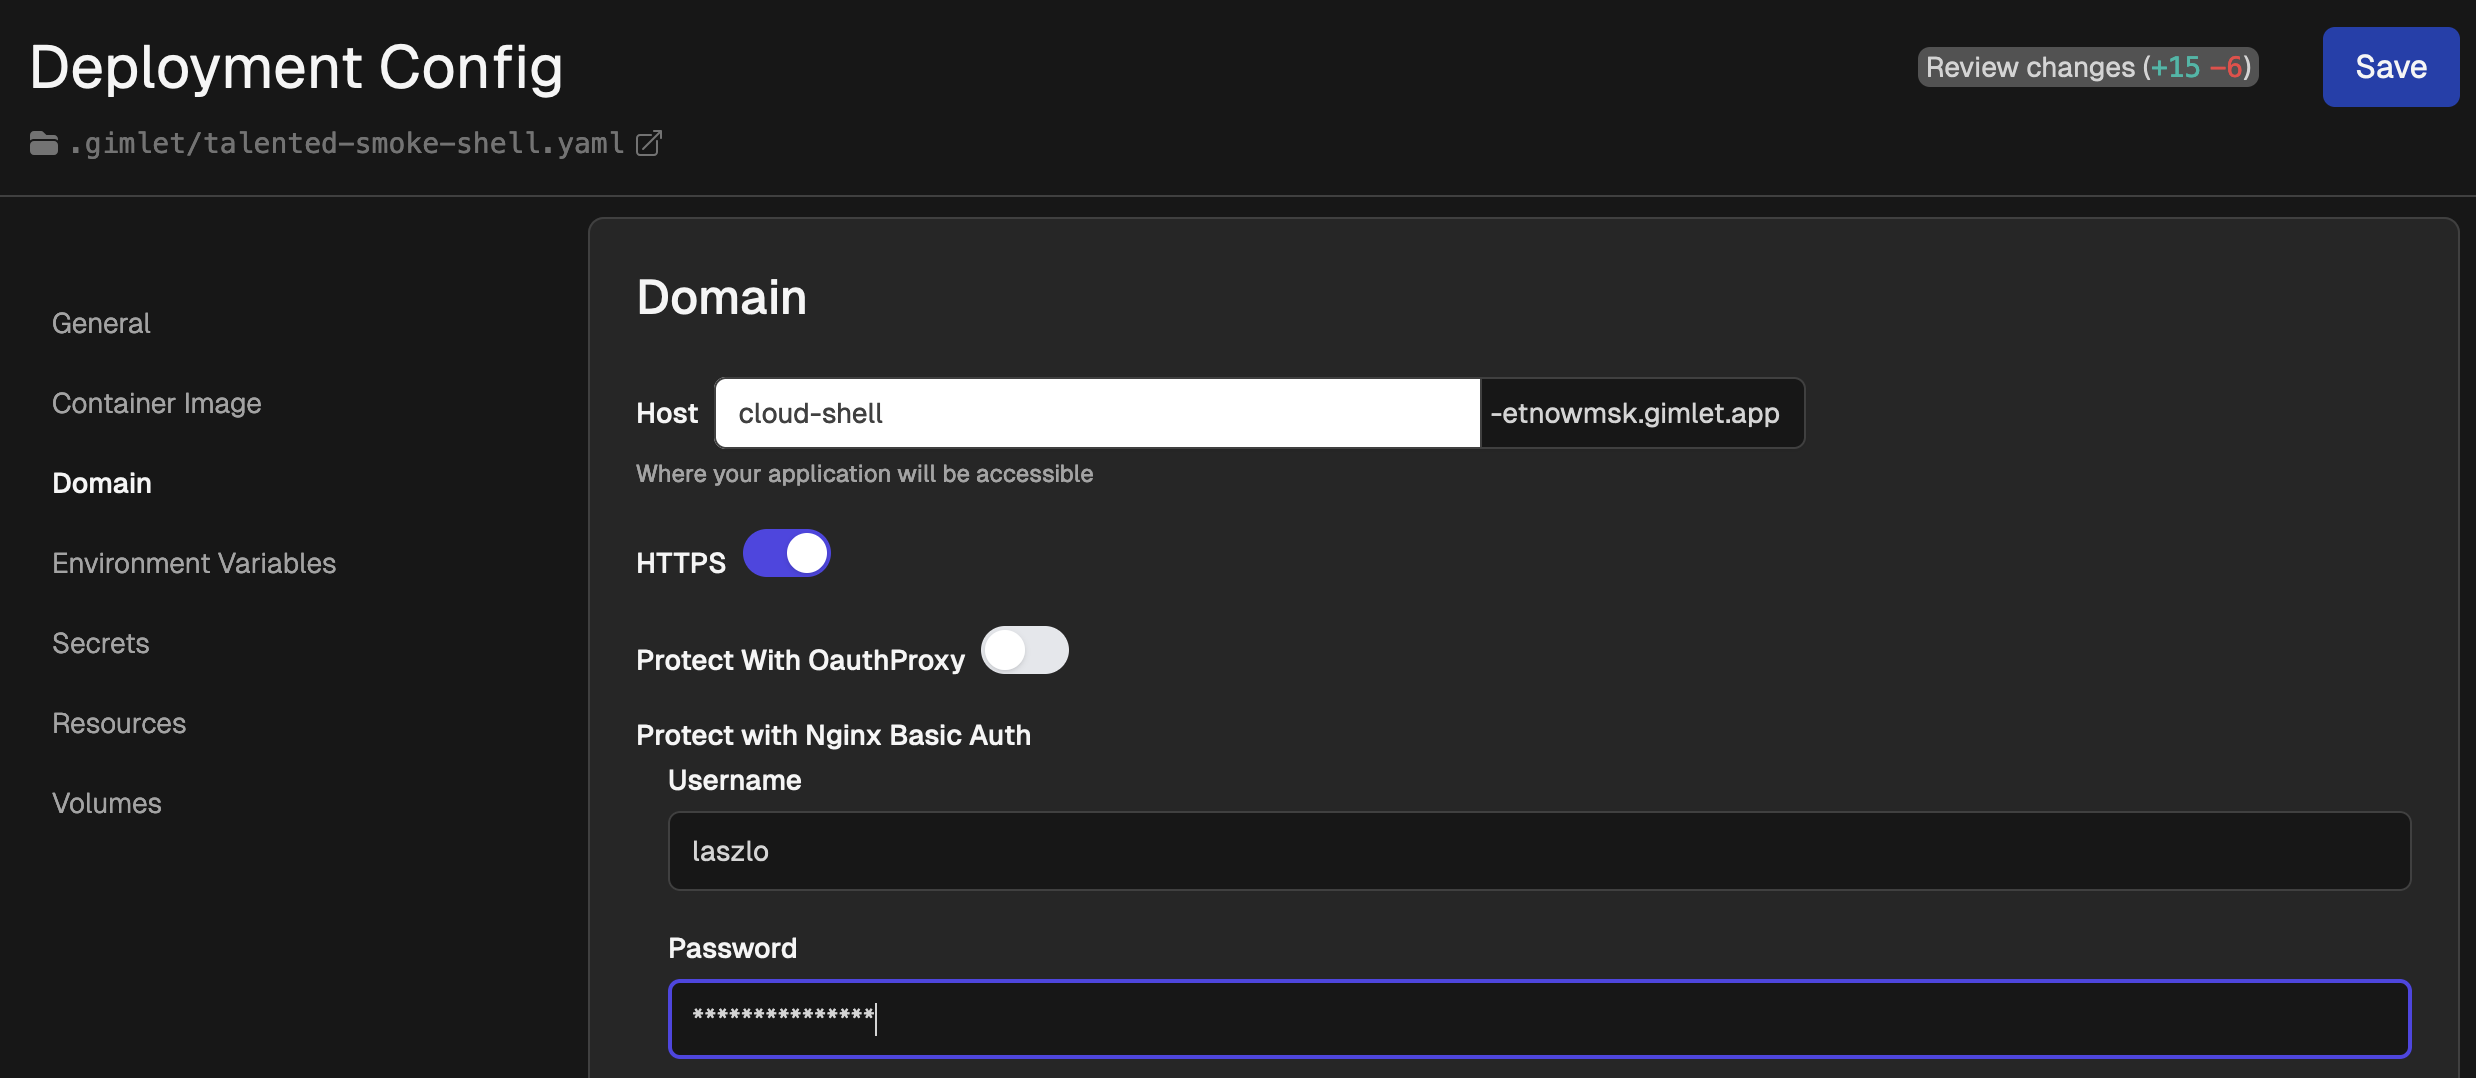
Under deployment settings / Domain you can set a HTTP Basic Auth username and password. Save the config and deploy it.
Cleanup

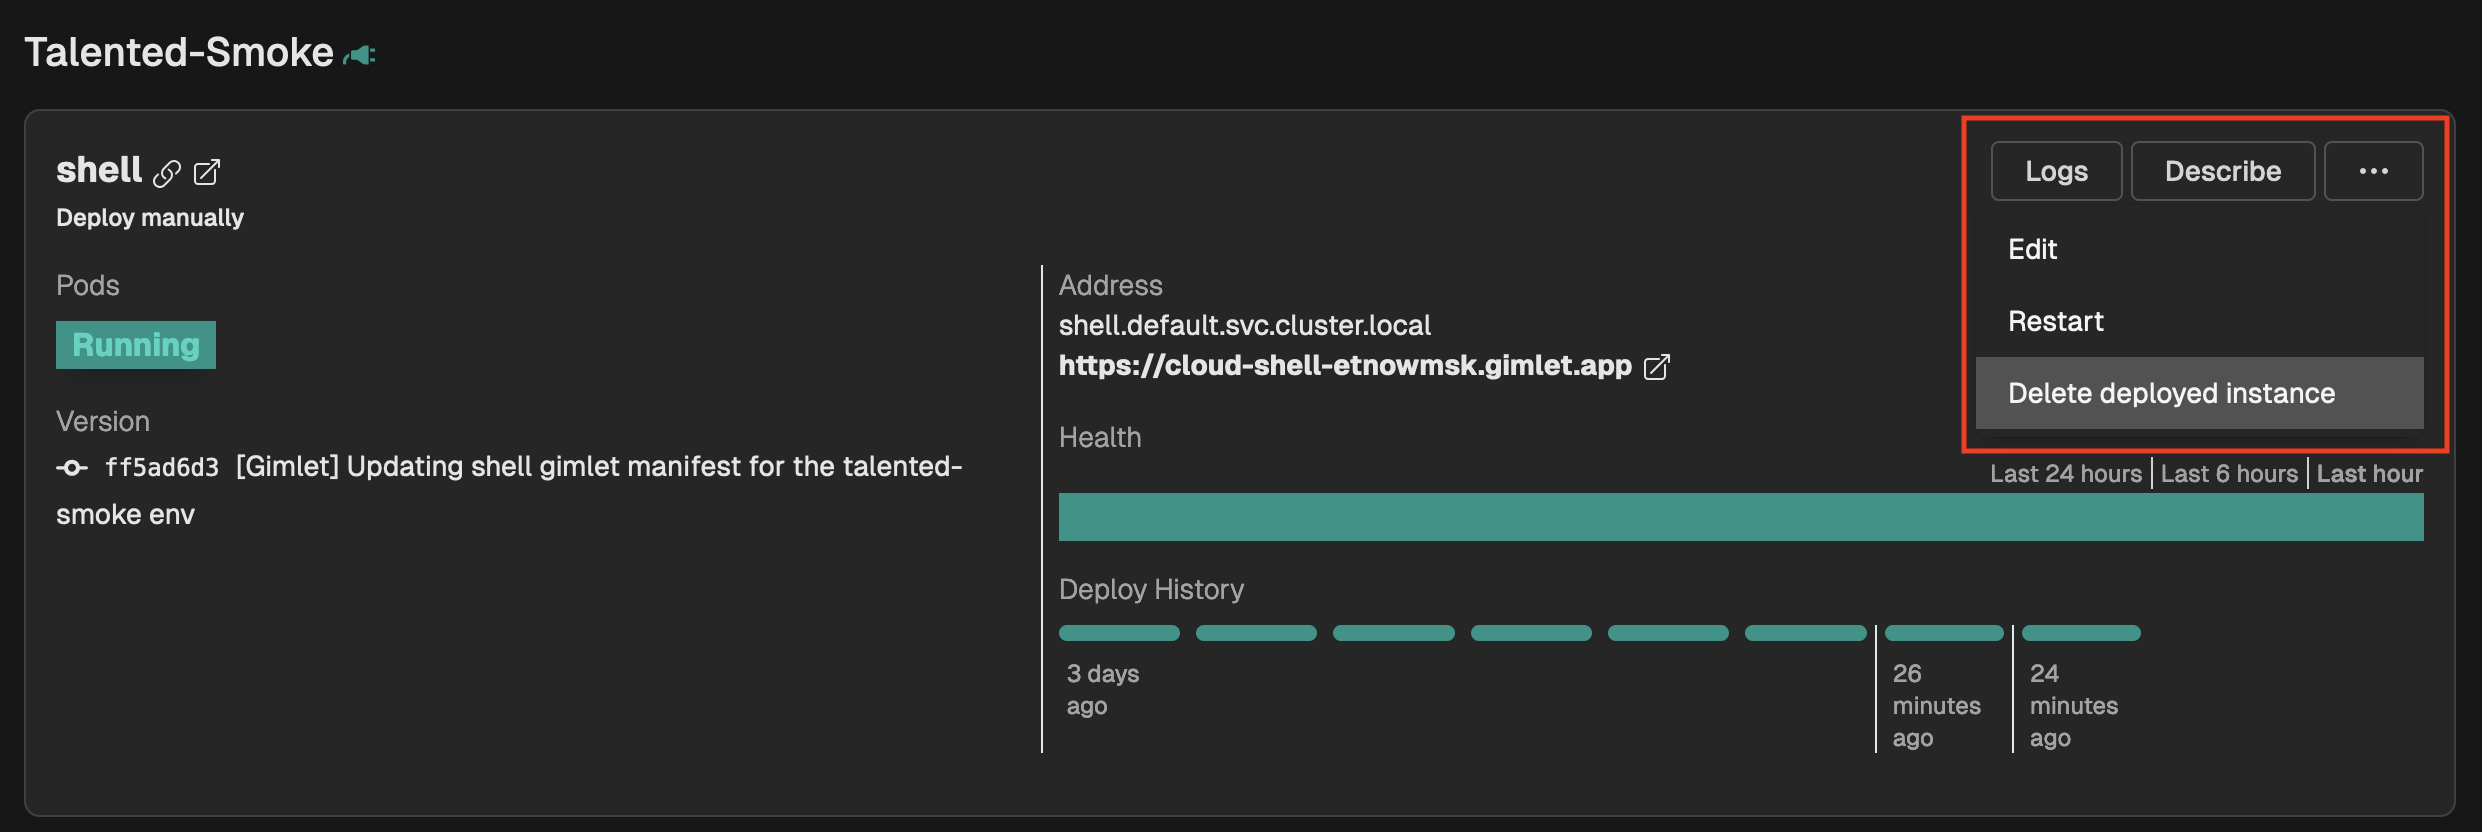
This is just a trial cluster, and you probably don't deploy production stuff here, but it is best to clean up the shell once you don't need it.
The Gimlet manifest will still be there, so you can deploy it anytime. For now, delete the deployed instance.
Happy cloud shelling!
