Deploy Ollama and Open WebUI to Remote Kubernetes Cluster with Nvidia GPU

Gergely Mate
Using a remote Nvidia GPU with Kubernetes is a convenient way to run LLMs from anywhere while being able to keep costs as low as possible. Here's how you can get started with remote GPUs and Kubernetes.
By default, Kubernetes requires some setup to be able to run GPU workloads. We'll guide you through the entire process from setting up the cluster to deploying Ollama and Open WebUI to try a model.
Our Provider of Choice
For reference, we're listing a couple of cloud GPU providers here, but it's worth to note that outside of Civo, only Google Cloud Provider offers clusters with Nvidia A100s, the rest are VMs with the GPUs.
Our provider of choice is Civo, and this blog post describes how to launch a Kubernetes GPU with their CLI.
Check out the pricing and configuration comparison for A100 VMs and clusters in the table below:
| Provider | Connection | CPU | RAM | Storage | Price | Kubernetes |
|---|---|---|---|---|---|---|
| Civo | PCIe | 8 cores | 64 GB | 200 GB NVMe | $1.78/hr | Yes |
| Lambda Labs | PCIe | 30 vCPU | 200 GB | 512 GB SSD | $1.29/hr | No |
| DataCrunch | SXM | 22 vCPU | 120 GB | Not included | $1.75/hr | No |
| GCP-GKE | PCIe | 12 vCPU | 85 GB | Not included | $3.77/hr | Yes |
Pre-Requirements
Moving forward, a couple of things you'll need to complete the steps described:
- kubectl
- Helm
- Register to CIVO (You get $250 credit for free)
Launch Cluster
First, let's install the CLI of CIVO. We'll use this to make changes on the cluster. Use either of the commands below:
brew install civo
Or:
curl -sL https://civo.com/get | sh
Now run the command below to launch a cluster with an Nvidia A100-40 GPU:
civo kubernetes create gpu-cluster \
  --size g4g.40.kube.small \
  --nodes 1 \
  --save --merge --wait \
  --create-firewall \
  --firewall-rules "default" \
  --region LON1 \
  --cluster-type talos
If you can't launch the g4g.kube.small cluster, you can check out the available Nvidia GPU resources if you run this command:
civo sizes ls --region=LON1 | grep Nvidia | grep Kubernetes
The output should be something like this:
| an.g1.l40s.kube.x1 | Small - Nvidia L40S 40GB       | Kubernetes |  12 |  131072 | 200 |
| g4g.kube.small     | Small - Nvidia A100 80GB       | Kubernetes |  12 |  131072 | 100 |
Before moving forward, verify that the cluster is up:
civo kubernetes config gpu-cluster --region LON1 --save

kubectl get nodes
kubectl get pods
If you run kubectl describe node, you'll see that the node doesn't know about the GPU.
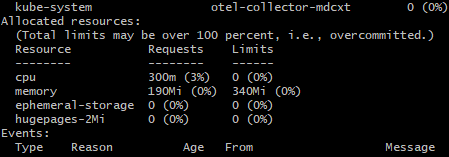
You'll need to install the Nvidia device plugin.
Device Plugin Installation
In order to be able to utilize the GPU with a Kubernetes runtime, you'll need to install the device plugin with the command below:
kubectl apply ds.yml -f
Deploy Ollama and Open WebUI
Ollama is a framework for deploying and managing LLMs, which you can now deploy to your cluster. In this repository, you can find the Helm chart you can configure for your needs.
helm repo add ollama-helm https://otwld.github.io/ollama-helm/
helm repo update
helm upgrade -i ollama ollama-helm/ollama --create-namespace --namespace ollama -f ollama.yaml
kubectl logs -f deploy/ollama
Take a look at the settings we used in ollama.yaml to set up Ollama for GPU usage below.
ollama:
  gpu:
    enabled: true
    number: 1
  models:
    - llama2
    - gemma

persistentVolume:
  enabled: true
  size: 250Gi
Deploy the Model
To interact with models, you can deploy Open WebUI. Open WebUI has similar looks to ChatGPT, and you can add models to it easily by entering its name.
Run the command below to install Open WebUI:
kubectl create namespace open-webui
kubectl apply -f https://raw.githubusercontent.com/open-webui/open-webui/main/kubernetes/manifest/base/webui-pvc.yaml
kubectl apply -f https://raw.githubusercontent.com/open-webui/open-webui/main/kubernetes/manifest/base/webui-service.yaml
kubectl apply -f https://raw.githubusercontent.com/open-webui/open-webui/main/kubernetes/manifest/base/webui-deployment.yaml
To access Open WebUI, port-forward with the command below.
kubectl port-forward svc/open-webui-service 8888:8080 -n open-webui
Now enter http://localhost:8888 in your browser, and enter an email address and a password to get credentials for the Open WebUI instance you're running.
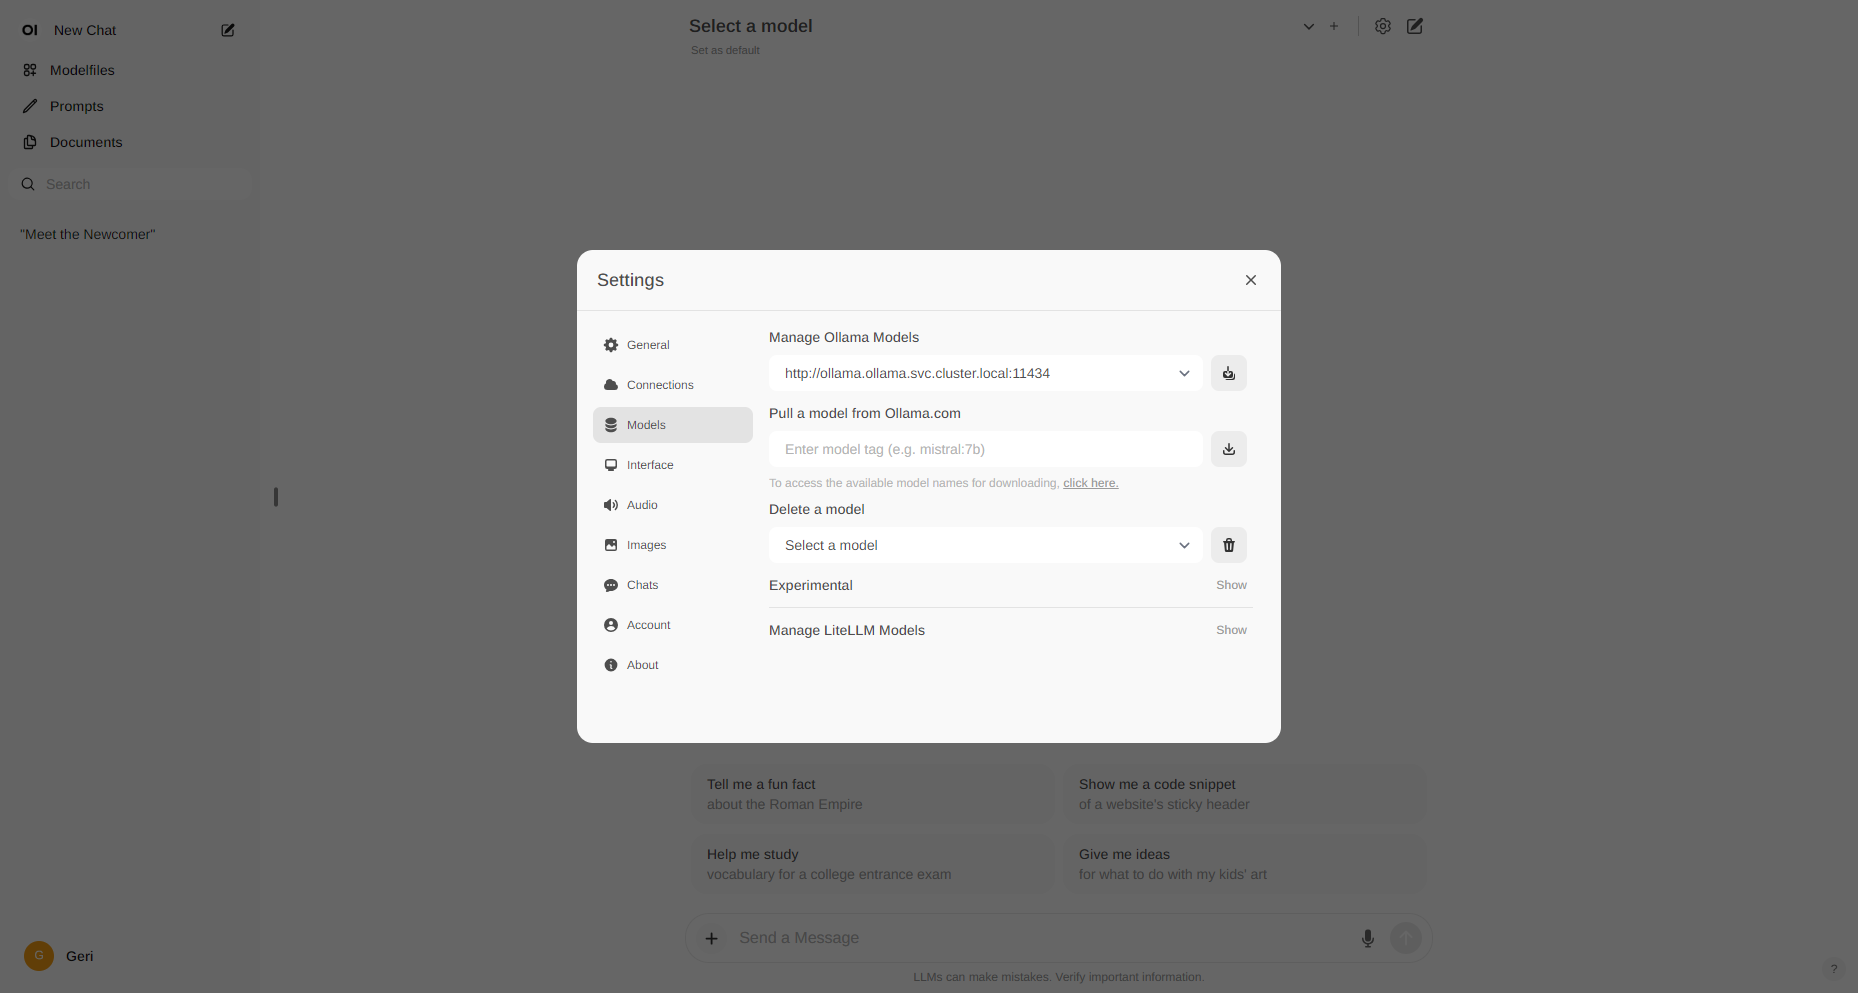
After you're done, you can already try the available models, but you're also able to change the source of Ollama models. To do so, navigate to the settings and change Ollama's URL to http://ollama.ollama.svc.cluster.local:11434, as you can see in the screenshot below. This way you'll be able to add models available on ollama.com, such as Llama 3, which was published a few days before this blog post was published.
Cleanup
In case you're done experimenting, it's suggessted to clean things up to avoid unnecessary costs from piling up. In order to do so, just delete the cluster and the volumes.
Run these commands to delete the cluster and the volumes that belong to them:
Delete Cluster
civo kubernetes delete gpu-cluster --region lon1
Delete Volumes
civo volumes list

civo volumes delete <VOLUME-NAME> --region lon1